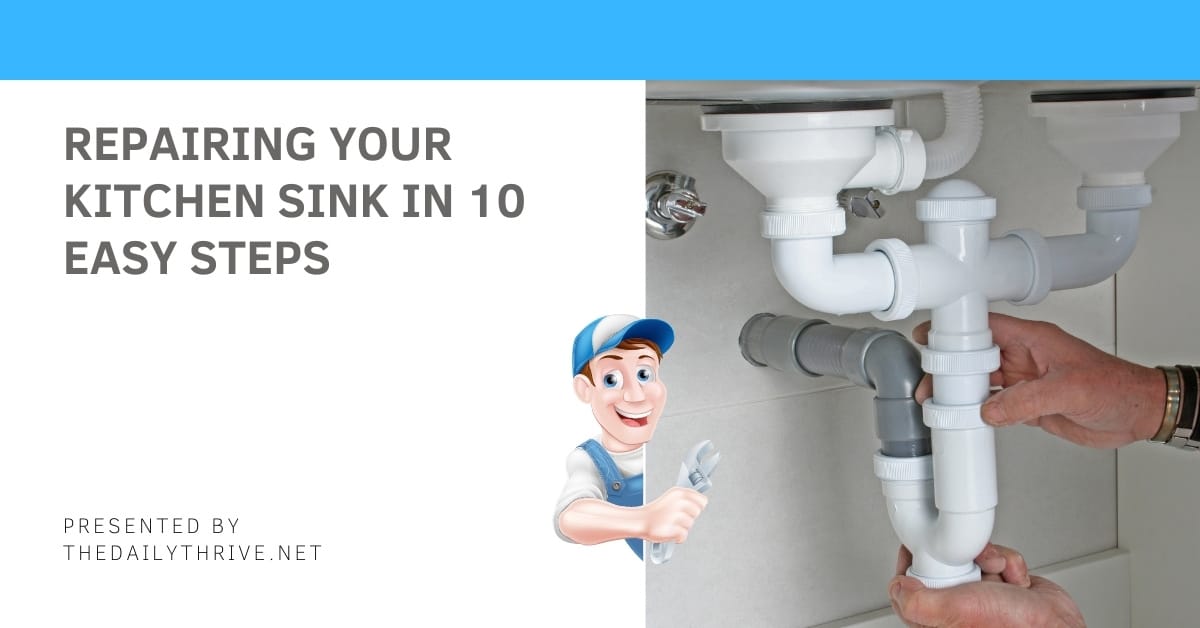
Tackling the repairs on a kitchen sink isn’t a walk in the park, but it shouldn’t be overwhelming if you take the time to understand how the basic sink operates and is assembled. For instance, most under-sink drain assemblies are made up of the following plastic drain pipe components:
- An L-shaped pipe that connects the wall drain to a curved P-trap
- A straight pipe extension attaches the P-trap to the sink strainer
- All your standard sink pipes connect via threaded fittings that you can easily loosen and tighten by hand
Next, use these 10 easy steps to repair your kitchen sink…
1. Measure your existing sink assembly
So first you’ll need to do to find out which assembly to use on your sink is to measure your existing assembly—they come in standard sizes of 1 1/4 or 1 1/2 inch diameters—so it will be one or the other.
2. Get a trusty bucket
A bucket is your best friend if you don’t want water all over your kitchen floor. Get one in place under your kitchen sink’s drain assembly before you start to catch any water from the P-trap where waste water is stored.
3. Loosen your basin connection
You can easily loosen the P-trap nut (that secures it to the sink basin) by using your hand and a rag or you can get fancy and use a wrench if you really need to…no judgment from this old broad, but you really don’t need any more than a bit of muscle.
4. Drain the waste water
So you don’t make a bloody mess, you’ll have to drain the waste water I already talked about into the bucket you already have in place.
5. Remove the P-trap
When the water is finished draining, remove the P-trap by sliding it forward to detach it completely. The used P-trap is garbage so throw it out and while you’re at it get that bucket out of the way too, you don’t need it anymore.
6. Loosen the pipes
Loosen the nut that connects the first extension pipe to the sink strainer as well as the nut that secures a second pipe to the wall drain. You can toss these pipes as well.
7. Don’t be afraid to show that flange whose boss
Next you’ll need to find the flange! It’s the smooth end of your replacement extension pipe, the one that secures to the sink strainer opening. To secure your new extension pipe, thread the pipe onto the basin opening and secure with a nut.
8. Secure the drain pipe to the wall
You’ll want to slide the smooth end of your replacement drain pipe to the wall pipe. Secure by screwing in the threads and screw the nut and washer in tightly in place.
9. Position your P-Trap
Position and thread the replacement P-trap underneath the extension pipe by rotating it so that the open end sits underneath the basin extension pipe. Secure everything in place with a compression nut and washer.
10. Check your work
Never walk away from a job until you make sure everything is working correctly and by that I mean check all of your sink connections for leakage.
There you have it! An easy sink installation that a blind-folded monkey could do in 10 easy steps!

