How To Remove Unwanted Items In A Photo
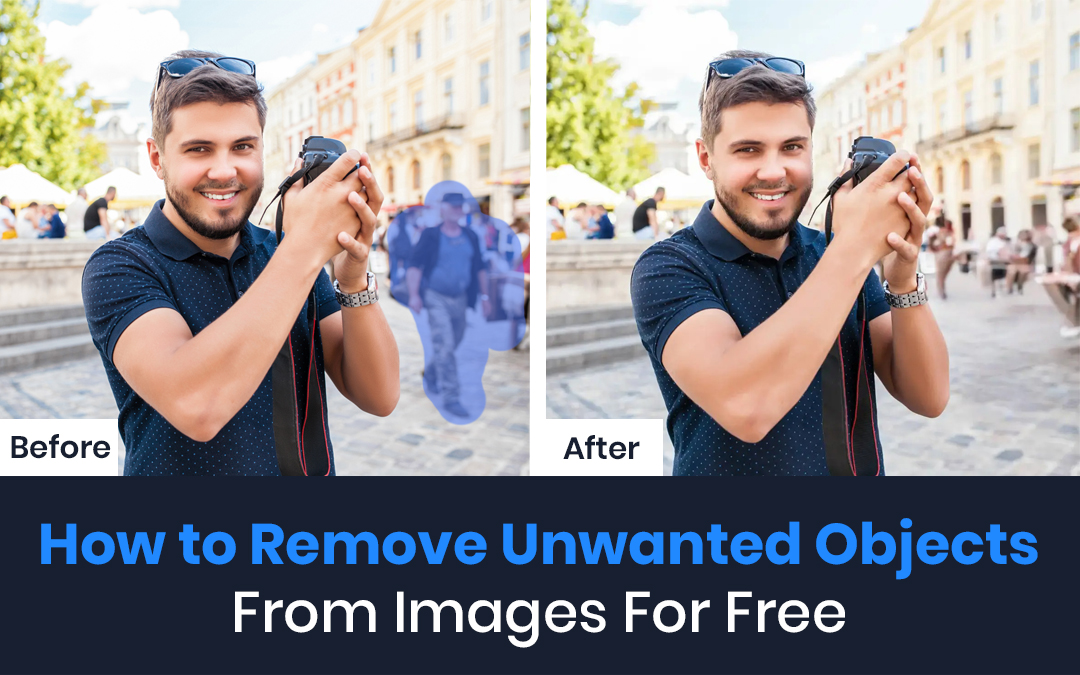
I still remember the time I took a perfect sunset photo on my beach vacation, only to realize later that there was a weird trash can in the corner of the frame. I mean, who wants a garbage can in their tropical paradise photo, right? It was like, hello, I'm trying to capture the beauty of nature here, not the local waste management!
So, I had to learn how to remove unwanted items in a photo, and trust me, it's been a game-changer. I can now magically make those pesky distractions disappear, and it's amazing. You can do it too, and I'm about to share all my secrets with you!
Understanding the Basics
Before we dive into the nitty-gritty of removing unwanted items, let's talk about the different types of photo editing software out there. You've got your Photoshop, your Lightroom, and a bunch of other free and paid options. Don't worry if you're not familiar with any of these, I'll break it down in simple terms, so you can follow along easily.
Must Read
The key is to choose a software that you're comfortable with, and that fits your needs. If you're a beginner, you might want to start with something like GIMP or Canva, which are super user-friendly and have tons of tutorials online. And, if you're feeling adventurous, you can always try out some of the more advanced options.
The Magic of Selection Tools
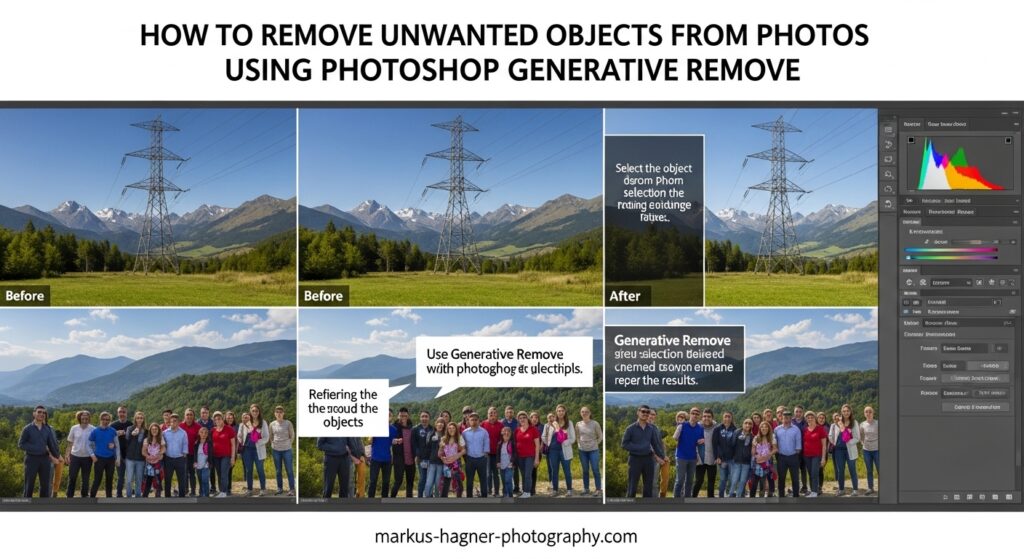
Now, let's talk about the selection tools that will help you remove unwanted items in a photo. These tools are like the magic wands of photo editing, allowing you to select and manipulate specific parts of the image. You've got your lasso tool, your magic wand tool, and your select and mask tool, each with its own unique powers.
The lasso tool is perfect for selecting objects with complex shapes, while the magic wand tool is great for selecting areas with similar colors. And, the select and mask tool is like the ultimate ninja warrior of selection tools, allowing you to refine your selection and make it super precise. It's like, whoa, the power is in your hands!
But, here's the thing, my friend, practice makes perfect. Don't be discouraged if it takes a few tries to get the hang of using these tools. You'll get better and faster with time, and soon you'll be removing unwanted items like a pro. And, if you're feeling stuck, just remember, there are tons of online tutorials and resources available to help you out.
Removing Unwanted Items
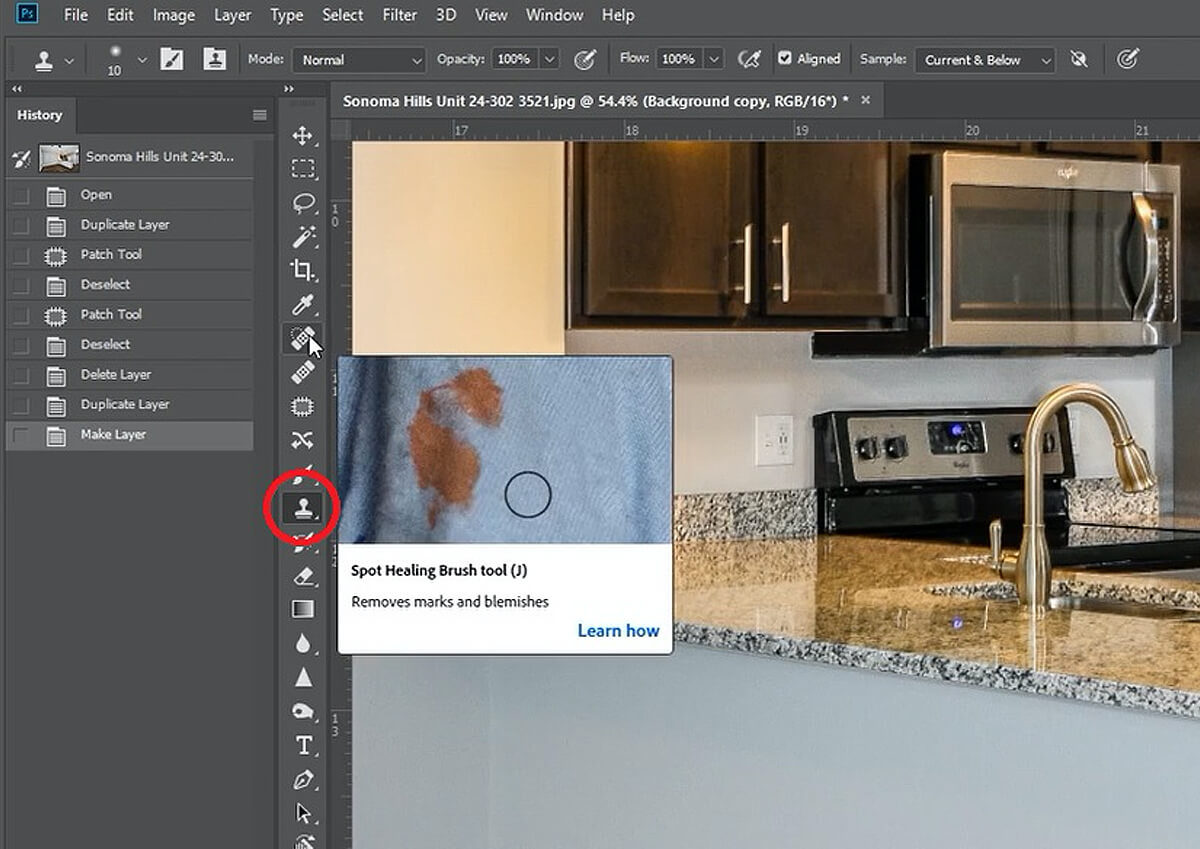
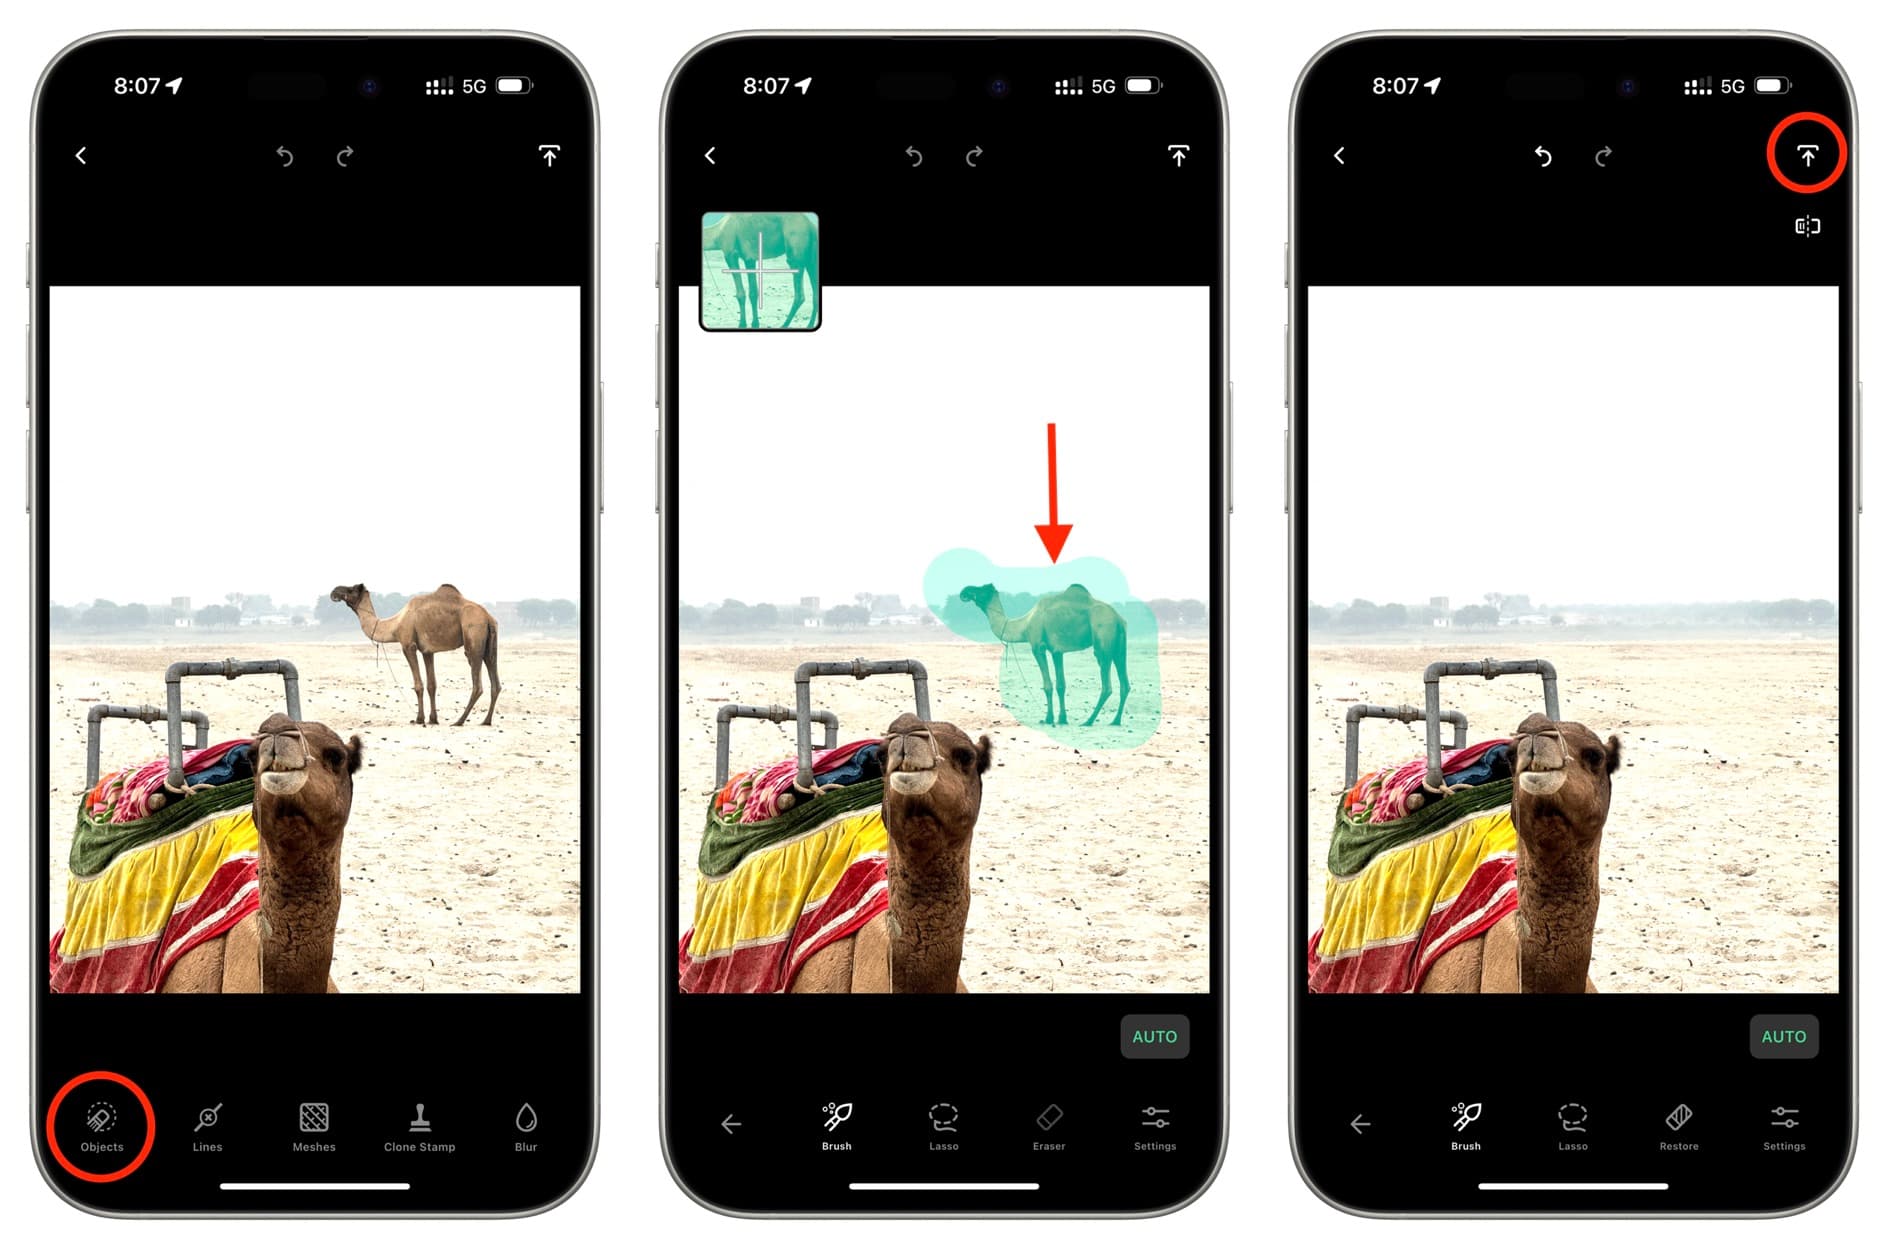
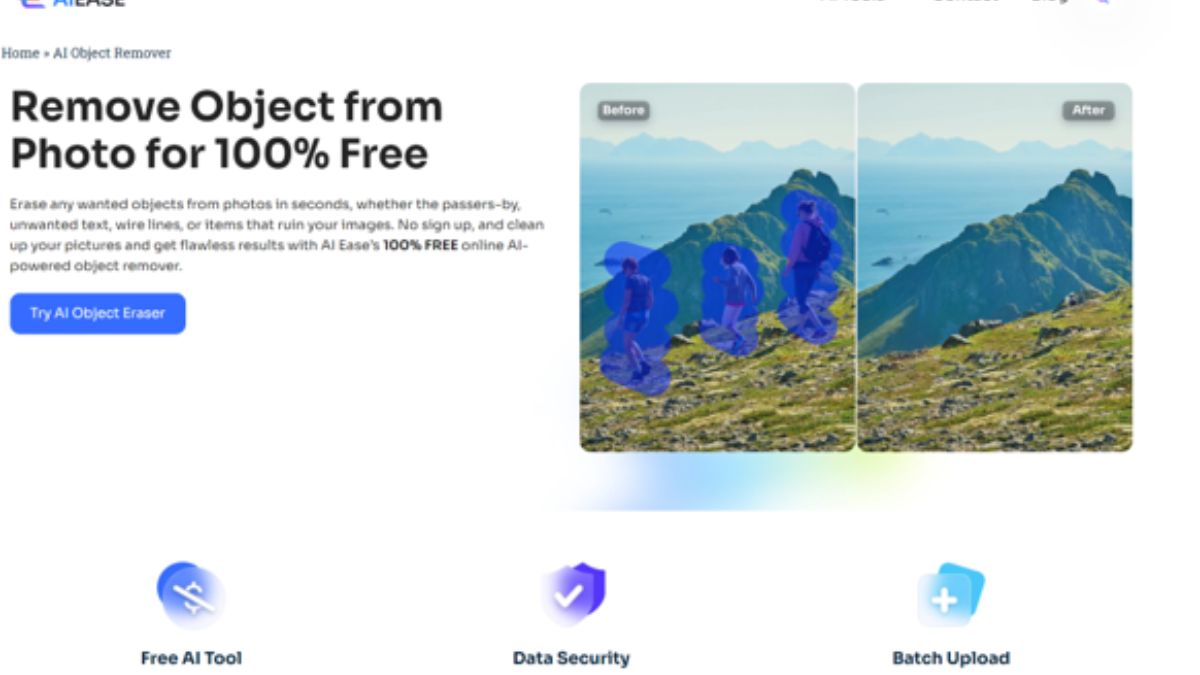
Now that you've got your selection tools down, it's time to start removing those unwanted items. This is where the healing brush tool and the patch tool come in. These tools are like the dynamic duo of photo editing, allowing you to seamlessly remove objects and blend them into the surrounding area.
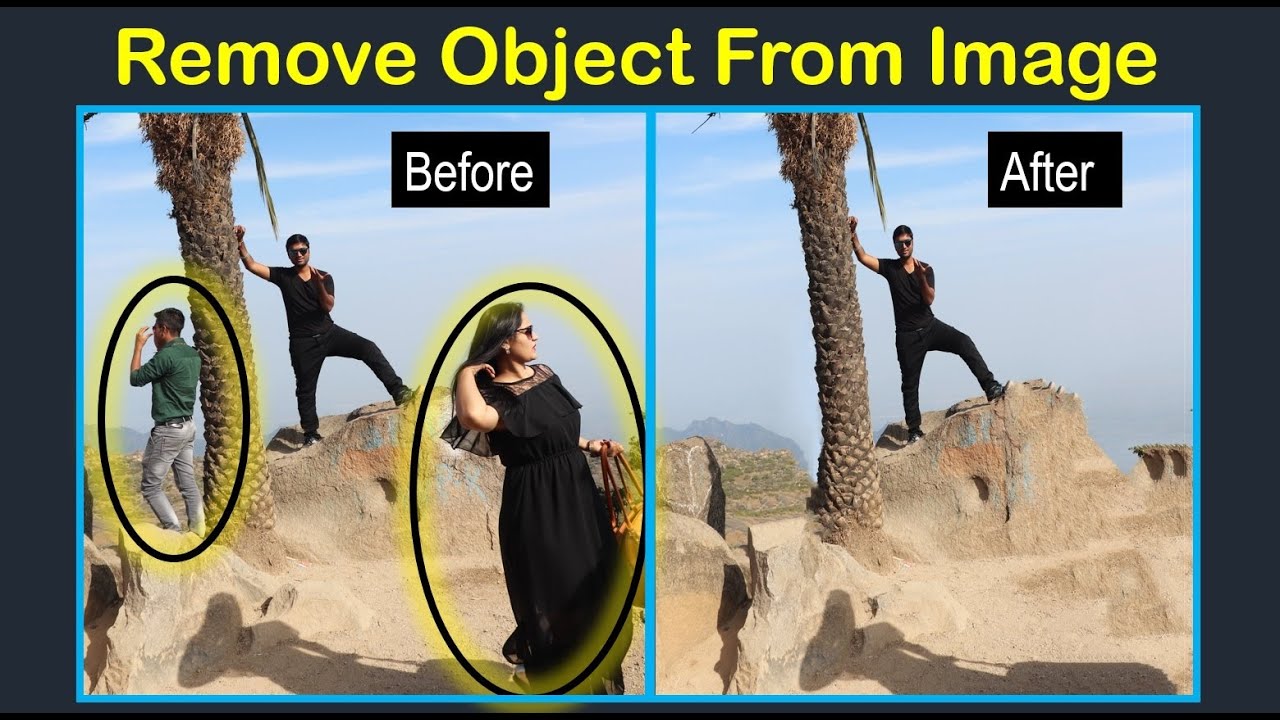
The healing brush tool is perfect for removing small objects, like that trash can in my sunset photo. You simply brush over the area, and the tool automatically matches the texture and color of the surrounding pixels. It's like magic, I tell you! And, the patch tool is great for removing larger objects, allowing you to select a source area and patch it over the unwanted item.
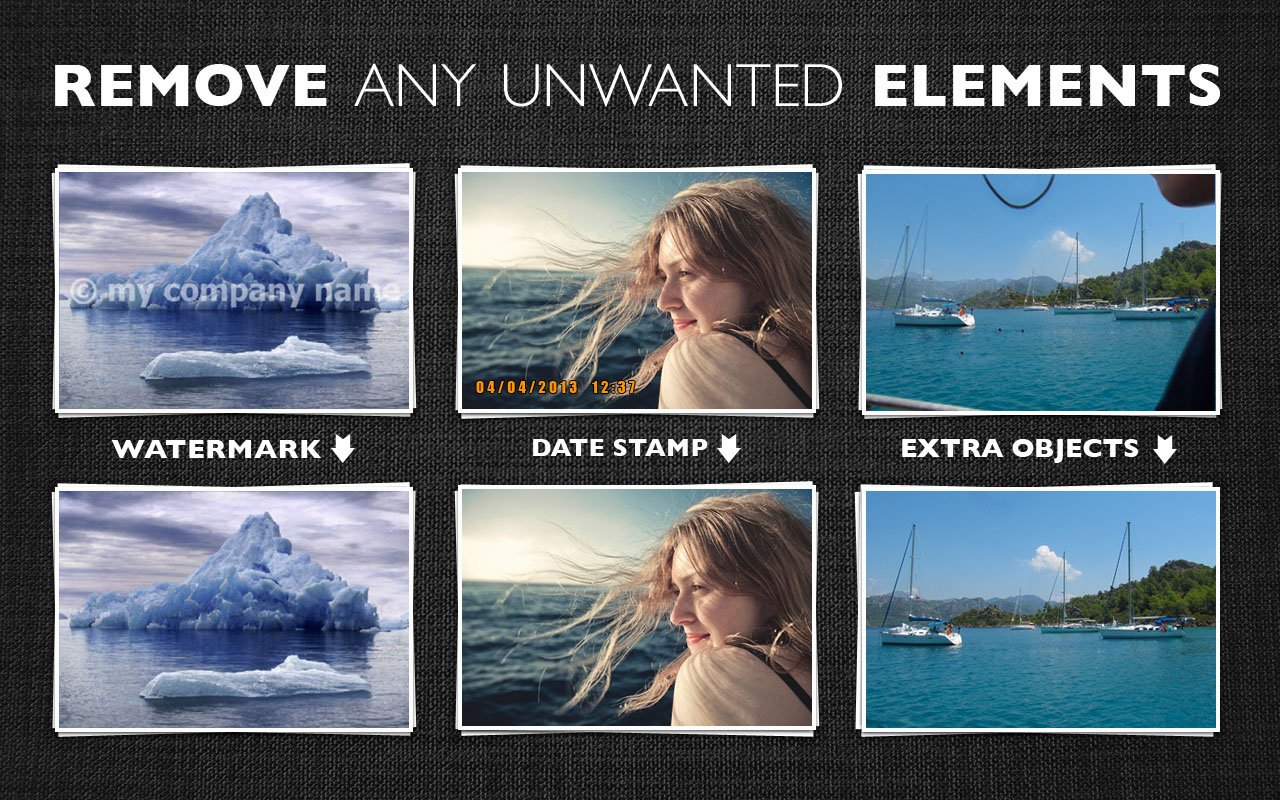
But, here's a pro tip: when removing unwanted items, it's all about blending them into the surrounding area. You want to make it look like the object was never there in the first place. So, take your time, and work slowly, using a combination of tools to get the desired result. And, don't forget to zoom in and out, to get a closer look at the area you're working on.
Final Touches
Once you've removed the unwanted items, it's time to add some final touches to your photo. This is where you can adjust the exposure, contrast, and color balance to make your image pop. You can also add some noise reduction and sharpening to give your photo a more polished look.
And, that's it, my friend! You now have the power to remove unwanted items in a photo, and take your image editing skills to the next level. Just remember, practice makes perfect, so keep experimenting and pushing yourself to new heights. Happy editing, and don't forget to share your amazing photos with the world!
So, go ahead, give it a try, and see the magic for yourself. Remove that trash can, or that annoying photobombing friend, and make your photos shine. And, if you're feeling generous, share your own tips and tricks with me, and let's keep the conversation going. After all, sharing is caring, right?

![Remove Unwanted Objects from Photos for Free [PCs & Phones]](https://www.aiseesoft.com/images/resource/app-to-remove-object-from-photo/remove-object-from-photo.jpg)