How To Make Your Own Custom Stickers
There’s a quiet rebellion in peeling a sticker from its backing and pressing it onto a surface. It’s a declaration of ownership, a tiny flag planted on the terra firma of your laptop, your water bottle, or the back of a street sign. Stickers are the world’s most democratic art form—no gallery approval needed, no expensive materials required, just adhesive, ink, and a point of view. In an era of digital impermanence, where everything is a fleeting swipe, the physical act of sticking something down feels almost sacred, a tactile middle finger to the cloud.
But make no mistake: the modern sticker is not just a childhood relic of Lisa Frank binders or the scratch-and-sniff stickers your dentist gave you. It has evolved into a multi-billion-dollar industry, a tool for guerrilla marketing, political protest, and hyper-personalized self-expression. Today, you can get a custom die-cut of your dog’s face, a holographic ode to your favorite niche podcast, or a cheeky slogan that would make your grandmother blush. The technology has become so accessible that the barrier between ideation and adhesion is thinner than ever. This is your guide to navigating that sticky ecosystem, turning your fleeting thoughts into permanent, adhesive reality.
The Psychology of the Peel: Why We Stick Things
Before you even open a design program, you need to understand the dark, magnetic allure of the sticker itself. There’s a neurological reward in the "rip" – the sound of a vinyl decal peeling off its silicone-coated liner is scientifically engineered to be satisfying, a sensory trigger that mimics the satisfaction of popping bubble wrap. But deeper than that, stickers tap into our primal need for territorial marking. We are no longer painting bison on cave walls (though the impulse is identical); we are slapping a minimalist line-art ghost on a MacBook to say, "I was here, and I have a sense of humor."
Culturally, stickers have always walked the line between subversion and conformity. In the 1970s, the punk rock scene used stickers as a cheap way to spray-paint the world with rebellion, bypassing the mainstream music press entirely. Fast forward to the early 2000s, and the skateboarding industry turned them into status symbols—the more obscure the brand, the higher your street cred. Today, they function as visual resumes; the stickers you choose to display are a curated projection of your identity. The dark side? We are also living through a "sticker arms race," where brands utilize massive influencer drops to plaster the city with hype, effectively turning public space into a psychological battlefield for your attention.
What makes the custom sticker particularly potent is the element of rarity. Mass-produced stickers are wallpaper; a custom sticker is a whisper directly into the ear of the viewer. It possesses a bespoke quality that screams "I care enough to customize." Psychologically, this triggers the "IKEA effect" – we value objects we have a hand in creating, even if that creation is just uploading a JPEG. When you make your own, the sticker becomes a piece of your cognitive load, a physical manifestation of a decision you made, which is why it feels so much more valuable than anything you could buy at a souvenir shop.
The Alchemy of Adhesion: From Concept to Lamination
Let’s get down to the nitty-gritty. The first decision is material: vinyl, paper, or polyester. Vinyl is the workhorse – its flexibility and durability make it perfect for curved surfaces like hydro flasks or car bumpers. It’s waterproof, UV-resistant, and can survive the apocalypse (or at least a dishwasher cycle). Paper stickers, on the other hand, are romantic and fragile; they’re great for journaling or sealing envelopes where you actually want the artifact to degrade. Polyester sits in the middle, offering a matte finish that feels expensive and resists scratches, but it can be brittle if bent too aggressively. For most custom projects, you’ll want a white or clear vinyl base, but here’s the pro tip: clear vinyl changes the game. If your design has white in it, it won’t print white on clear vinyl—it will be see-through, revealing the surface underneath. You must either "flood" the white areas with an underbase or accept the transparency as a design feature.
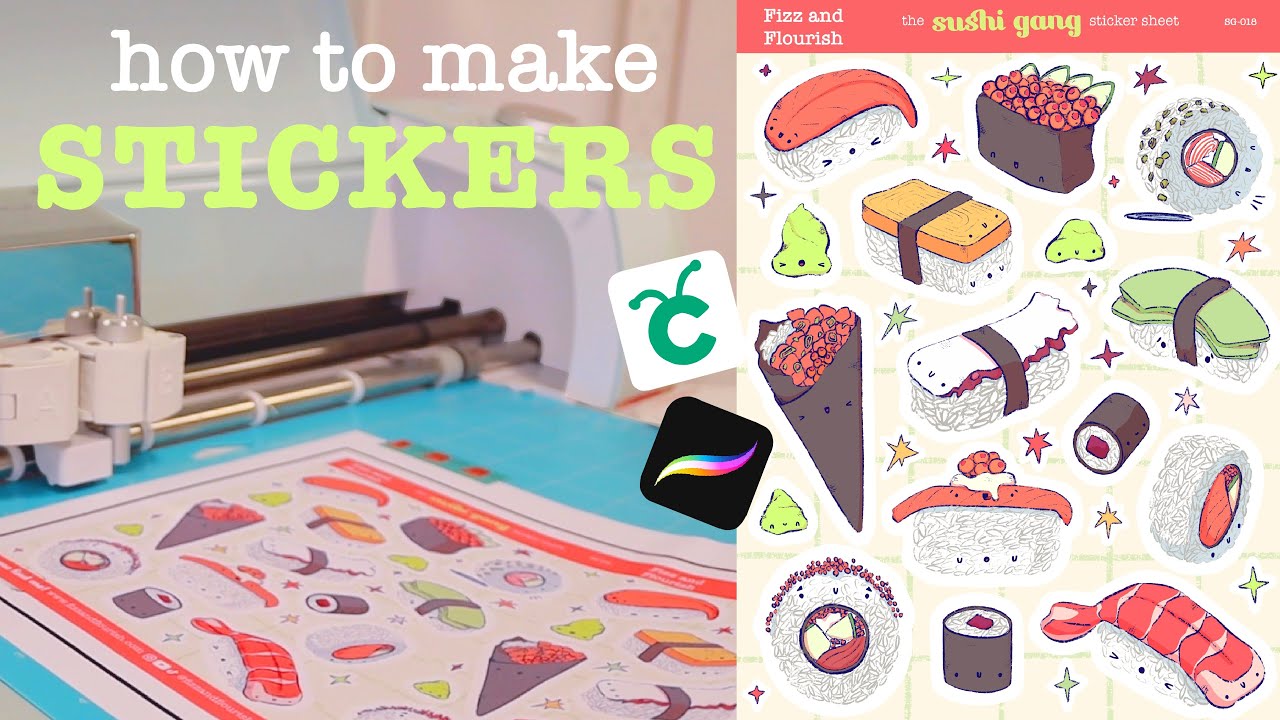
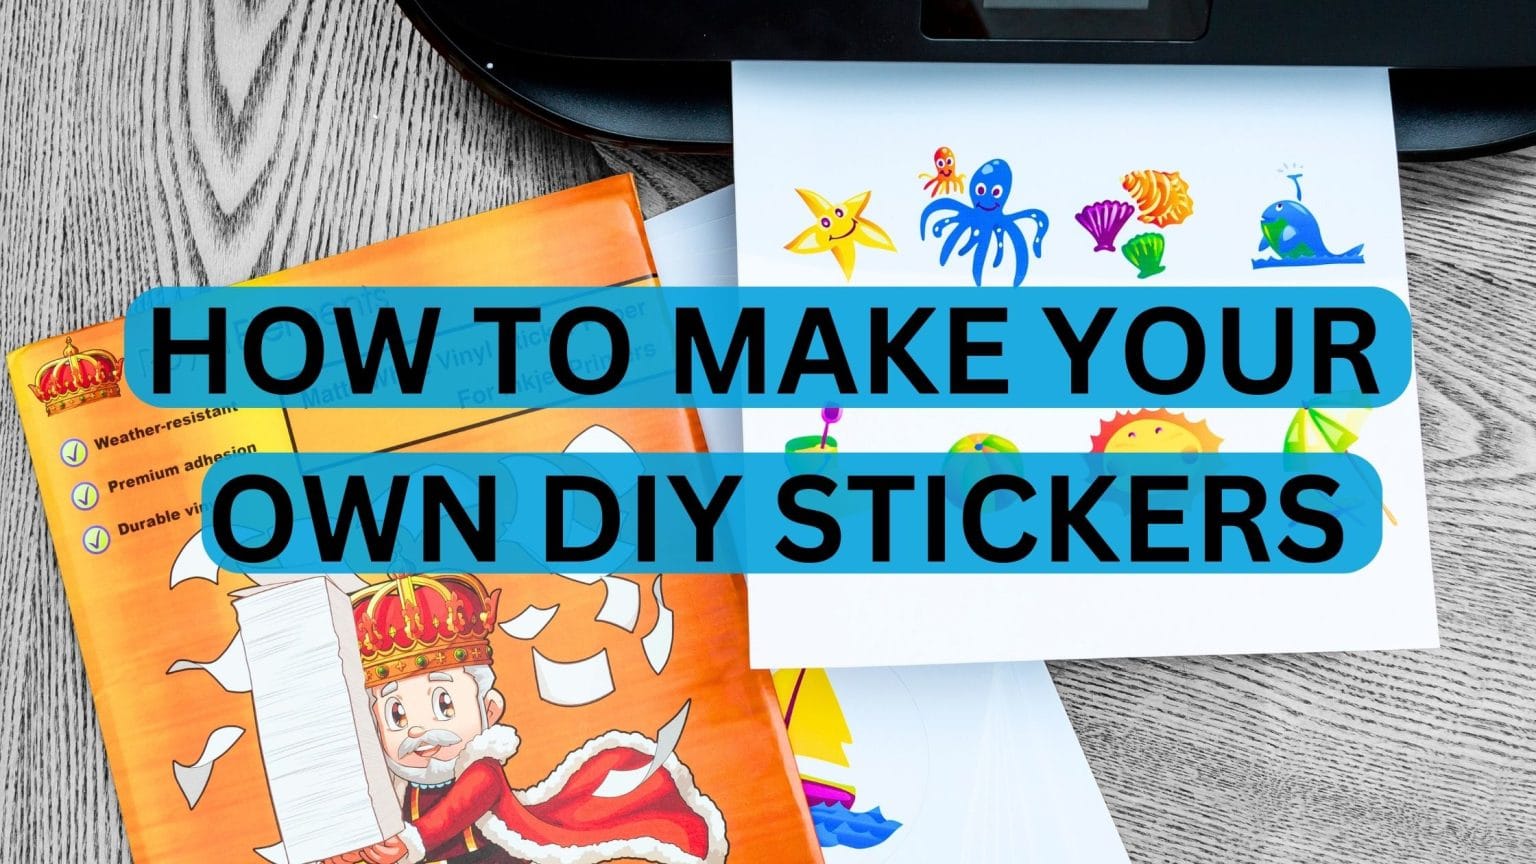
Next comes the printing method. For home production, you have two viable paths: the "hybrid" approach with a printer and a cutting machine (like a Cricut or Silhouette), or the "direct" approach using specialized printable sticker paper. The Cricut method is superior for intricate die-cut shapes. You print your design onto sticker paper, load it into the machine, and it uses a tiny blade to trace the exact outline, cutting through the paper but not the backing sheet. This requires a registration mark system (the black square in the corner) so the machine recognizes where to cut. It’s a delicate dance; if your printer slightly skews the image, the cut will slice through your design like a horror movie. The alternative is using a traditional printer and then cutting them out with scissors or a craft knife—this works, but it limits you to basic shapes unless you have the patience of a Buddhist monk.

Now, let’s talk about the bubbling elephant in the room: lamination. If you are making stickers for longevity, you must laminate them. This is a transparent adhesive film that goes over your printed design to protect it from scratches and water. The dark secret is that lamination highlights imperfections. Dust is attracted to wet adhesive like a magnet, and if you apply the laminate incorrectly, you’ll get wrinkles that look like the surface of an old lake. To avoid this, apply the laminate slowly, using a squeegee (or a credit card) to push air to the edges. Alternatively, you can buy pre-laminated sticker paper, which is easier but limits you to glossy or matte finishes. But if you want that ultra-luxurious, holographic, or metallic sheen, you must laminate it yourself. It’s a process of trial and error, but the smell of fresh adhesive and the pop of a perfectly applied seal is the closest thing to alchemy you need.
Finally, the cut. Die-cutting is the holy grail. For a custom shape, you can use a digital cutting machine, but for the uninitiated, a simple "kiss cut" (cutting the sticker shape but leaving the backing sheet intact) versus a "die-cut" (cutting completely through to the backing) is the difference between professional and homemade. If you’re outsourcing to a print shop, they use a steel rule die that costs hundreds of dollars. For low quantities, it’s cheaper to use digital cutting. But here’s a practical insight: simple shapes bleed better. A circle or a rounded rectangle is easier to cut by hand and looks cleaner, while a complex polygon with sharp angles is a nightmare to peel and apply. Design with the cutting method in mind, not just the visual appeal.
The Concept-to-Sticker Playbook: Three Scenarios for Success
Let’s run through three scenarios to see how this translates into the real world. Scenario one: you are a small coffee roastery wanting to rebrand. You need clear, circular labels for your takeaway cups. Printing onto transparent vinyl and cutting them with a circle punch is your best bet. The transparent background makes it look like the ink is printed directly onto the cup, which screams premium. You leave the label off the lid, but you print a tiny, inside joke on the bottom of the cup—a QR code that leads to a secret playlist. This creates a "hunters" dynamic, giving customers a reason to snap a photo and share it on social media. The sticker isn’t just a label; it’s a cultural artifact.
Scenario two: you are an artists looking to grow your fanbase. You make 500 die-cut stickers of your most viral mural. You carry them in your bag and give them away at art shows, but you attach a condition: "Stick it somewhere weird and tag me in a photo." The user-generated content is priceless, and the sticker becomes a piece of the street. You use a permanent vinyl adhesive for this. The dark twist? You deliberately put a slight flaw in the design—a tiny red dot—so that when someone posts a photo, you can spot your exact run from a mile away. This is called "forensic art," and it connects you to your audience in a way that a digital retweet never could.
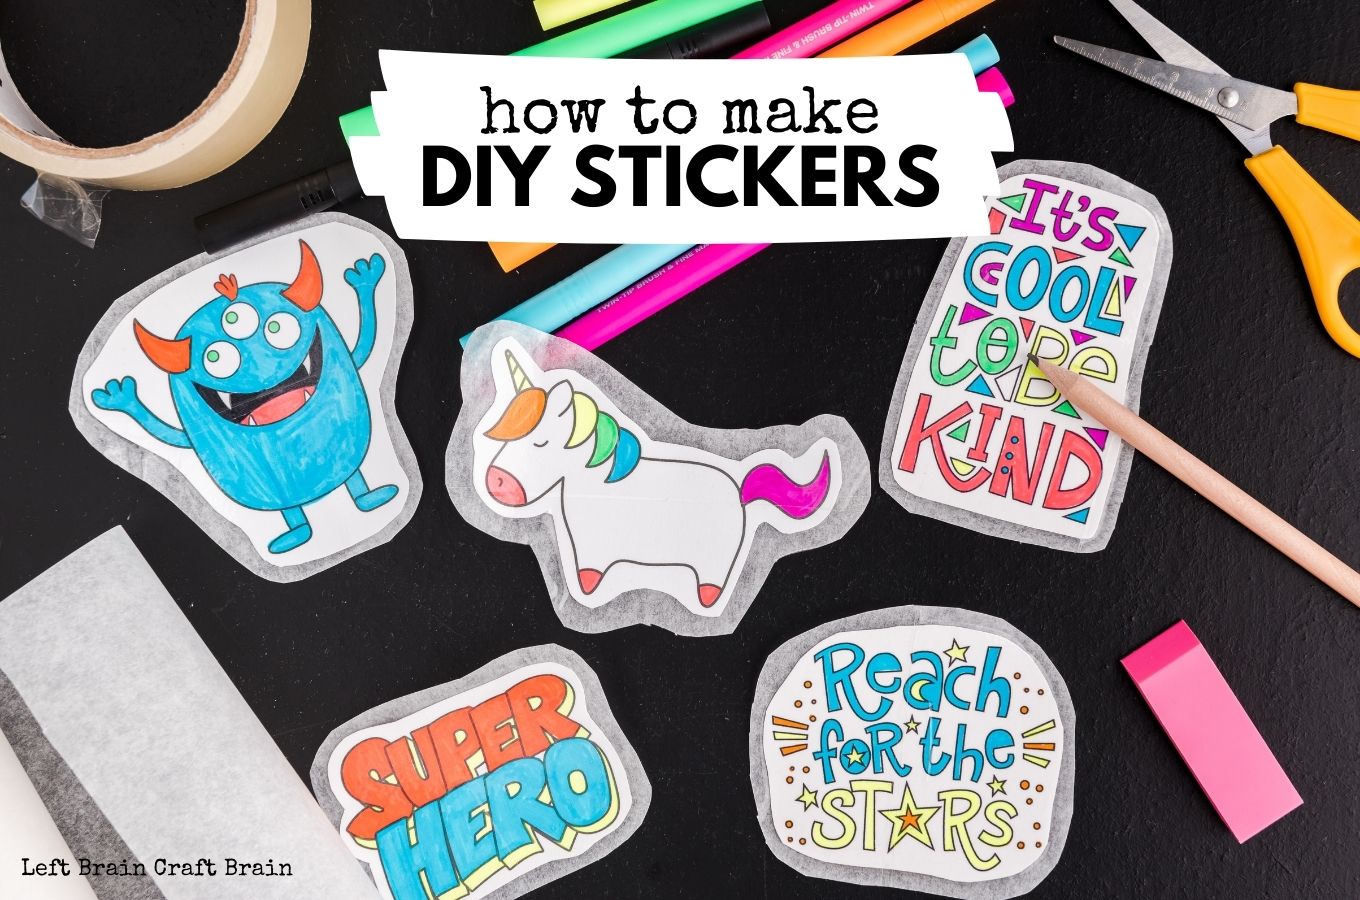
Scenario three: you are a productivity nerd building a bullet journal. You don’t need durability; you need variety. You print a sheet of masking tape stickers—those that use a low-tack adhesive that removes cleanly. You print icons, trackers, and headers using a mono-color print (black ink) to save cost. You use paper stock and hand-cut them into strips. The practical takeaway here is to think about the lifecycle of the sticker. How long do you want it to stay? If it’s permanent, spend the money on UV-resistant laminate. If it’s temporary, save your money and use paper. The worst mistake is using a cheap permanent adhesive on a surface you love—peeling it off later will leave a ghostly residue that requires a hazardous chemical (goo-gone) to remove. Plan for the sticker's "death" as much as its life.
Frequently Asked Questions for The Sticker Savant
What is the best file format to use for printing custom stickers?
Forget JPEGs. That’s for Instagram, not the foil-lined depths of a print machine. The best format is a vector file—specifically an SVG (Scalable Vector Graphics) or a high-resolution PDF with embedded vectors. Vector images are based on mathematical points, not pixels, so they can be scaled to the size of a bus without losing a single bit of sharpness. If your design has photographic elements, then you’ll need a high-resolution PNG with a transparent background, but understand that a 300 DPI (dots per inch) print requirement means a file that is at least 1500 x 1500 pixels for a 5-inch sticker. If you submit a low-res file, the printer will upscale it, resulting in "jaggies"—those blurry, pixelated edges that scream "homebrew." Always outline your fonts in your vector editor (converting text to shapes) to prevent rendering errors on a printer’s computer.
Another critical element is color profile. Your computer screen emits RGB (Red, Green, Blue) light. Printers use CMYK (Cyan, Magenta, Yellow, Black) ink. What you see on your monitor is often far brighter than what comes out of the printer. For accurate matching, design in the CMYK color space from the start, or accept that your hot pink will look slightly muted. For the best results, request a physical proof before the final print run—most professional shops offer this for a small fee, and it saves you from the heartbreak of a neon green that looks like baby poop. The most common mistake is not adding a bleed—an extra 1/8 inch of background color around the edges of your sticker—so that when the cutting machine trims it, there are no white slivers along the edge.
How do I remove a sticky residue from a sticker without damaging the surface?
This is the curse of the sticker enthusiast. The simple, elegant solution is heat. Using a hairdryer or a heat gun, aim the heat at the sticker for about 30 seconds until the adhesive softens. The sticker should peel off cleanly, leaving minimal residue. For the leftover glue, we move to chemistry. Isopropyl alcohol (90% or higher) is your first line of defense—it breaks down the adhesive molecularly without harming most plastics, glass, or painted metal. But for a tougher, sticky zombie, use cooking oil. Olive oil or vegetable oil dissolves the adhesive wonderfully; just apply a few drops, let it sit for five minutes, and wipe away with a microfiber cloth.
For the truly stubborn cases, you have to be careful. Goo Gone is a citrus-based solvent that is effective, but it can leave a greasy film and might interact with clear coats on some car paint or furniture. The dark truth is that UV-cured adhesives (common in modern stickers) are insanely strong, so sometimes a combination of heat and oil is required. The worst mistake? Using a razor blade. You will scratch the hell out of the surface. Patience is your best tool—apply the solvent repeatedly and let it soak. Never scrape aggressively; instead, roll the residue off with your fingertip. It’s a meditative process, but the clean result—as if the sticker never existed—is a small act of redemption.

Can I make waterproof stickers at home with a standard inkjet printer?
Technically, yes, but your mileage will vary drastically. Standard inkjet ink is water-soluble, meaning it runs at the sight of a single teardrop. To achieve waterproof results, you need two things: pigment-based ink and a weatherproof laminate. Most home inkjet printers use dye-based ink, which is cheap and vibrant. If you upgrade to a printer with pigment inks, the ink sits on the surface of the paper rather than soaking in, resisting moisture far better. However, even pigment ink can smear if scratched. This is where the lamination saves you. If you use a matte laminating pouch, the sticker remains readable but it is vulnerable to peeling at the edge.
For real waterproofing, you need to invert your process. Print your design onto a waterproof "sticker bomb" sheet and then submerge the sheet in a basin of water. This is a specialty paper that dissolves, leaving only the printed adhesive film—this is called "waterslide decal paper." But that requires a specific paper type. For standard home printing, the most practical approach is to use synthetic "weatherproof" sticker paper, which is a polyester-based sheet that is inherently resistant to tearing and water damage. Still, the ink sits on the top. The home hack is to use a clear spray sealant (like Krylon Crystal Clear) applied in thin, even coats. The downside is that this can yellow over time and has a chemical smell. For a true, durable product, transmit that design to a professional printer using UV-cured ink. Your home sticker will survive a drizzle, but not a trip through the washing machine.
What is the difference between a die-cut sticker and a kiss-cut sticker?
This is the fundamental grammar of sticker anatomy. A kiss-cut is when the knife or laser cuts through the sticker material but stops before slicing the backer paper. You get a sheet of stickers, each one its own individual shape, and you peel them from the sheet without having to cut anything. This is perfect for sheets of multiple designs, like rating stars or bullet journal icons. The downside is that the individual stickers have no exposed gap between them on the sheet, so you have to flex the paper to pop them out. They often have a white border if your design is a complex shape, depending on how the cut is registered.
A die-cut sticker is cut completely through both the sticker and the backing paper, leaving no backing sheet. These are typically individual pieces, often cut with a steel rule die or a platen press. They look more premium—the backing paper is literally removed, so you see the silhouette of the sticker itself surrounded by air. You can offer them with a "clear border" (a thin outline of transparent vinyl around your design) to make die-cutting easier. Which one should you choose? Kiss-cuts are better for production cost and ease of packing, but die-cuts are superior for your brand story because they feel heavier, more deliberate, and they adhere to surfaces better because there is no backing sheet pulling on the edges. For window stickers for your car, die-cut is the way to go.
Are holo/liquid-filled stickers worth the higher price?
Let’s address the elephant in the room: holographic stickers are the gateway drug to sticker addiction. The iridescent, rainbow-refracting effect is pure dopamine. The price is higher because the material is layered with a holographic film that is expensive to produce and requires precise lamination to keep the hologram crisp without dulling the print. Many cheaper holographic stickers have a "matte" hologram that is barely visible. The "worth" depends entirely on your goal. If you are making stickers for a kid’s birthday party or a one-off gag gift, skip it—the novelty wears off. But if you are creating stickers for a lifestyle brand, a gaming channel, or a music drop, the 3D effect creates a "spectral" quality that photographs well under direct light, which is perfect for social media feeds.
Liquid-filled stickers (those with a floating glitter or liquid inside a raised PVC bubble) are a different beast. They are thick, squishy, and undeniably fun, but they are also fragile—exposure to extreme heat can cause the liquid to expand and burst. They are the Gucci of stickers. Logic dictates they are a gimmick and not worth the high price per unit. But human nature doesn't operate on logic. The tactile pleasure of squishing a holographic liquid sticker while you hold your smart phone is a stress reliever, a piece of fidget jewelry. The "worth" is subjective. They will never be as durable as a flat vinyl sticker, but they are conversation starters. If you are looking to build a loyal following based on novelty and tactile engagement, the premium price is a worthy investment in a memory. If you are producing stickers for practical labeling, don't bother.
In the end, making custom stickers is less about adhesive and ink and more about memory and communication. We live in a world where our digital conversations evaporate into the ether, but a sticker lingers. It becomes a time capsule—you look at a sticker on an old guitar case and remember exactly where you were when you put it there, who was with you, and what you were listening to. The physical scratch of the vinyl or the faint smell of the laminate binds us to a moment. It’s a tiny, static monument to a fleeting feeling.
When you make your own, you are also engaging in a quiet act of self-trust. You are saying, "My idea deserves physical space." You are pushing a concept through the gauntlet of design software, printer errors, and lamination bubbles, and eventually, you are left with a tangible object that represents your resilience. It’s a lesson in patience—that a digital image is nothing until it travels through the physical world, sullying its hands with the effort of production. The stickers that fail, the ones with the misprints and the stuttering cuts, they are just practice. They judge us, but they also teach us.
So, go make a mess. Design something ridiculous. Print it badly. Laminate it crooked. And then peel that flawed, beautiful artifact off the backing and place it onto your world. Because that stubborn, sticky declaration is a reminder that you can still make something with your hands, you can still claim a space, and you can still leave a mark that refuses to be swiped away. That is a power worth having.