How To Make A Dresser From Scratch

There’s a particular kind of magic in walking past a piece of furniture and knowing you built it. It’s not just about storage; it’s about the ghost of your effort living in the dovetails. Today, we’re going to channel that energy into a classic dresser—a project that sounds like a weekend, feels like a marathon, but rewards you with a lifetime of quiet pride.
Forget the flat-pack anxiety of Allen keys and missing cam locks. Building from scratch is a conversation between you and the wood, a tactile meditation that your therapist would probably approve of. We’re aiming for a sturdy, mid-century modern vibe—think Mad Men meets your favorite Scandinavian coffee shop. Let’s get sawdust in our hair.
The Blueprint & The Beast
First, you need a plan, unless you’re an avant-garde artist who enjoys wobbly drawers. Grab some graph paper and sketch out the dimensions; a standard 30” x 18” x 30” dresser is a sweet spot for a bedroom. Precision here saves you from cursing later, so measure twice, cut once—cliché, but it’s a law of the universe.
Must Read
Next, head to your local lumber yard, not the big-box store. You want solid hardwood—birch or maple is forgiving for beginners, while walnut is the showoff’s choice. Ask for S4S lumber (surfaced on all four sides) to skip the jointing nightmare; your back will thank you. A pro tip: let the wood acclimate in your shop for 48 hours. Wood moves, and you’re not in a race.
Cutting & Assembly: The Skeleton
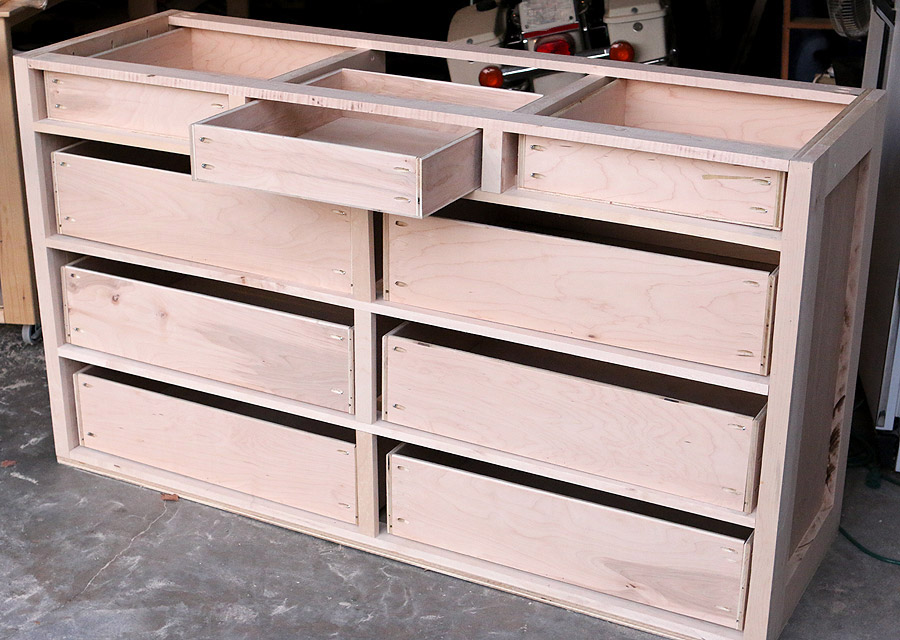
With your boards milled to size, you’re building the carcass: two sides, a top, a bottom, and a back panel. Use pocket holes or dado joints for the frame—the latter is stronger but requires a router. I advocate for dado joints because they’re the difference between a dresser and a giant cardboard box when the glue dries.
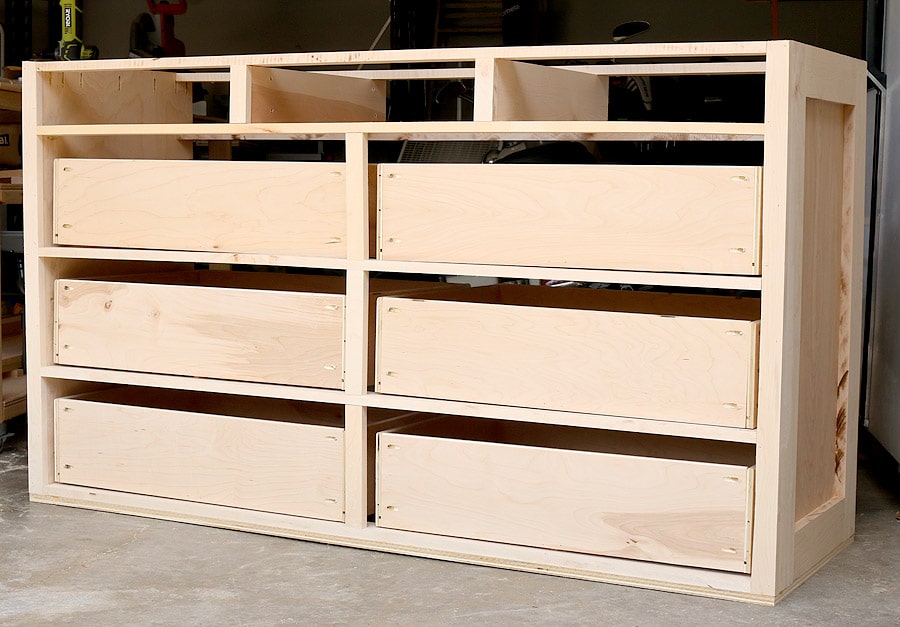
Dry-fit everything first. It’s like a dress rehearsal on Broadway; if a piece doesn’t fit, now’s the time to fix it, not after the glue is tacky. Apply wood glue to the joints, clamp it all together, and use a speed square to check that everything is, well, square. Wait twenty-four hours. Patience isn’t just a virtue; it’s a woodworking tool.
The Drawer Dance: Slides & Fronts
Now, the heart of the matter—drawers. Build the boxes with 1/2” plywood for the sides and a 1/4” bottom, using a simple rabbet joint. The secret sauce is the drawer slides: soft-close under-mount slides are the modern luxury you can’t live without. They’re pricier, but slamming a drawer in your own handcrafted furniture is a sin.
For the fronts, cut your solid wood panels and attach them after the boxes are installed. This gives you the “shaker” look without needing to align everything perfectly on the first try. A quick cultural fact: the term “dresser” originally referred to a sideboard for preparing food, not clothing. So technically, you’re building a culinary zombie—but it looks great in a bedroom.

The Finish Line: Sanding & Sealing
Sand like your life depends on it: start at 120 grit, move to 180, then finish with 220. Feel the surface with your bare hand; if it feels like silk, you’re on the right track. Never skip grits—jumping from 120 to 220 leaves scratches that stain brings out like a gossip columnist.
For finish, use a wipe-on polyurethane or a Danish oil. Danish oil is easier for a beginner and gives a natural, matte sheen that ages beautifully. Apply three thin coats, letting each dry, then buff with a soft cloth. Fun fact: the ancient Egyptians used a similar oil treatment on their cedar chests—you’re in good company with the pharaohs, minus the gold leaf.

The Final Reflection
Once the hardware is on (brass knobs, please—they’re coming back), step back and look at your work. It won’t be perfect; there will be a slight wobble, a tiny gap, a swirl in the grain that’s all yours. That imperfection is the point. In an age of 3D printing and instant gratification, you just spent hours wrestling with nature and winning.
We’re bombarded with speed—fast fashion, instant noodles, and two-day shipping. Making a dresser is the antithesis of that; it’s a slow, deliberate rebellion against the algorithm. Every time you pull open that drawer for your socks, you’re not just retrieving cotton—you’re touching a moment of your own patience. That’s the real luxury, and it never goes out of style.
So go on, build the thing. Your future self, flipping a pancake on a Sunday morning and reaching for a favorite tee, will feel a quiet joy that no IKEA catalog can replicate. And honestly? That’s worth every splinter.