How To Install Hp 62 Ink Cartridge

Let’s be honest—changing an ink cartridge ranks right up there with folding fitted sheets on the “meh” scale. But here’s the twist: installing an HP 62 ink cartridge is actually a two-minute win that saves you money and screaming matches with your printer. Plus, there’s a tiny, satisfying “click” when it locks in—pure therapeutic joy.
The HP 62 is a compact, tri-color or black cartridge used in many popular Envy and OfficeJet models. Its main superpower? It delivers crisp text and vibrant photos without requiring a tech degree. No messy syringes, no glue, no soldering—just a clean swap that keeps your documents looking sharp.
What You’ll Need Before You Start
Grab your new HP 62 cartridge, a soft lint-free cloth (or paper towel), and about two feet of open desk space. Do not—I repeat, do not—unwrap the cartridge until you’re right at the printer. That plastic tape is your best friend; it keeps the ink from drying out.
Must Read
Also, turn on your printer first. A powered-on printer moves the carriage to a safe, accessible position, saving you from poking around in the dark. If your printer is off, you’ll fight the carriage like a wrestler—and you’ll lose.
Step 1: Open the Cartridge Access Door
Look for the front or top access door—it usually has a small icon of a drop of ink. Gently pull it open, and wait a few seconds for the carriage to slide to the center. This is your moment; don’t rush.

If the carriage does not move, check that the printer isn’t in “sleep” mode. Press any button to wake it, then close and reopen the door. Patience here prevents a broken latch or a finger pinch.
Step 2: Remove the Old Cartridge (Do It Like a Pro)
Reach into the carriage and find the old cartridge—it will have a small tab or a finger grip. Press down on the tab, then pull the cartridge straight up and out. Do not wiggle it side to side; that can bend metal contact pins, turning a simple swap into a $80 repair.
Set the old cartridge aside on a paper towel. If it’s leaky, don’t panic—just avoid touching the copper contacts (those gold dots) and the nozzle. Your skin’s oils are ink’s worst enemy.

Pro tip: Write the date on the old cartridge before recycling it. You’ll soon know exactly how long your new one lasts.
Step 3: Unwrap and Prep the New HP 62
Now the fun part. Tear the foil pouch, but keep the orange protective cap and the plastic tape on until you’re seconds from installation. Pull the tape off slowly, straight back, not upward—this prevents tearing the nozzle seal.
Do not touch the copper contacts or the ink nozzle (the little metal strip on the bottom). Hold the cartridge by its sides, like you’re handling a tiny, precious sandwich.
Step 4: Slide It In Like a Key
Look at the carriage slot—you’ll see a matching groove for the cartridge. Align the cartridge’s angled edges with those grooves, then angle it downward slightly. Push it in until it clicks into place. That click means the contacts are seated properly.
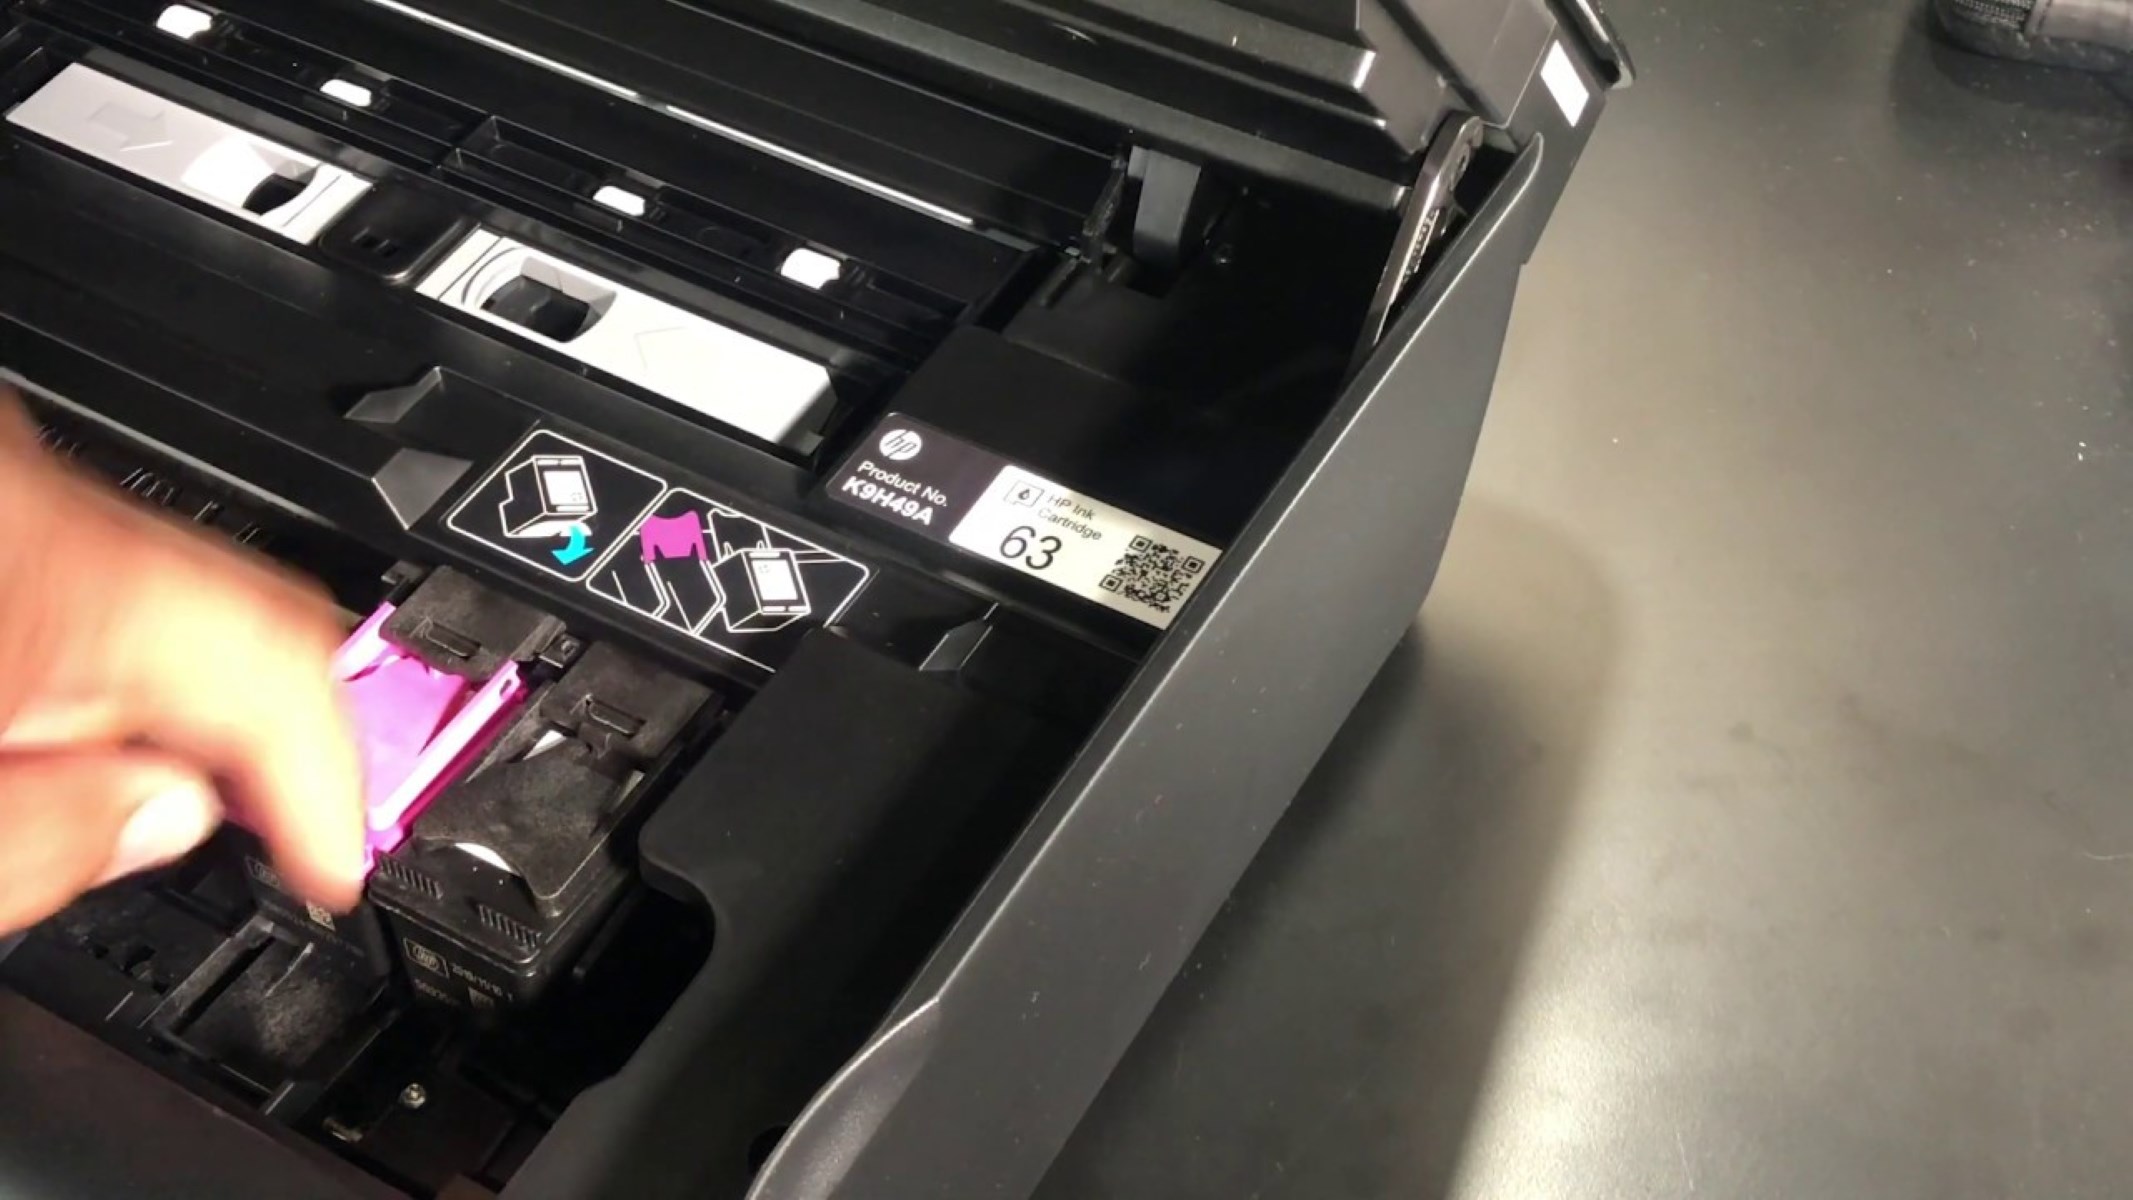
For a double-check, gently tug the top of the cartridge. If it resists, you’re golden. If it pops out easily, realign and push harder until you hear the lock engage. The printer won’t recognize it without that secure fit.
Step 5: Close the Door and Run a Test
Shut the access door with a firm push—it should snap shut. Your printer will whir, chug, and then display a “Ready” or “Cartridge installed” message. Give it about 30 seconds to initialize the new ink.
Now, print a test page. Go to your printer’s settings (or press the “Resume” and “Cancel” buttons together on many models) and choose “Print Alignment Page.” If the page comes out with no streaks or gaps, you’re done. If you see blank lines, run the “Clean Printhead” utility once—not ten times, just once.

Benefits That Make It Worth Your Time
Beyond the obvious—fresh ink—you’ll notice better print speed and more accurate colors than with a refilled third-party cartridge. The HP 62 is engineered for your specific printer, so no smudges, no cartridge-not-recognized errors, no hacks.
And here’s a bonus: a properly installed cartridge uses less ink during alignment cycles, which means more pages per cartridge over time. You’re basically saving money by doing it right the first time. Who knew a tiny plastic brick could feel so empowering?
So next time your printer flashes that red warning, don’t sweat it. You’ve got the moves now. Just grab, click, and print—you’re officially the hero of your home office.