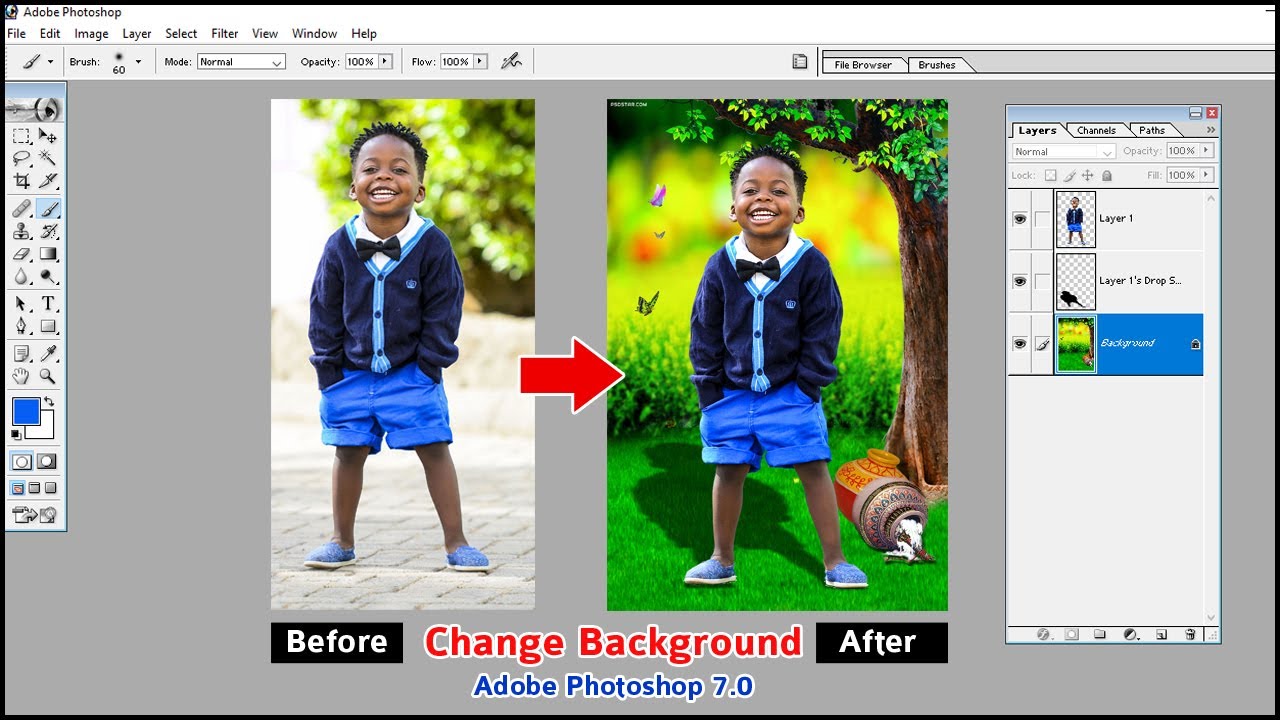
How To Add A Picture To A Background
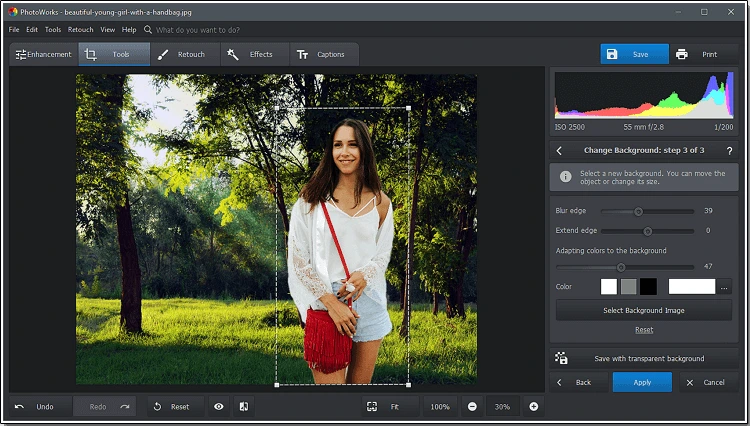
Let’s be honest—everyone has stared at a bland, empty desktop or a sad, solitary phone wallpaper and thought, “Meh.” But what if you could drop your favorite pet, a hilarious meme, or a stunning vacation shot right into that boring backdrop? That, my friend, is the magic of layering an image onto a background, and it’s far easier than you think.
Whether you’re sprucing up a presentation for work or just making a custom card for a friend, this skill instantly transforms the ordinary into the delightfully personal. You don’t need a degree in graphic design—just a bit of curiosity and a willingness to play. Let’s dive into the digital sandbox!
Grab Your Tools (No, Not the Hammer)
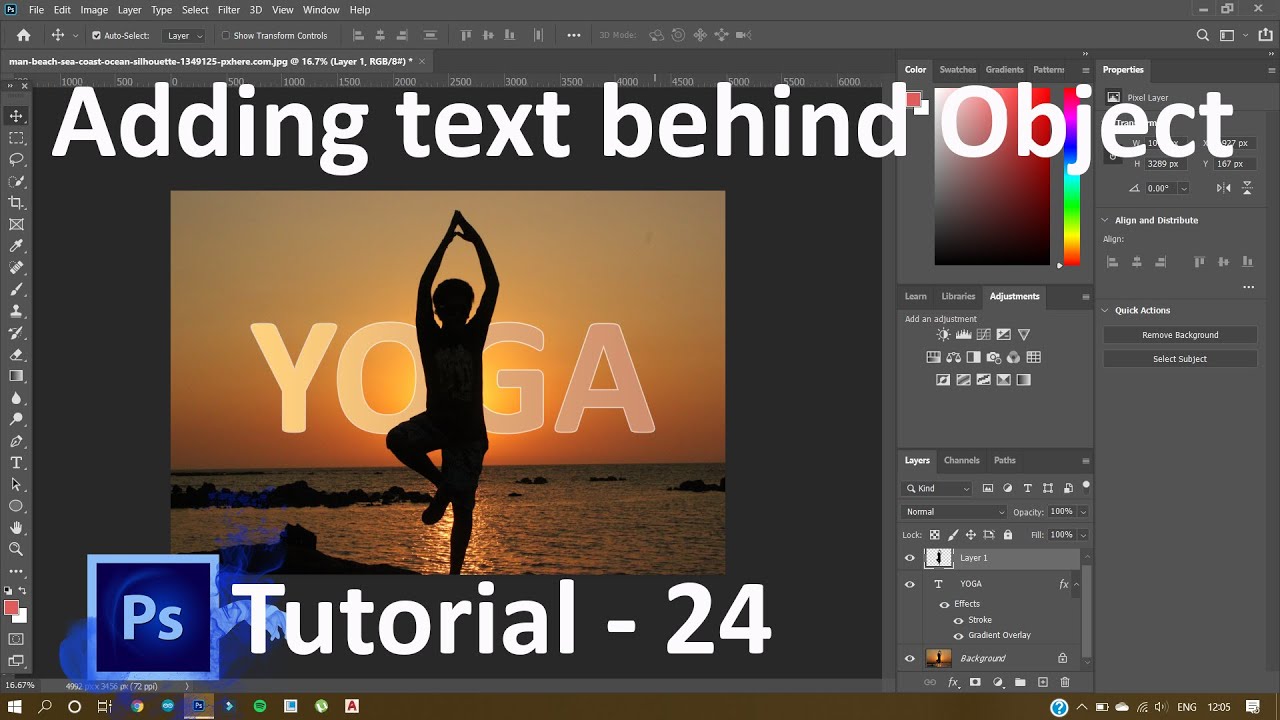
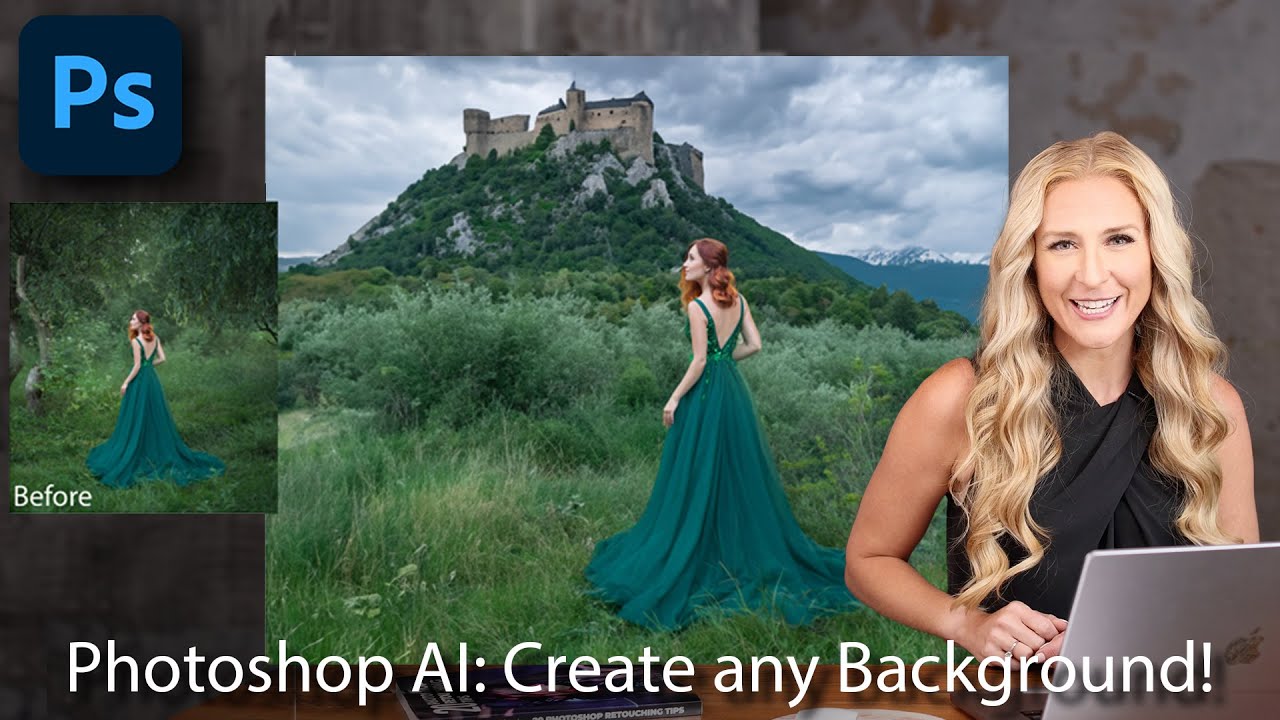
First things first: what are you working with? You have three main paths: a free online editor like Canva, a built-in tool like Microsoft PowerPoint, or a pro app like Photoshop. For beginners, Canva is your best friend because it feels like playing with digital stickers.
Must Read
If you’re on a phone, apps like PicsArt or even your native photo editor do the trick beautifully. The secret is to choose a tool that doesn’t make you want to pull your hair out—start simple, and upgrade later if you get hooked.
Step 1: The Background is Your Canvas
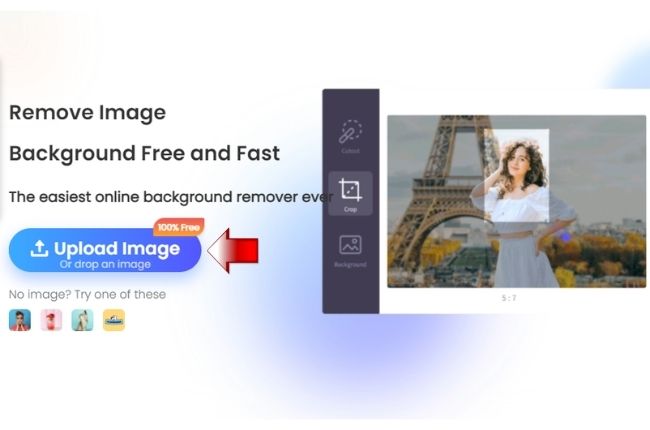
Open your chosen tool and start with a blank canvas or a pre-made background—a solid color, a gradient, or a nice pattern works best. Then, upload the photo you want to add—this is your star, the pièce de résistance.

Here’s the golden rule: backgrounds should be quiet, and your picture should be loud. Keep the backdrop simple so your image doesn’t get lost in a cluttered mess.
Step 2: The Drag-and-Drop Tango
Now for the fun part—simply click, drag, and drop your picture right onto the background. Don’t panic if it looks like a giant sticker plopped in the middle; that’s totally normal. Use the corner handles to resize it, and drag it around until it feels balanced, like a good sandwich.
Pro tip: hold the Shift key (on computer) while dragging a corner to keep the photo’s proportions perfect. Otherwise, you might end up with a squished cat, and nobody wants that.
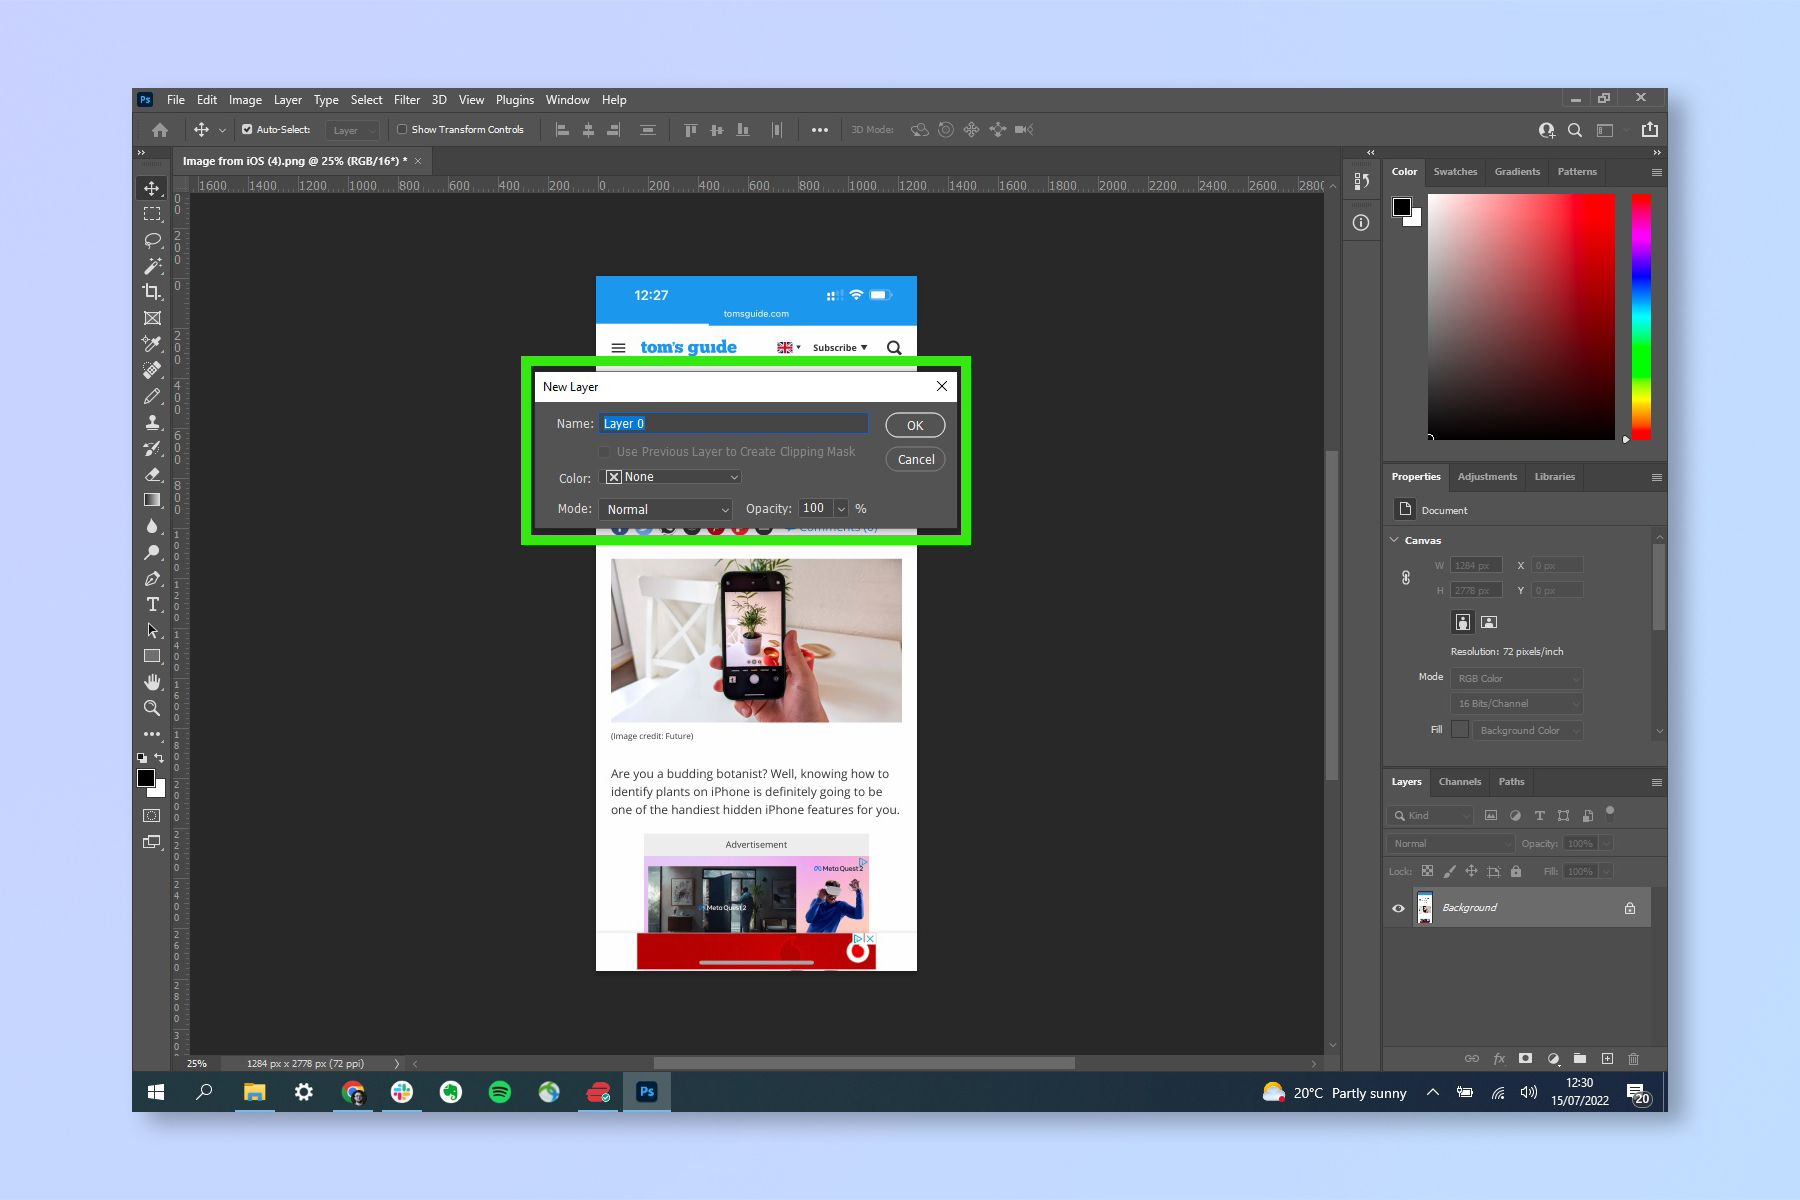
Step 3: Blend, Fade, and Make It Yours
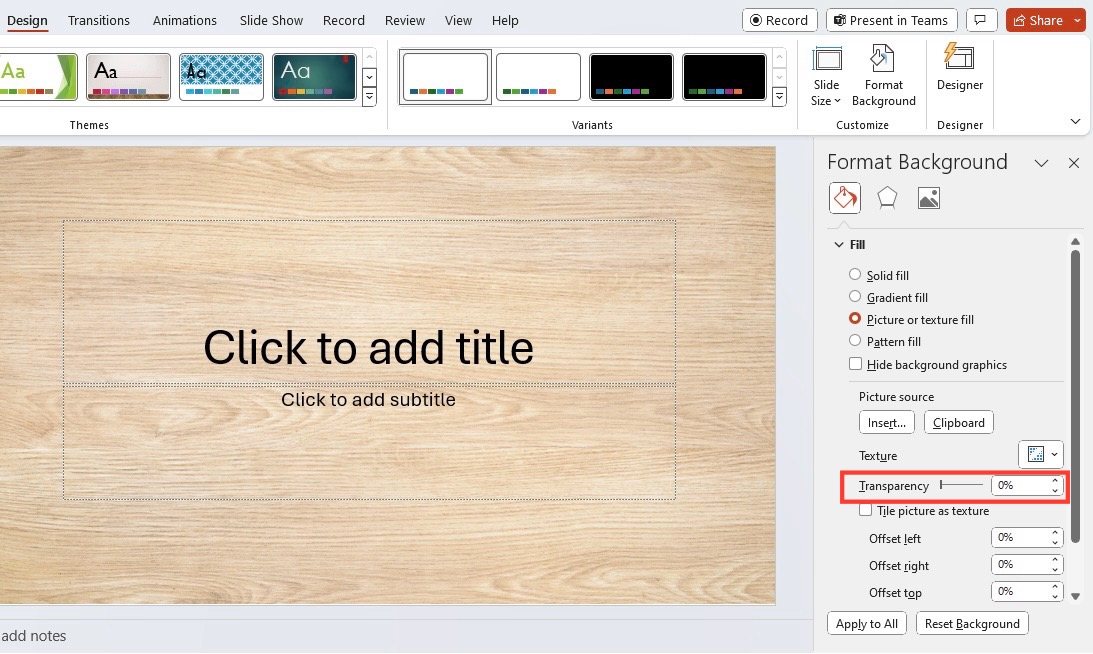
Here’s where the real magic happens. Look for a “transparency” or “opacity” slider in your tool—set it to about 70% to make your photo feel seamlessly integrated, like a ghost that belongs there. Or, try adding a subtle border or a soft shadow to give your image a little “pop” off the background.
Don’t be afraid to experiment with “blend modes” if you see them—sometimes “multiply” or “overlay” creates a gorgeous, artistic effect with zero effort. It’s like playing with a kaleidoscope, but for your digital life.
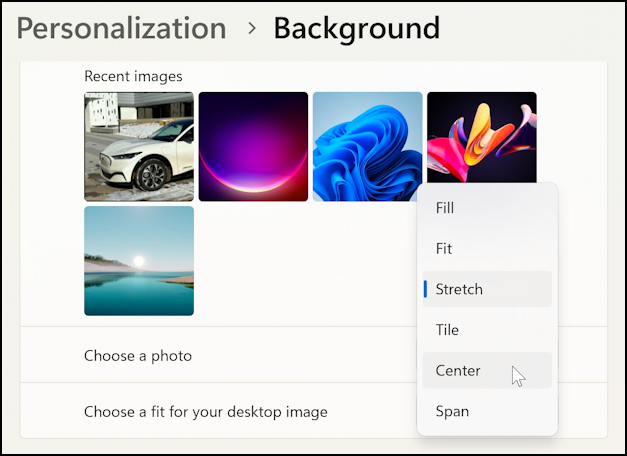
Why This Rocks Your World
Think about it: a custom invite for a birthday party with a photo of the birthday person’s dog? Instant hit. A work slide with your team’s mascot subtly placed in the corner? You just became the office hero. This skill isn’t just technical—it’s a tool for connection and joy.
You’re not just adding a picture; you’re telling a tiny story, adding a wink to a boring document. The next time you see a dreary gradient background, you’ll think, “I could fix that in two minutes.” And you know what? You absolutely can.
So go on, open that editor, and give it a whirl. Make a silly mistake, resize a photo until it’s comically tiny, then fix it and feel like a magician. Every pro was once a beginner who just clicked around and laughed at the results—now it’s your turn to play. Your next project is about to get a whole lot more you.