How To Add A Phone To Verizon Plan
So, you’ve got a shiny new phone—or maybe you’re finally upgrading that old brick that barely holds a charge. Adding it to your Verizon plan is one of those small tasks that feels intimidating until you actually do it. The good news? It’s a lot simpler than untangling a pair of earbuds, and once it’s done, you’ll wonder why you put it off for so long.
Think of your Verizon plan as the home for your phone’s “digital heartbeat.” Adding a device means giving it its own spot on your family’s shared data, talk, and text allowance. The real benefit is instant connectivity—you’ll have service the moment you walk out of the store or finish the online setup, no waiting for a signal to “activate” later.
Where this gets genuinely fun is in the everyday moments. Imagine your kid’s school needing to reach you during a field trip—having their new phone on your plan means you’re always in the loop, not chasing them down via a school office. Or, for yourself, think about using a separate phone for work calls and a personal one for memes—both can live happily under one billing roof.
Must Read
For education, this is a game-changer. A student can have a device for research and video lectures, while you keep your own for budgeting apps or family calendars. The plan’s shared data means you can allocate gigabytes to whoever needs them most, so no one’s staring at a “data exhausted” screen during a study session.
Now, let’s get practical. The easiest route is to log into your Verizon account online and click “Add a device.” You’ll be asked for that phone’s IMEI number—it’s in the settings under “About Phone,” and it’s basically the phone’s fingerprint. Do not skip this step, because without it, Verizon can’t recognize the hardware on their network.
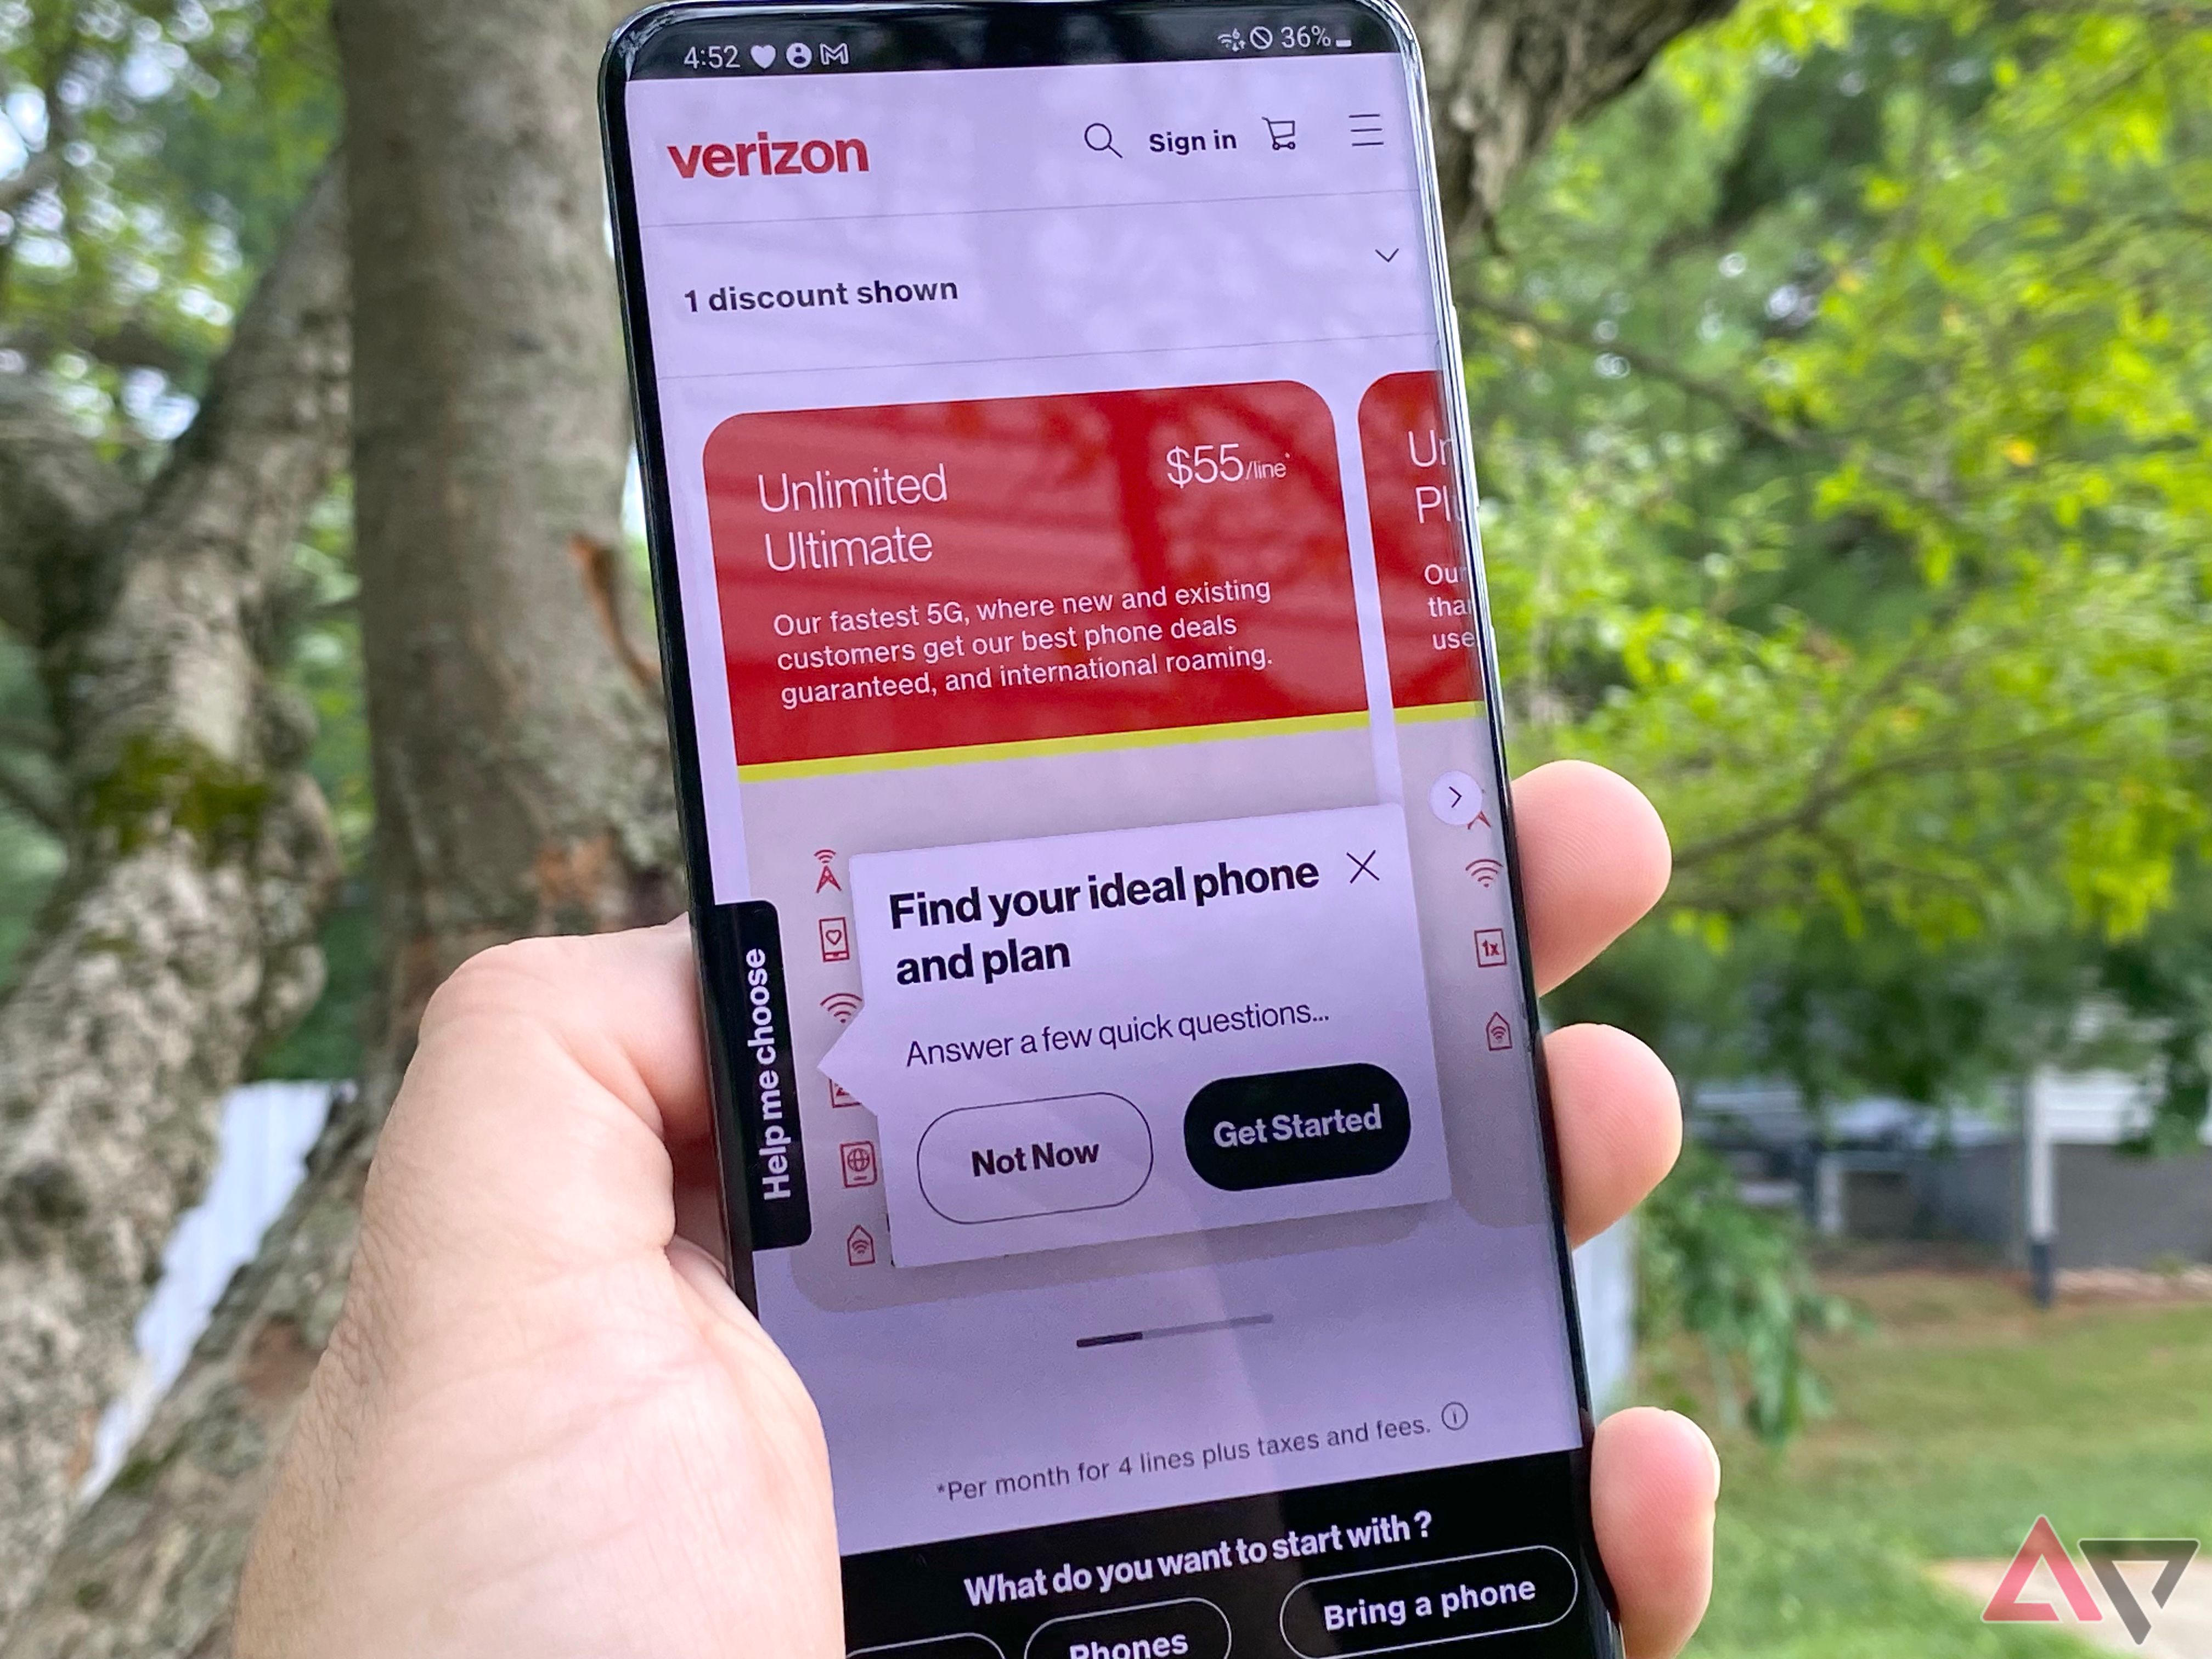
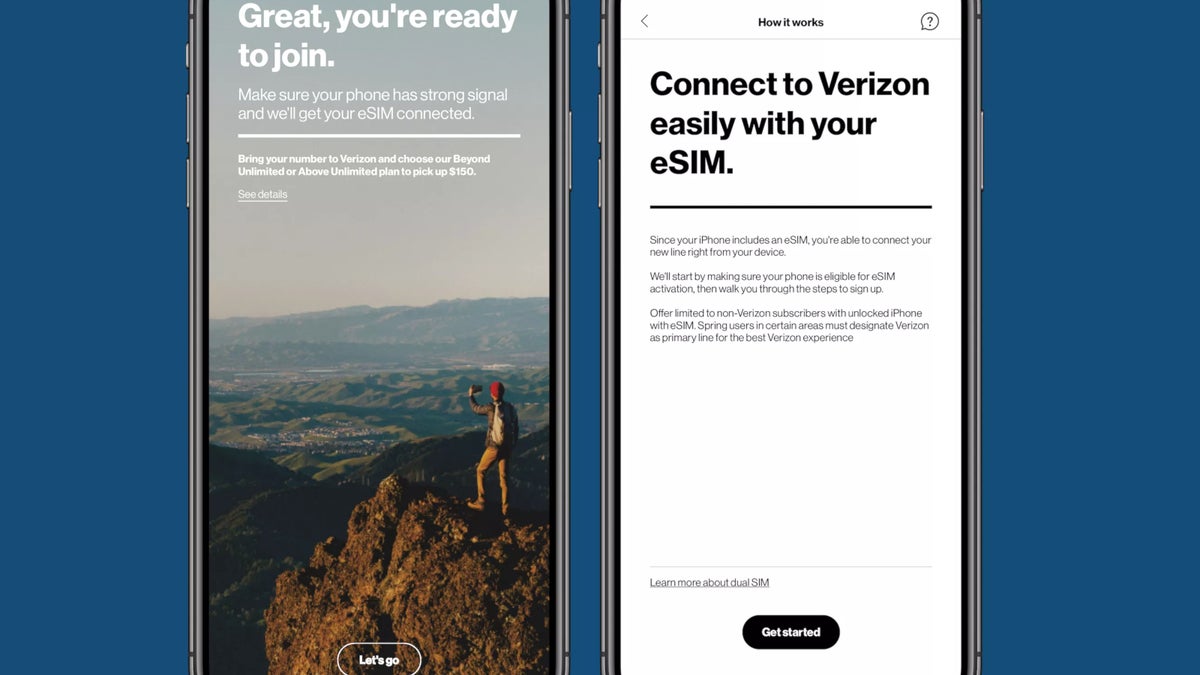
If you bought the phone directly from Verizon, they often pre-activate it—just power it on and follow the on-screen prompts. But if you brought your own unlocked phone, you’ll need to enter the IMEI manually and choose a plan tier. Keep it simple: stick with the same shared plan you already have, unless you’re a heavy streamer, then maybe bump up a gig or two.
Here’s a sneaky tip: check for trade-in deals before you add the new line. Verizon often gives you a monthly credit for your old phone, which can drop your bill by $10 or $20—that’s real money for coffee or a new case. Also, if you’re adding a line for a family member, you can set up parental controls right from the account page, so you’re not worrying about surprise app purchases.

Another nifty option is using the My Verizon app on your current phone to do the whole thing while sitting on your couch. It’s faster than calling customer service, and you can watch the status change from “pending” to “active” in real time. Just make sure you have a solid Wi-Fi connection first, because the app will need to download a few updates.
Finally, don’t stress about making mistakes. If you get stuck, Verizon’s support chat is surprisingly helpful, and they can walk you through it in five minutes. The whole process—from unboxing the new phone to having it ring in your hand—usually takes under fifteen minutes. That’s less time than it takes to cook a frozen pizza, and honestly, it’s a lot more rewarding.
So go ahead, grab that new device, and give it a home on your plan. You’ll feel a tiny rush of “I did it” when the welcome text pops up—and that’s the start of a beautiful, connected friendship.