Undermount Bathroom Sink Adhesive
Okay, let’s be real for a second. You’ve just dropped some serious cash on a gorgeous, seamless, undermount sink. It looks like it was carved from a single block of marble. Then, gravity decides to play a cruel joke.
That heavy slab of porcelain is now hanging by a prayer—and a few wimpy clips—under your countertop. Terrifying, right? Don’t panic. The real hero here isn’t the sink itself; it’s the sticky, gooey magic that nobody talks about: undermount sink adhesive.
Think of it as the invisible superhero of your bathroom. It’s the dude in the background doing all the heavy lifting while the sink gets all the glory. Without it, you’re basically playing a game of Russian roulette with your toes every time you brush your teeth.
Must Read
Why Bother with the Goo?
Let’s talk about why you can’t just slap some household glue down and call it a day. First off, your sink is heavy. Like, “I need to hit the gym” heavy. That sucker needs a bond that can withstand constant vibration, water splashes, and the occasional dropped hairbrush.
Adhesive isn’t just about holding the rim up. It creates a waterproof seal that stops rogue splashes from seeping into your cabinet and turning your wood into a science experiment. Nobody wants to discover a mushroom farm growing under their vanity. Trust me on this one.
Plus, the right adhesive acts like a tiny shock absorber. It bridges the gap between the rough-cut granite and the smooth porcelain. It’s essentially the peacekeeper in a very tense, mineral-based relationship.
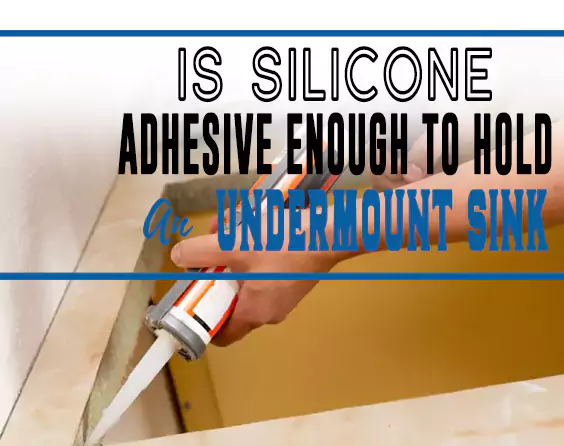
Picking Your Potion
So, what are you actually looking for at the hardware store? You’ll see tubes of stuff labeled “construction adhesive,” “silicone,” or “epoxy.” Don’t get overwhelmed—it’s like choosing a coffee order. You just need the right one for your vibe.
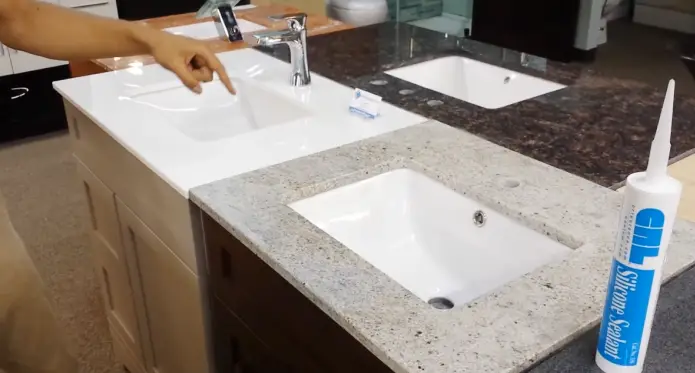
For most DIY weekend warriors, a 100% silicone sealant is your best friend. It’s flexible, which is crucial because your countertop and sink expand and contract at different rates with temperature changes. If you use something rock-hard, it will crack faster than your phone screen on a tile floor.
If you want the serious, over-the-top bond, grab a two-part epoxy. This is the nuclear option. It’s messy, it stinks, and it dries faster than a teenager’s text reply. But once that stuff cures, you could probably do a pull-up on the sink. Actually, don’t test that.
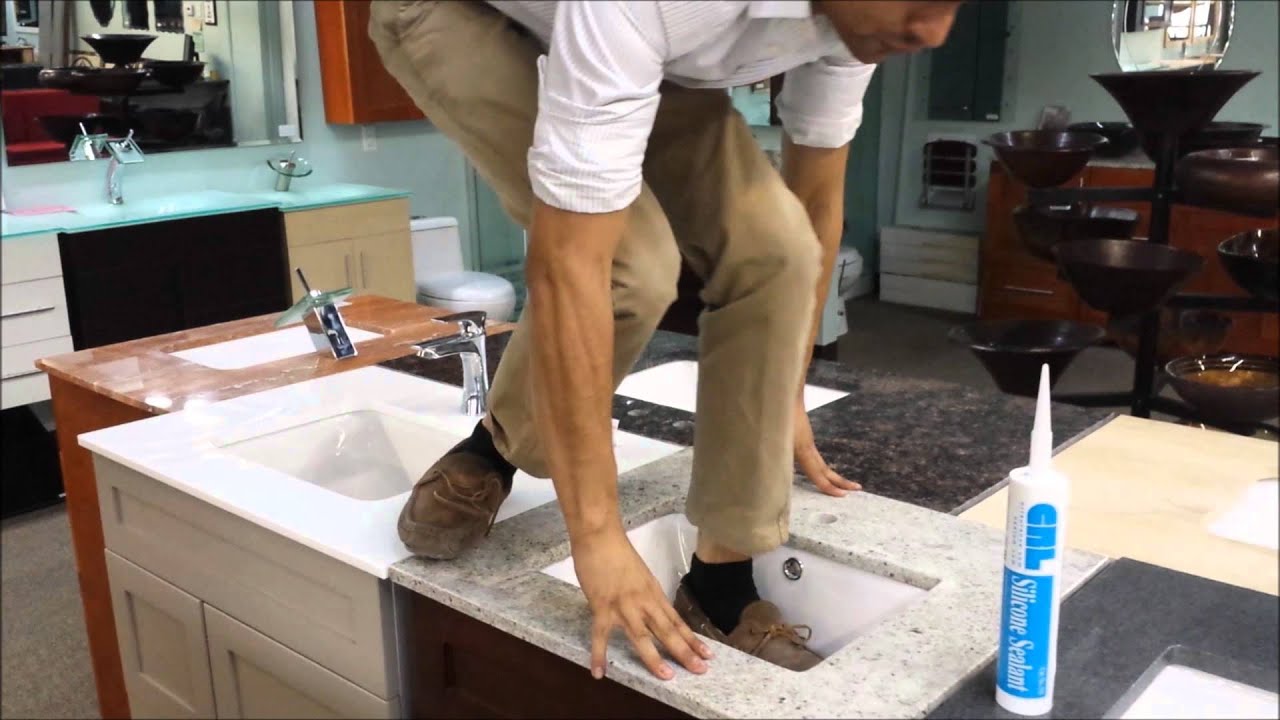
The Art of the Squeeze
Before you go all Jackson Pollock with the caulking gun, you need to prep. Seriously, clean the surfaces. I know, boring. But if there’s any dust, grease, or old residue, the adhesive will just peel off like a bad sunburn. Wipe everything down with rubbing alcohol and let it dry.
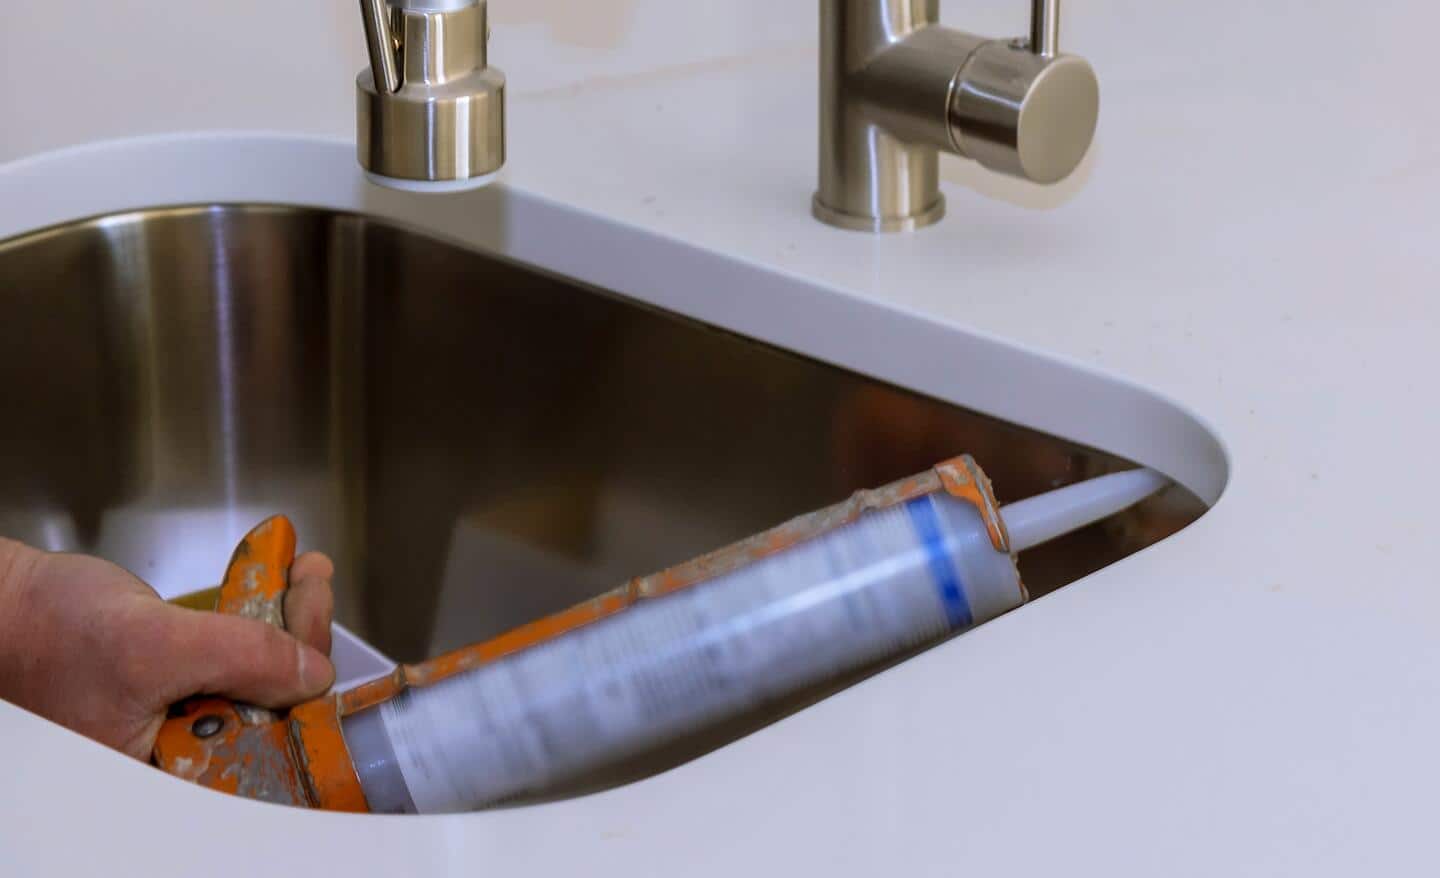
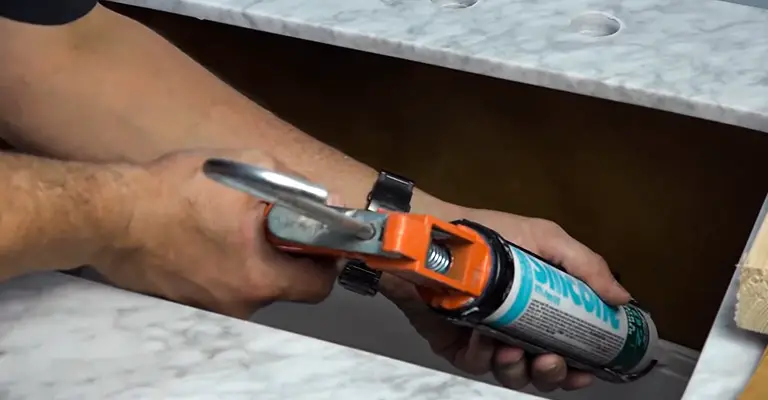
Now, apply the adhesive in a continuous, snake-like bead around the entire rim of the sink. Don’t be shy. You want enough to ooze out when you press it up, but not so much that it looks like a Creamsicle exploded. It’s a delicate balance—a Goldilocks situation.
Flip the sink over and carefully set it into place. This is where you pray to the plumbing gods that you lined it up correctly, because you have roughly ten seconds to adjust before the glue starts to grab. It’s less forgiving than a cat on a hot tin roof.
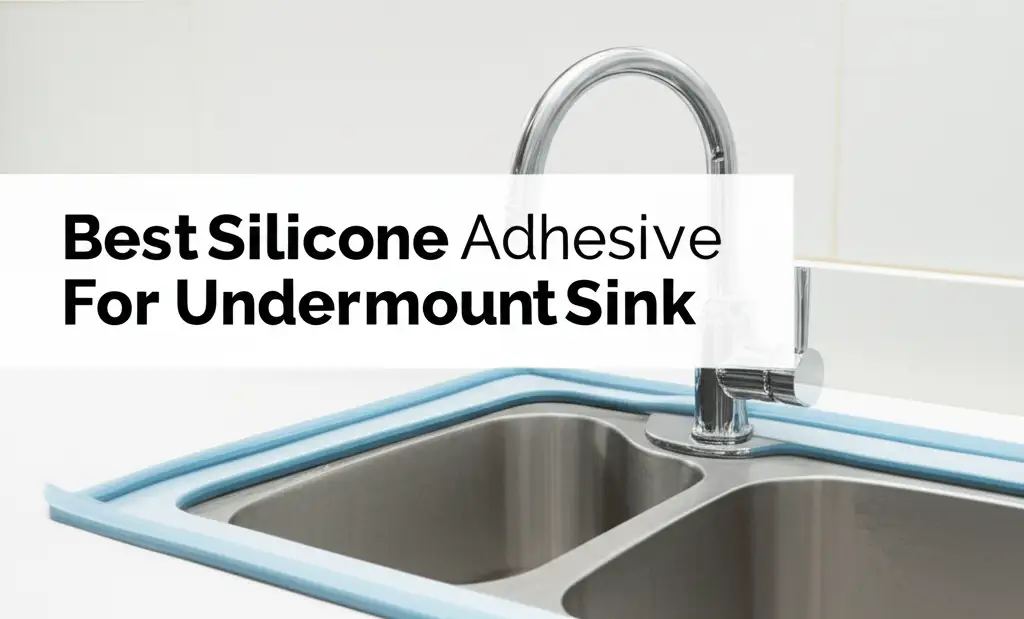
The Weights & The Wait
Once it’s in place, you can’t just walk away. Gravity is on your side, but it’s lazy. You need to apply downward pressure for at least 24 hours. Grab some heavy paint cans, a few old books, or that stack of phone books you’ve been saving (why do you still have those?).
Propping the sink up with a 2x4 and a floor jack is a bit extreme, but I’ve seen it done. If you skip this step, the adhesive will cure with tiny gaps, and you’ll hear a lovely little “clunk” every time you wash your face. That’s the sound of your morning ruined.
While you’re waiting, don’t, and I repeat do not, run the water. Humidity is the enemy of curing silicone. You’ll turn your beautiful bond into a slippery mess. Just sit on the floor next to it and stare for a while. It’s oddly therapeutic.
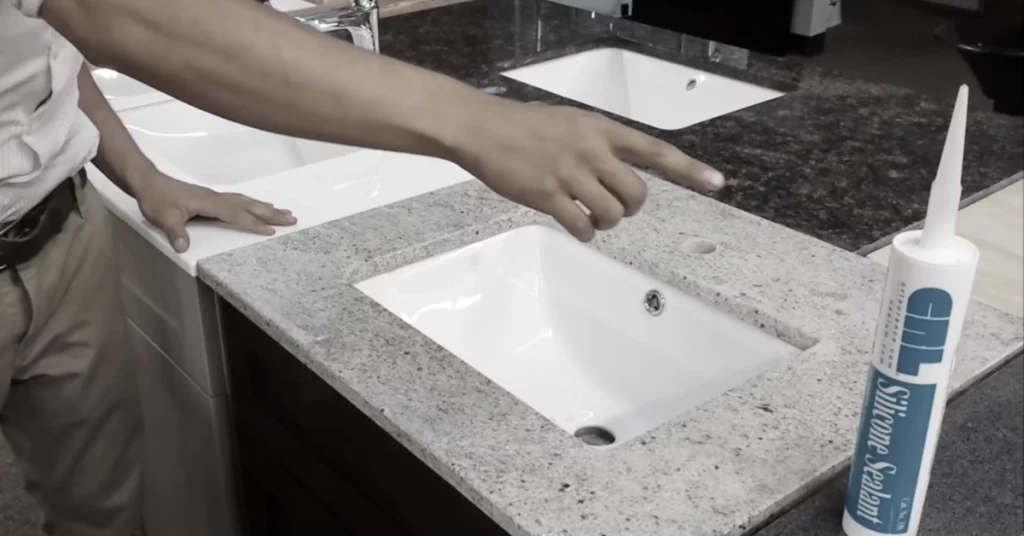
When Things Go Sideways
Okay, what if you messed up? What if you used the wrong stuff and now your sink is wiggling like a loose tooth? First, take a breath. It’s not the end of the world. You can scrape out the old adhesive with a razor blade and a lot of patience.
Then, you’ll need a special solvent to remove the residue. It smells like a chemical apocalypse, so open a window. Once it’s clean, you can re-do the whole process. You’re basically a surgeon now, just with more caulk and fewer scrubs.
Just remember, undermount sink adhesive is the unsung hero. It’s the grout to your tile, the gravy to your fries. Give it the respect it deserves, and your sink will stay put for decades. Ignore it, and you’ll have a very expensive, very wet regret.
So go forth, squeeze that tube with confidence, and know that you’re not just gluing a sink down. You’re securing your sanity. And maybe saving your toes from a nasty surprise at 2 a.m.