Screen Record A Video With Sound
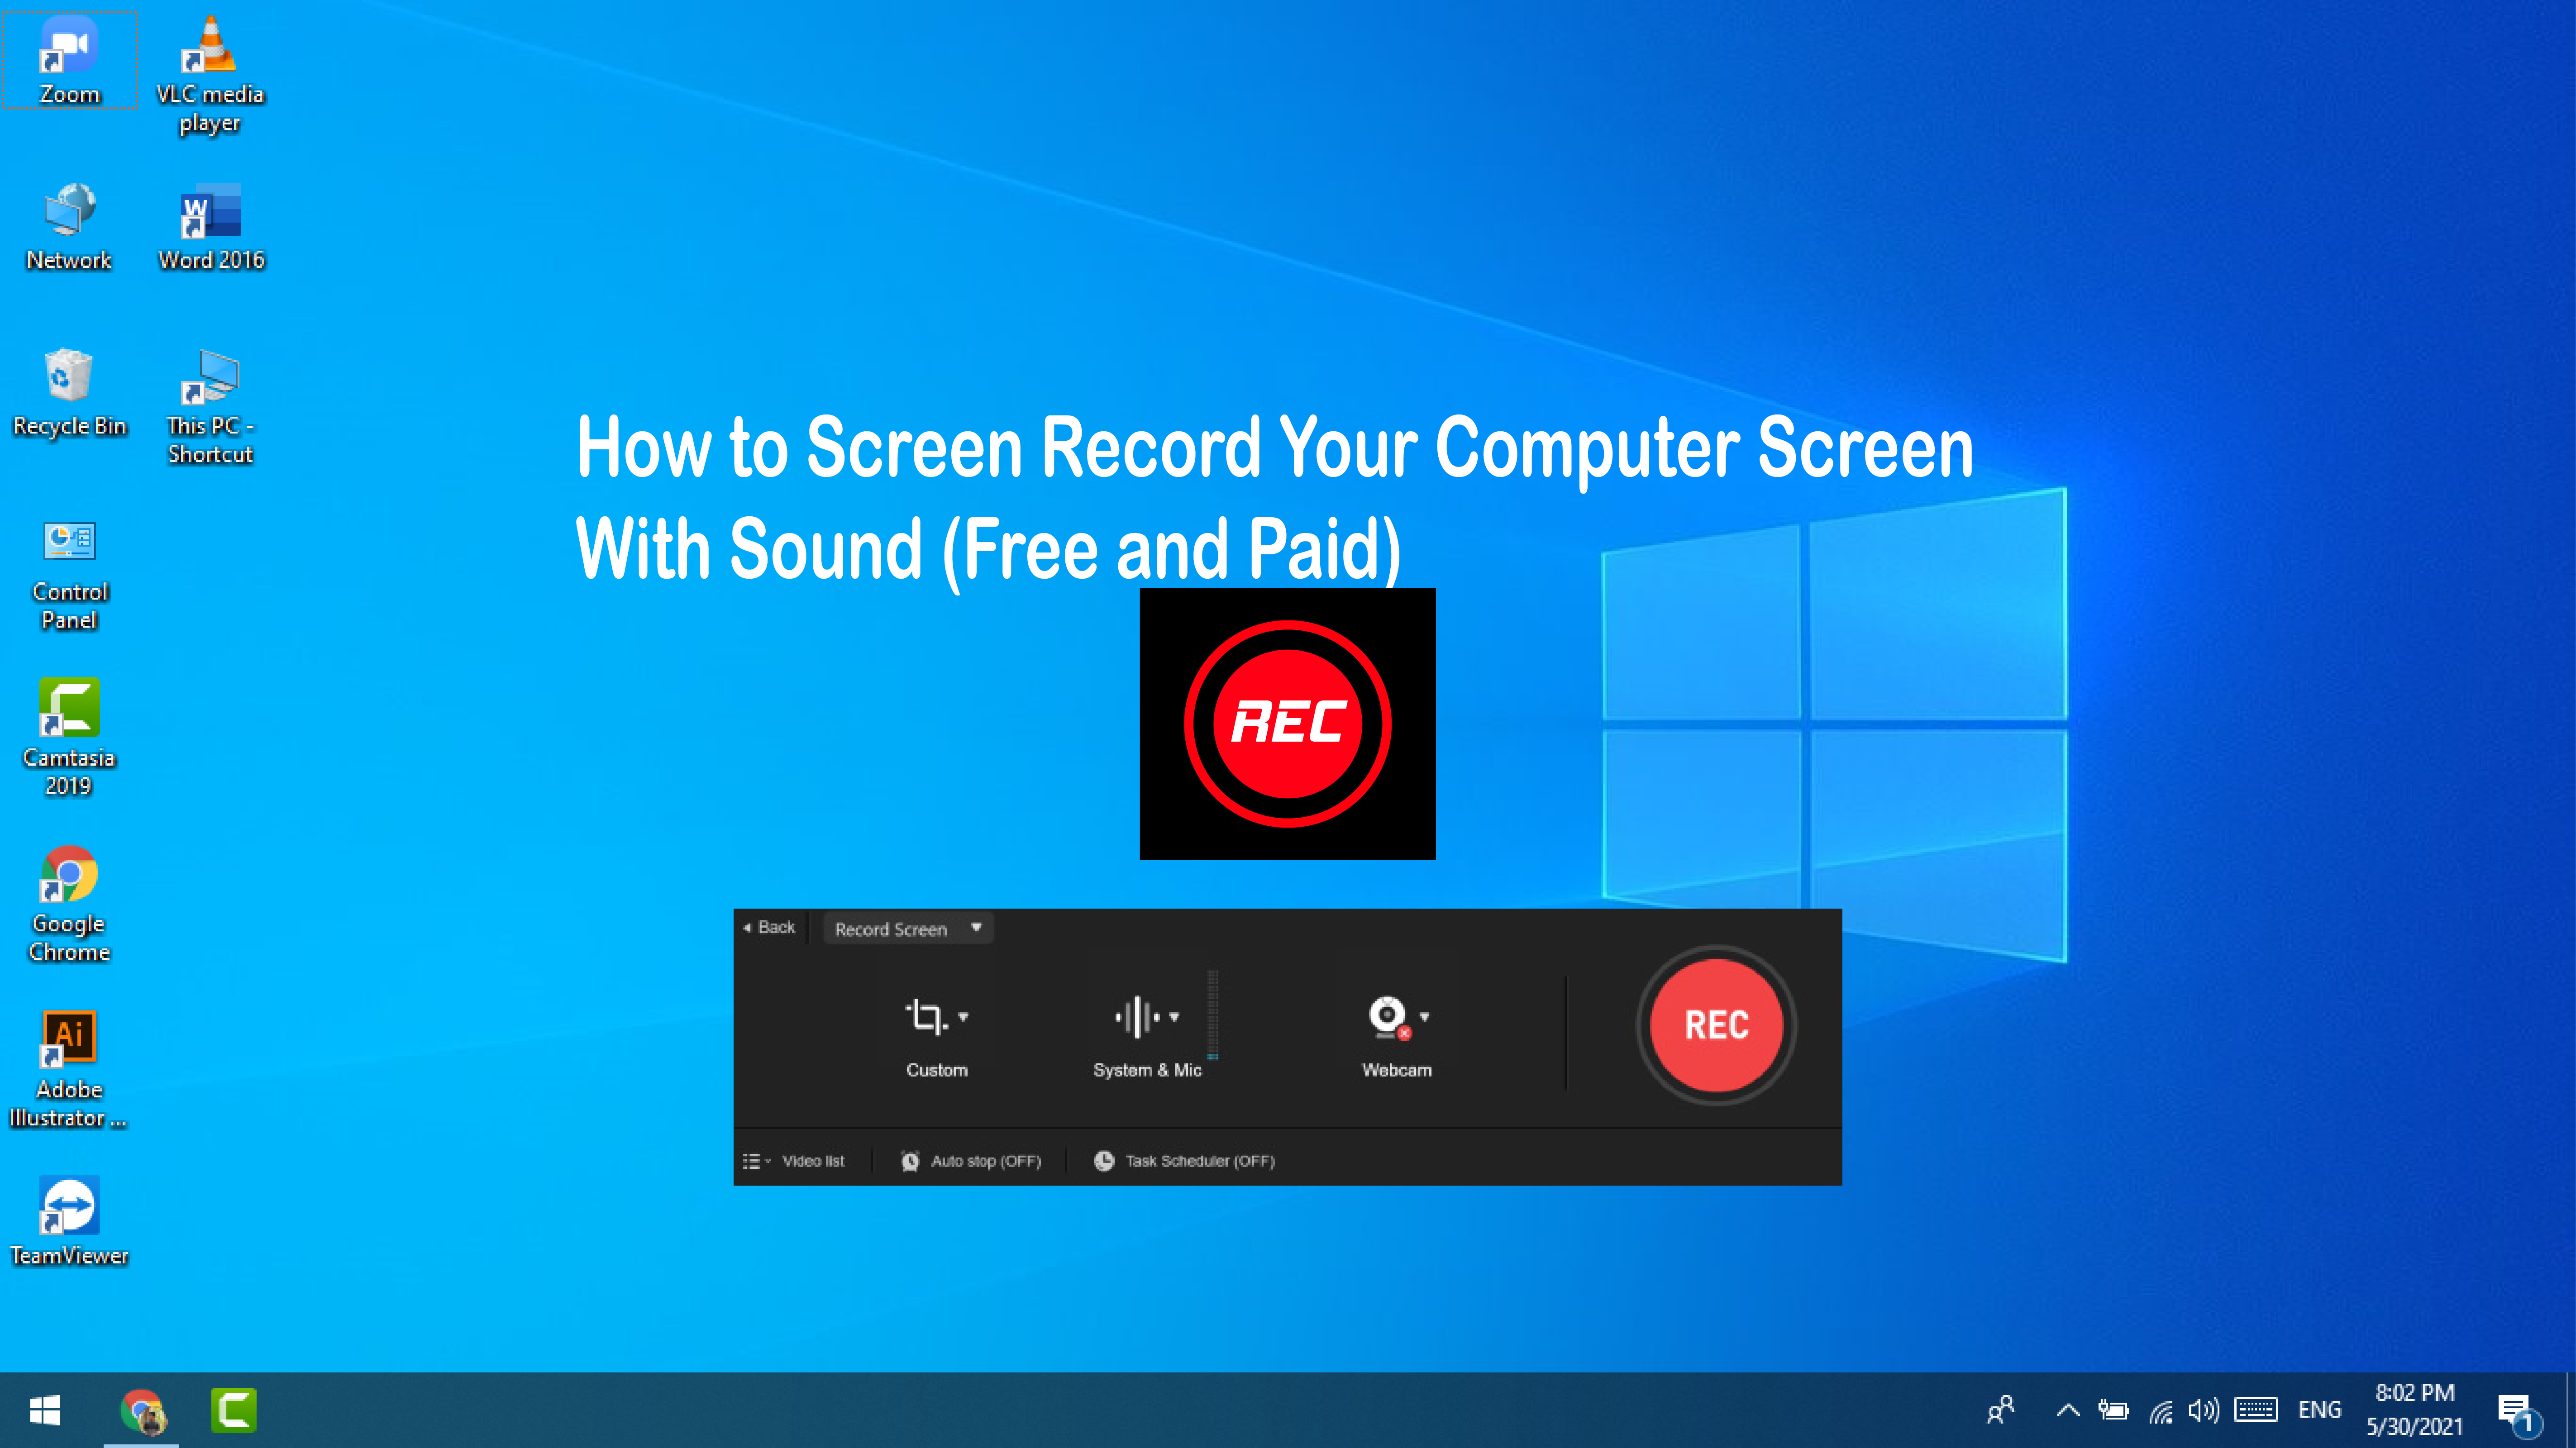
Okay, let’s be real for a second. We’ve all been there—scrolling through TikTok, watching a hilarious tutorial, or maybe catching a live stream of your favorite gamer, and you think, “I need to save this.” But here’s the kicker: you want the sound, not just a silent, confusing montage of pixels. Screenshotting is for amateurs; you want to screen record with audio, and honestly, it’s easier than trying to assemble IKEA furniture without crying.
So, why do we even need this magic trick? Well, imagine trying to explain a funny meme to a friend via text. It’s like describing a rainbow to a mole. But with a screen recording, you can just hit record, capture the chaos, and send it off. It’s the digital equivalent of saying, “Here, watch this,” without having to actually, you know, watch them watch it.
The Basics: Don’t Panic, It’s Just Buttons
First things first, let’s talk about the holy grail of this operation: your operating system. Whether you’re a Mac lover or a Windows warrior, both have built-in tools that are shockingly decent. You don’t need to download sketchy software from a pop-up ad that promises to “boost your RAM” (please, don’t click those).
Must Read
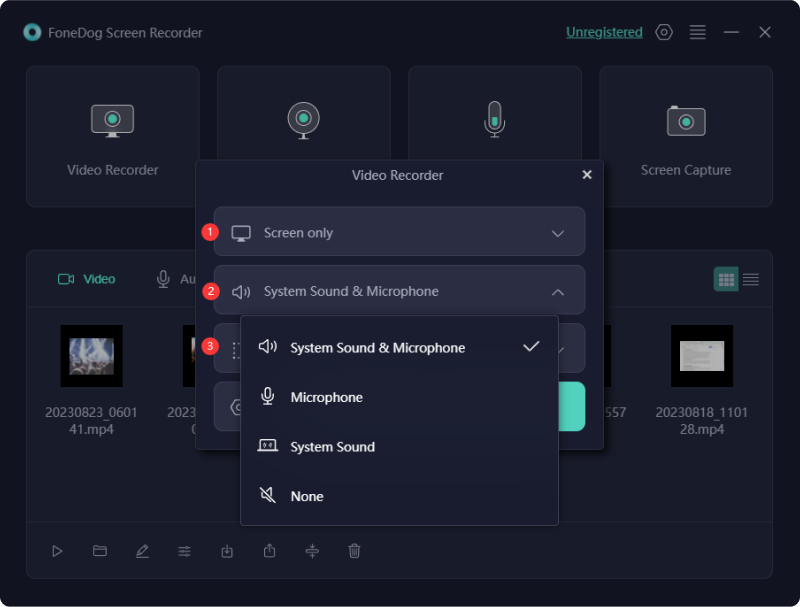
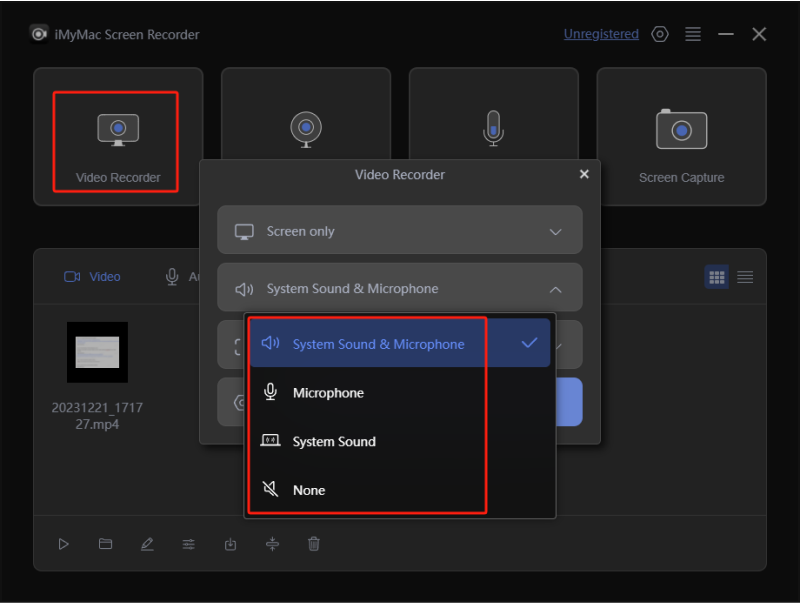
On a Mac, you have the handy Shift + Command + 5 shortcut. Press that, and a little toolbar pops up like a helpful genie. You can choose to record the whole screen or just a specific window. The best part? There’s a little microphone icon on that toolbar. Click it, and you can choose your mic. That’s it. That’s the secret. No weird rituals required.
For my Windows pals, you’re looking at Windows + G to open the Game Bar. It’s not just for gaming, promise. You’ll see a record button—a big, juicy circle—and a settings gear to make sure your mic is on. Just remember to toggle that little speaker icon so it’s not recording you breathing heavily into the void.
![How to Screen Record with Sound on Mac [3 Best Ways]](https://www.fonedog.com/image/screen-recorder/adjust-audio-settings-audio-recorder.png)
But Wait, What About My Phone?
Ah, the mobile dilemma. Fear not, because your phone is basically a tiny, pocket-sized movie studio. On iPhones, you’ve got the Control Center. Just swipe down, find the little circle with a ring around it (that’s the screen recorder), and press it. Here’s the golden trick: press and hold that button to bring up the audio options. It’s like a secret handshake—you have to press and hold to get the mic to show up.
Android is similar, but it varies by brand. Usually, you can swipe down twice to get to your quick settings and look for “Screen Recorder.” Look for a tiny settings icon—tap it, and make sure “Record audio” and “Microphone” are toggled on. If you can’t find it, just guess. That’s what I do, and I’ve only accidentally started a voice memo twice.
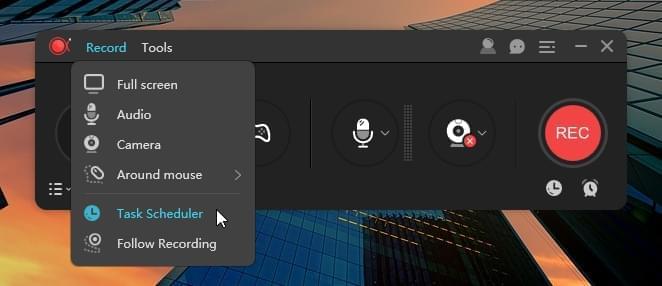
Pro Tips for Not Sounding Like a Robot
Now, just pressing record isn’t enough. You want your audio to be crisp, not like you’re speaking through a potato. If you’re recording a tutorial and talking over it, make sure you’re not in a wind tunnel. A quiet room is your friend. Also, keep your mouth a reasonable distance from the mic on your earbuds—nobody wants to hear you swallow, okay? It’s a courtesy thing.
Here’s a spicy little tip: If you’re recording a video with sound from the app (like a song), make sure you’re not muting the system volume. It sounds obvious, but I’ve definitely spent ten minutes recording a muted mystery. You’ll also want to check if the app allows “internal audio” capture. Some apps, like Netflix, block it on purpose, which is just rude. In that case, you’ll have to rely on your external mic and let the speakers blast. Your neighbors will love you.
![4 Effective Ways to Screen Recording with Audio on Windows [2023]](https://img.swifdoo.com/image/screen-recording-with-audio-in-three-steps.jpg)
Another fun thing to remember? Notification silence. Before you record, turn on “Do Not Disturb.” Otherwise, your masterpiece will be punctuated by the angelic ding of a text message, which is great if you want a meme about your ex ruined by a Walmart sale alert.
The Editing (or Lack Thereof)
Once you’ve captured your masterpiece, you don’t need to edit it into cinematic gold. Just trim the awkward beginning where you fumbled for your phone. On both Mac and Windows, you can use built-in apps like Photos or Clipchamp to snip the ends. It takes about thirty seconds.
But here’s my advice: Don’t overthink it. The world doesn’t need another perfectly polished, color-graded screen recording. They need the one where you laugh at the dog video and say “oh my god” with your mouth full of chips. That’s called authenticity, baby.
The Final Countdown
So, go ahead. Try it. Record a funny clip, a recipe, or just your cursor moving around for absolutely no reason. The beauty is that you now have the power to capture moments that are fleeting. You’re essentially a digital time-lord, but with better headphones.
Remember, the worst that happens is you record ten minutes of your face staring blankly at the screen because you forget to click “stop.” And honestly? That’s a relatable content. So hit that record button, my friend. The world is waiting to hear your sound—and your questionable commentary. You’ve got this. Now go capture something awesome, and try not to accidentally record your cat knocking over a plant. Or do. That’s a viral hit waiting to happen.