Mitsubishi Colt Gear Knob Removal
Let’s be honest: the gear knob in your Mitsubishi Colt isn’t just a functional piece of plastic and leather. It’s the tactile handshake between you and the machine, the first thing you touch when you slide into the driver’s seat. But when it starts to look like a chewed-up dog toy, or you simply crave a slick aftermarket aluminum sphere, the time comes for a change.
The good news? This isn’t brain surgery. In fact, it’s one of the most satisfying, low-stakes DIY projects you can do on a Sunday afternoon, armed with nothing but a bit of muscle and a dirty rag. Let’s walk through it like we’re swapping stories over a flat white, not wrestling with a stubborn bolt.
The “Gotcha” That Isn’t
Here’s the first thing you need to know about the Colt: it’s not a simple pull-off affair like some older Hondas. The factory knob is typically threaded onto the gear lever, but there’s a sneaky little twist—a plastic locking collar or a small grub screw hiding under the boot. If you try to yank it off like a cork from a champagne bottle, you’ll just give yourself a sore back and a bruised ego.
Must Read
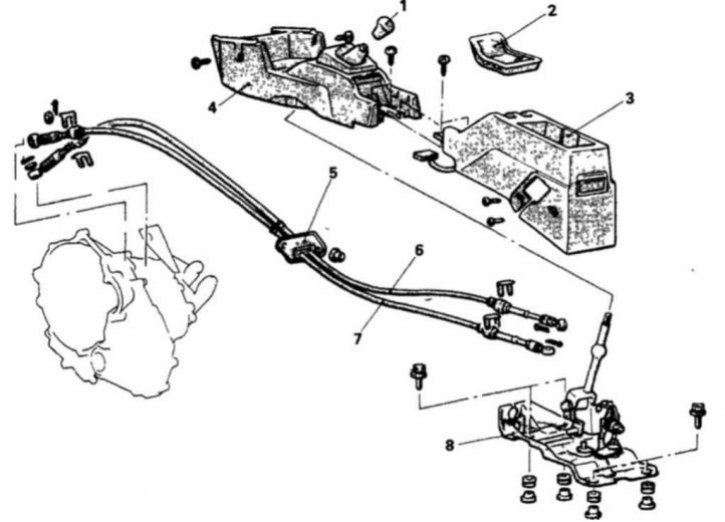
So, step one is to remove the shift boot. Gently pry the plastic trim ring at the base of the knob upwards. It’s usually held in by a few clips, so a flathead screwdriver wrapped in tape will do the trick without scratching your center console. Once that’s off, you’ll see the metal shaft and, often, a little plastic clamp holding the leather boot in place.
Slide that boot down the shaft as far as it will go. Now, look closely at the base of the knob itself. On most Colt models, particularly the CZT and early 2000s variants, you’ll find a tiny Allen key (hex) bolt or a Phillips screw right there. That’s your unlock code.

The Yoga of the Wrist
Once you’ve loosened that screw—don’t remove it completely, just a few turns—it’s time for the main event. Grasp the knob firmly with both hands, like you’re holding a precious, greasy artifact. Now, here’s the trick: think of it as a dance, not a fight. Apply steady, even upward pressure while simultaneously trying to twist it counter-clockwise, as if you’re unscrewing a stubborn jar of pickles.
If it refuses to budge, don’t resort to violence. Instead, use the old mechanic’s trick: a quick, sharp tug upwards while twisting. That sudden jolt often breaks the corrosion or thread-lock seal. And if you’re dealing with a model that has a smooth, leather-wrapped knob, sometimes it’s just a push-on fit—but don’t assume that. Always look for that screw first, or you’ll be pulling until your knuckles turn white.
For extra leverage, you can loop an old belt or a strap wrench around the knob. This gives you more grip without crushing the foam. Just be careful not to mark the finish—the Colt’s interior is charmingly utilitarian, but it deserves some respect.
Fun Facts for the Gearhead Nerd
Did you know that the shift pattern on your Colt is a direct descendant of the classic dog-leg gearbox? Actually, no, that’s a lie—it’s a standard H-pattern. But here’s a real nugget: the thread size on most Mitsubishi shifters of that era is M10 x 1.25. That means if you buy an aftermarket knob, you need to make sure it’s either that thread pitch or comes with adapter inserts.
The Colt itself, particularly the sixth-generation model, was a bit of a cult hero in Europe. It was essentially a rebadged smart car in some markets, which explains why the shifter feel is oddly precise for a budget hatchback. Treat it well, and it’ll reward you with a slick, mechanical snick-snick that makes you feel like a rally driver on the school run.
Another fun fact: many owners report that a little drop of WD-40 or penetrating oil on the shaft base before you start makes the job ten times easier. Just don’t spray it on the leather—it’ll dry it out and make it crack faster than a summer drought.
Putting It All Back
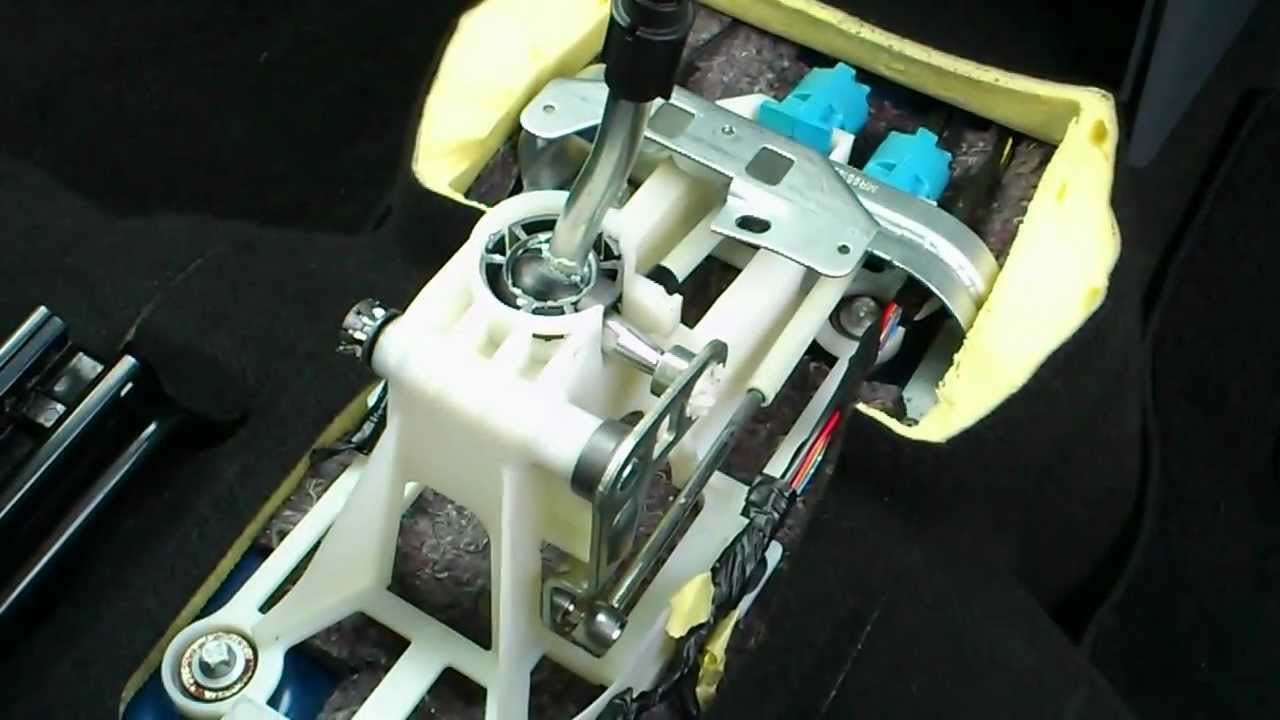
Once the old knob is off, you’ll see the bare metal shaft—maybe a little rusty, maybe just dirty. Wipe it down with a rag. Then, if you’re installing a new knob, apply a tiny bit of thread tape or Loctite to the threads to prevent future vibrations from loosening it. Screw it on by hand until it’s snug, then use the locking screw you loosened earlier to clamp it securely.
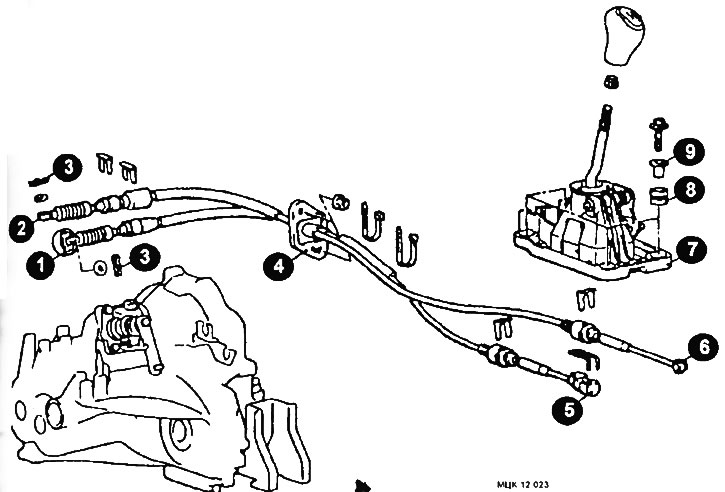
Pop the boot back over the metal lip, clip the trim ring back into place, and give it a wiggle. It should feel solid, not like a loose tooth. That’s your victory lap.
The Quiet Metaphor
There’s something meditative about this task. In a world where everything is digital and hidden under layers of software, the gear knob is a tangible, analog problem with a clear solution. You loosen a screw, you twist, you pull, and suddenly, change is possible. It’s a tiny reminder that most obstacles—whether they’re stuck knobs or stuck routines—respond better to steady pressure and a little bit of sideways thinking than to brute force.
So next time you’re sitting at a red light, resting your palm on that new knob, take a second to appreciate the simple joy of having fixed something with your own two hands. It’s not rocket science; it’s just good, clean, mechanical therapy. And honestly? That’s the best kind of weekend project there is.