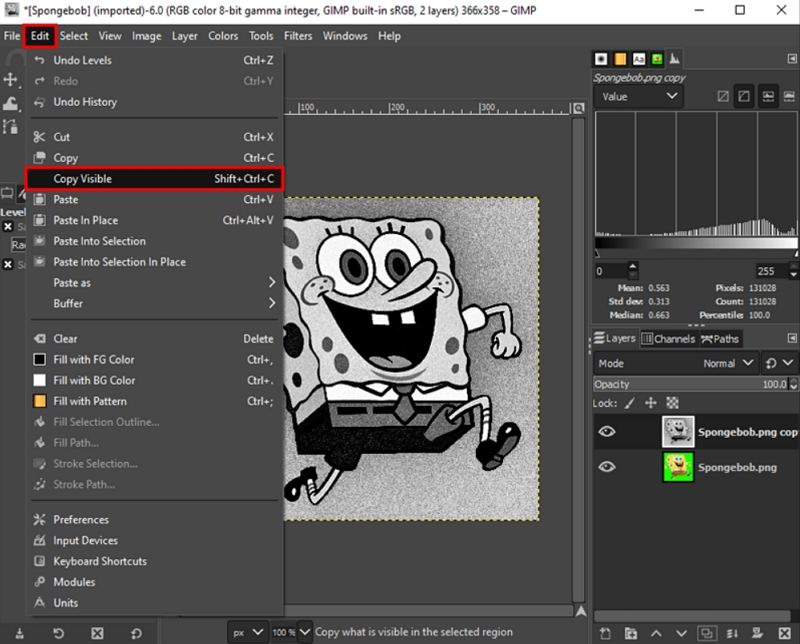
Make Background Transparent Gimp 2.10

Let’s be honest—you’ve probably stared at a photo with a stubborn, grayish-white background and thought, “I wish I could just magically erase that.” Well, grab a cup of coffee and pull up a chair, because GIMP 2.10 is about to become your new best friend. And the best part? You don’t need to be a tech wizard to pull off the trick—just a little curiosity and a willingness to click around.
Why bother making backgrounds transparent, anyway?
Think about it: every time you want to slap your logo on a meme, drop your face into a vacation photo, or create a quirky sticker for your group chat, a solid background ruins the fun. With a transparent background, the world becomes your canvas—literally. You can superimpose yourself onto the moon, put your cat on a cereal box, or design a birthday card that feels one-of-a-kind.
Plus, there’s a smug satisfaction in saying, “Oh, I just removed the background in GIMP,” like you’re some kind of digital ninja. Trust me, it’s a vibe.
Must Read
Step one: The lazy but effective “Fuzzy Select”
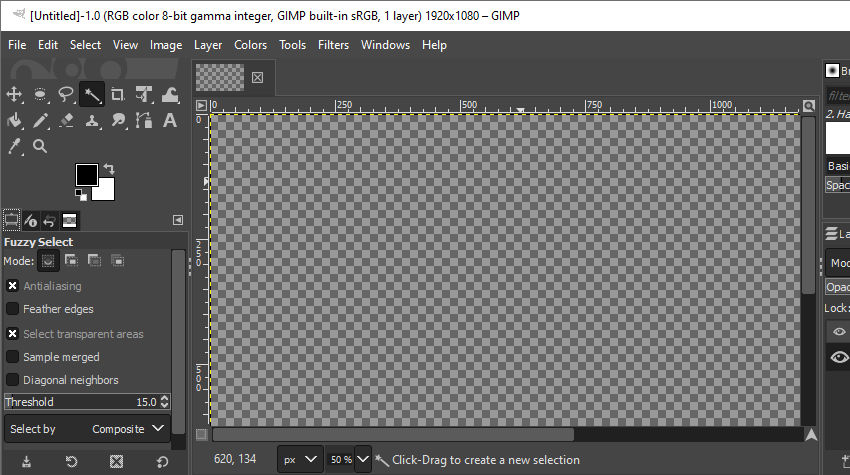
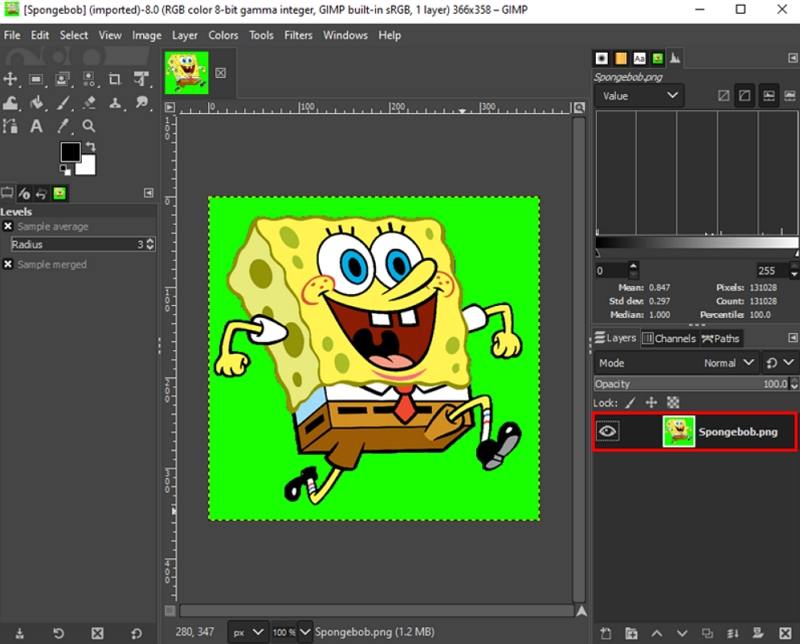
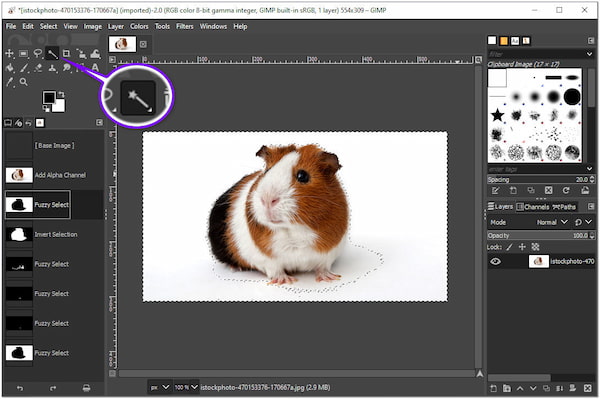
Open your image in GIMP 2.10, and click the “Fuzzy Select” tool (it looks like a magic wand). Click directly on the background you want to vanish—if your background is a solid color, you’re already 80% done. GIMP will magically highlight an area with dashed, marching ants—yes, that’s the technical term.
Now, hit the Delete key, and poof—the background turns into a gray-and-white checkerboard. That checkerboard is GIMP’s way of saying, “Hey, this is transparent, you’re welcome.” If you accidentally deleted part of your subject, just hit Ctrl+Z and try lowering the “Threshold” setting in the tool options.
Step two: The “Foreground Select” for tricky edges
Got hair? Fur? Leaves? Then the Fuzzy Select will throw a tantrum. That’s when you bring in the “Foreground Select” tool (it’s right next to the magic wand). Scribble roughly over your main subject, then hit Enter—GIMP will guess what’s foreground and what’s not. It’s not perfect, so you may need to touch up the edges with a soft eraser brush.
Pro tip: Zoom in to 200% before you start deleting—the devil is in the pixels, my friend. And if you mess up, just laugh and undo. Mistakes are just practice in disguise.
The real secret: “Layer Masks” are your safety net
Instead of permanently deleting pixels, use a Layer Mask—it’s like a magic eraser that you can rewind. Right-click your layer, select “Add Layer Mask,” and choose “White (Full Opacity).” Then paint with black on the mask to hide the background, and paint with white to bring it back. No regrets, no restarts.
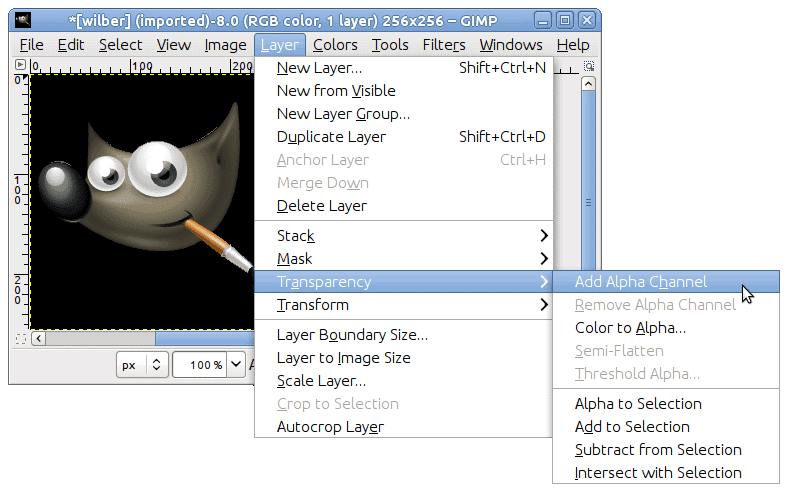
This is the difference between a beginner and a pro. And you, my friend, are clearly a pro in the making. So go ahead, play with the “Advanced Color” tool too—it’s hidden under Colors > Color to Alpha—and watch GIMP do the heavy lifting for you.
Remember that every design wizard started exactly where you are right now—fumbling, cursing softly, and celebrating tiny victories. The only real failure is not clicking around and having fun. So open GIMP, choose a silly photo, and give yourself permission to experiment. Before you know it, you’ll be teaching your friends how to make backgrounds transparent, and that—is when the real magic begins.