How To Upgrade Processor In Laptop

Let’s be honest: that sluggish laptop has been testing your patience for a while now. You’ve closed thirty tabs, prayed over the spinning wheel, and considered throwing it out the window. But before you doom it to a drawer, there’s a thrilling, slightly nerdy secret—you can often swap out its brain for a faster one.
Upgrading your laptop’s processor is like giving your machine a second youth. It’s the single most effective way to cut rendering times, speed up video calls, and make that spreadsheet open before your coffee finishes brewing. For creative folks editing 4K footage or gamers chasing stable frame rates, this swap is a game-changer that saves you hundreds of dollars compared to buying a new device.
The best part? You’re not just extending a gadget’s life—you’re reducing e-waste and keeping a perfectly good screen, keyboard, and battery out of a landfill. Everyday tasks like browsing with twenty tabs, running a Zoom meeting while scanning a PDF, or compiling code become effortless and snappy. It’s the difference between driving a wheezy moped and a sporty coupe on your daily digital commute.
Must Read
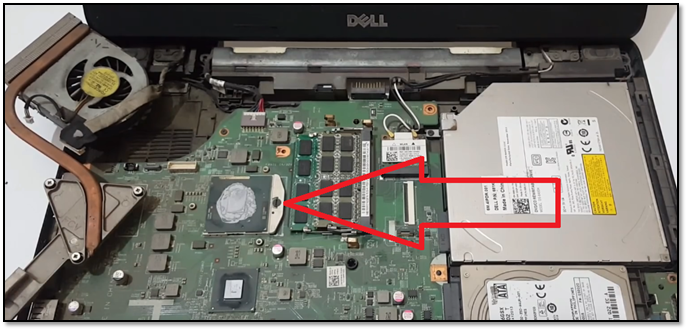
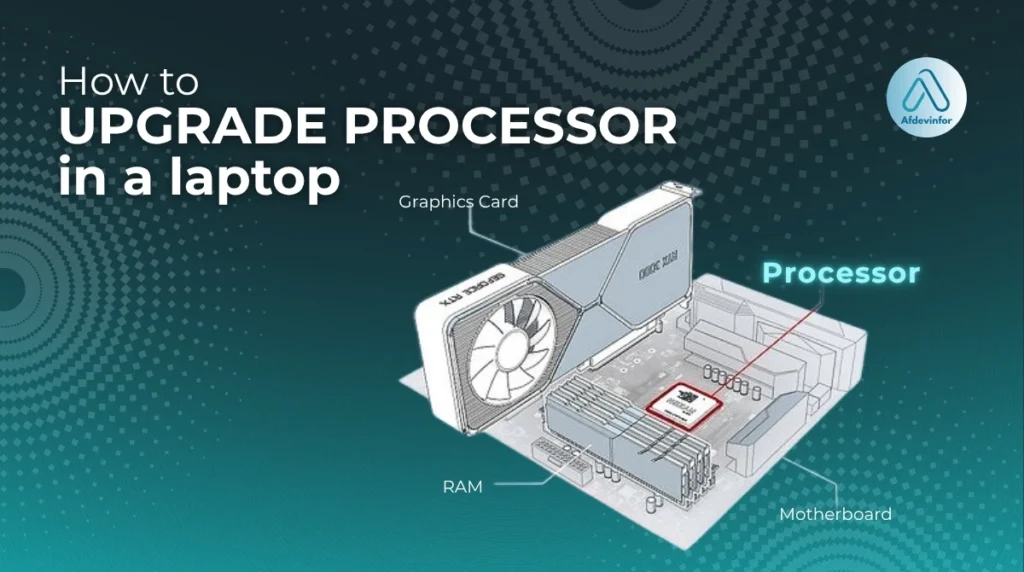
Now, the crucial reality check: not every laptop allows this. Ultra-thin models (like MacBooks or many Windows “2-in-1s”) have their CPUs soldered directly to the motherboard—permanently glued. But many business-class or gaming laptops (think older ThinkPads, Dell Precision, or ASUS ROG) use a socketed chip, which you can pop out with a screwdriver and a steady hand.
Before you buy anything, check your exact laptop model’s service manual—it’s your treasure map. Look for the CPU socket type (like “PGA-988” or “LGA-1151”) and then search for a compatible chip on eBay or AliExpress. Also verify your BIOS version supports the new processor; otherwise, you’ll get a black screen and a very sad afternoon.

When you’re ready, preparation is half the battle. Back up your files, unplug the battery, and work on a clean, anti-static surface (a wooden table, not a wool sweater). You’ll need a small Phillips screwdriver, some fresh thermal paste, and a prying tool—never a metal butter knife, despite what internet forums joke about.
Here’s the juicy tip: buy a CPU with a higher TDP limit (the heat it can dissipate) only if your laptop’s cooling fan is beefy. A faster i7 in a thin chassis will just throttle down to protect itself—so you’ll lose performance and gain a loud fan. Instead, aim for a slightly faster “T” or “H” series chip that matches your current cooling capacity. That balance gives you a real boost without turning your laptop into a jet engine.

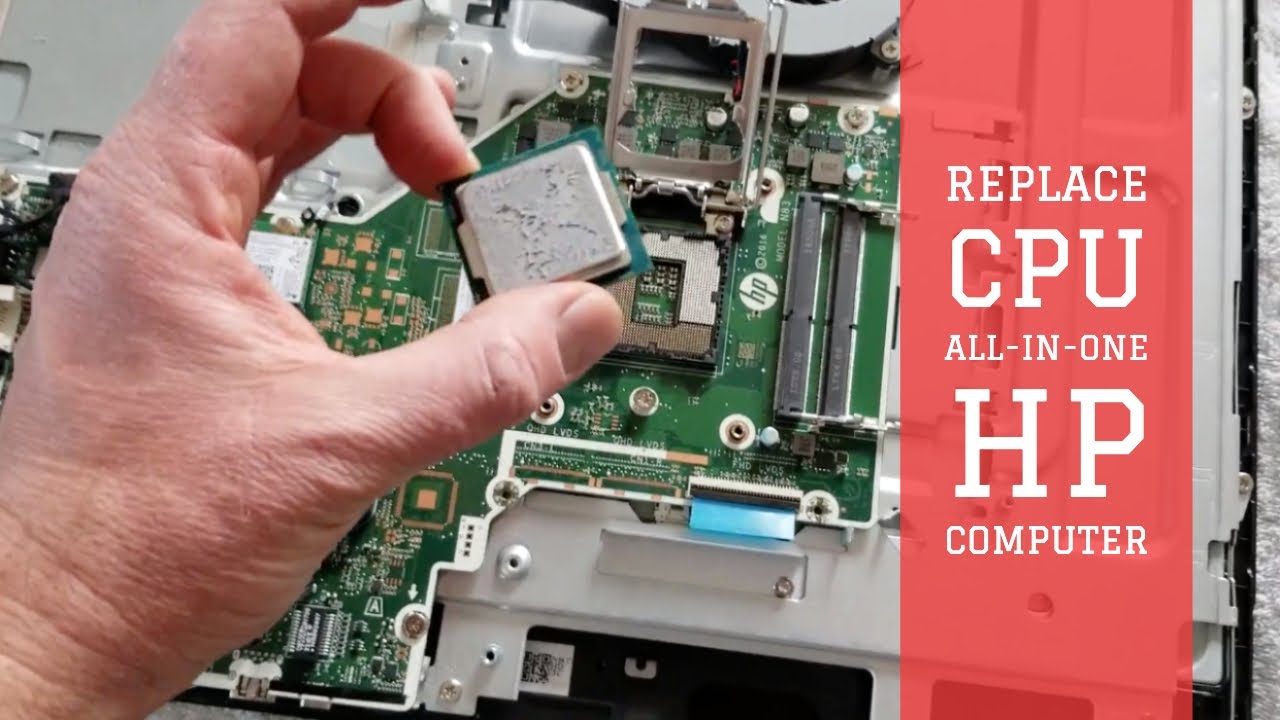
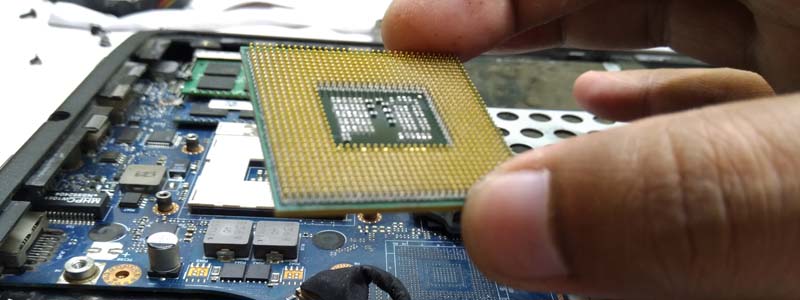
During the swap, be gentle with the pins—they bend like spaghetti and are nearly impossible to straighten perfectly. Lift the old CPU with a twisting motion, drop the new one in with a zero-pressure fit, and apply a pea-sized dot of thermal paste. Lock the lever down, reconnect the fan, and hold your breath as you hit the power button.
If you hear the fan spin but see nothing, don’t panic—reseat the RAM first. A common mistake is dislodging a memory stick while fumbling around. Also, run a stress test (like Cinebench) for ten minutes after booting to ensure your thermals are stable. If the temperature hits 95°C instantly, you’ve applied too little paste—redo it.
Finally, enjoy your “new” laptop with spontaneous joy. Open that 50-tab browser, edit that 10-minute video, and let the fans purr instead of scream. You’ve not only saved a bundle but also earned the smug satisfaction of saying, “Yeah, I did the brain surgery myself.” And honestly, that feeling is better than any coffee—your machine will finally keep up with your ambitions.
One last pro tip: keep the old CPU in a labeled bag. If you ever sell the laptop, swap the original back in—it’s a fantastic selling point and makes your upgrade a reusable miracle for the next owner.