How To Turn A Sketch Into A Digital Image
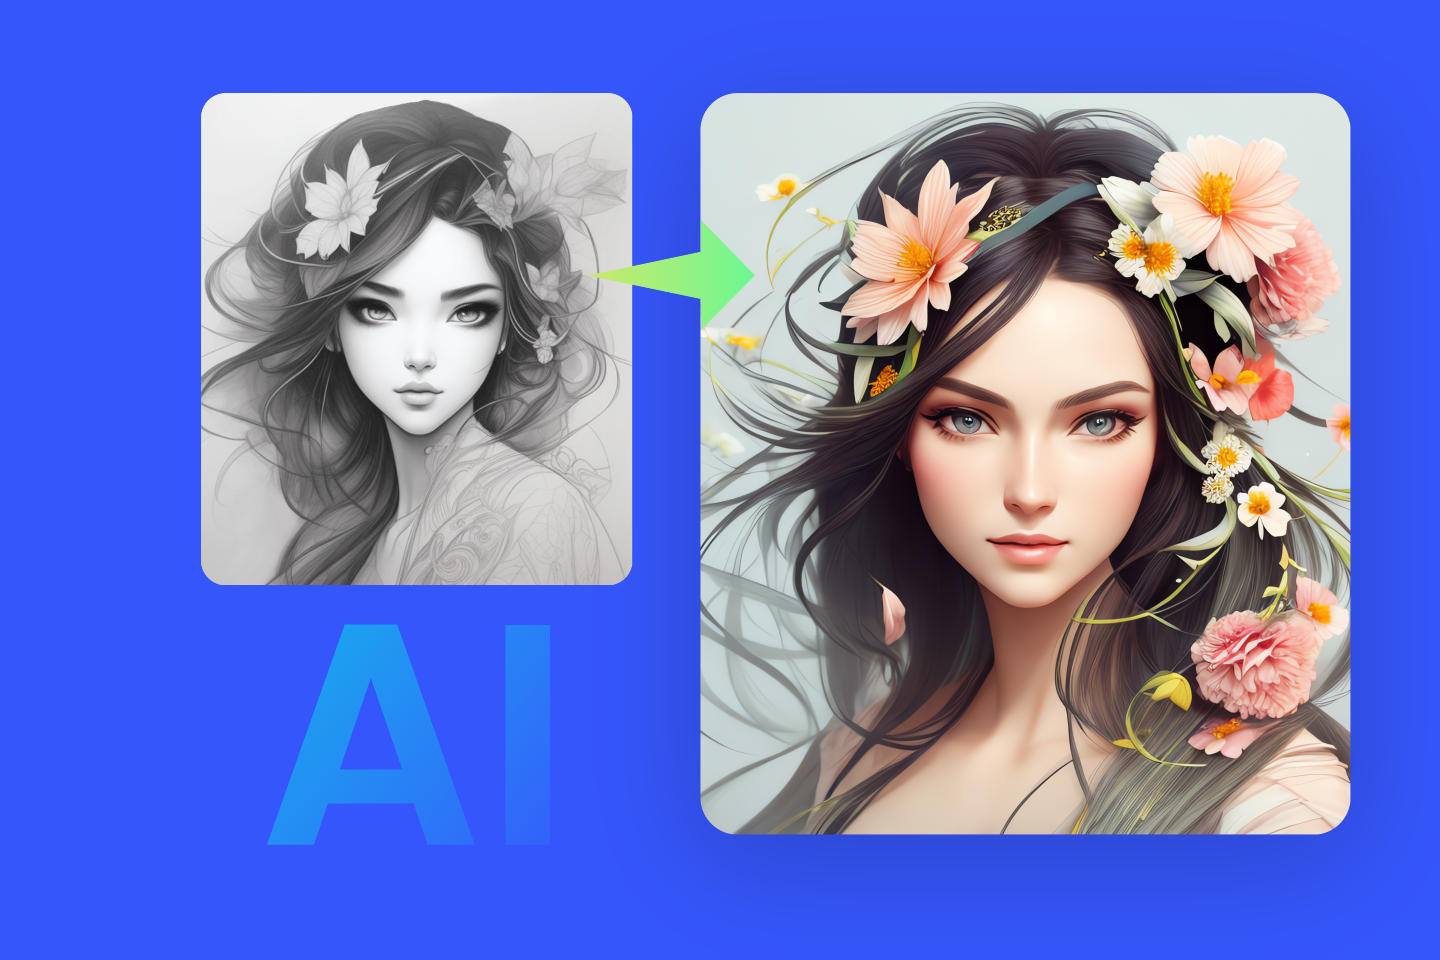
So, you've got a sketch that you're totally in love with, and you want to turn it into a digital image - I mean, who doesn't want to see their artwork come to life, right? It's like taking your favorite coffee order and making it a beautiful, Instagram-worthy latte art. First things first, you're going to need to scan or photograph your sketch, because let's be real, we can't all be Adobe Photoshop masters just yet.
Now, I know what you're thinking, "What's the difference between scanning and photographing?" Well, my friend, scanning gives you a more precise and high-quality image, while photographing can add a bit of character and depth to your sketch - it's like choosing between a strong espresso shot and a lazy Sunday morning coffee. If you do decide to photograph your sketch, just make sure you've got good lighting and a steady hand, or you'll end up with a blurry mess.
Getting Started with Digital Editing
Once you've got your sketch in a digital format, it's time to start editing - and trust me, this is where the magic happens. You can use Adobe Photoshop or Illustrator, or if you're feeling fancy, you can try out some free alternatives like GIMP or Krita. The key is to experiment and play around with different tools and techniques until you find what works best for you.
Must Read
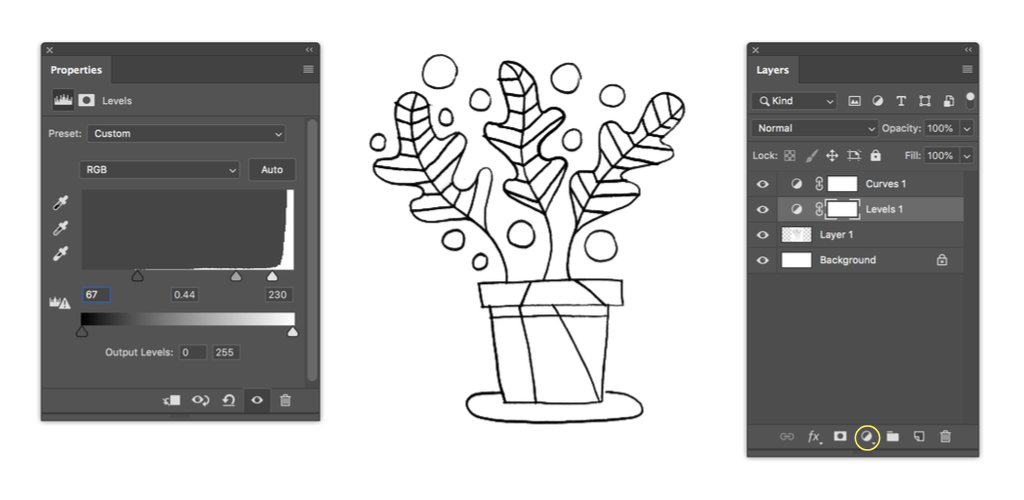
So, you've opened up your editing software of choice, and you're faced with a blank canvas - it's like staring at a empty coffee cup, waiting to be filled with your favorite brew. Don't worry, it's not as daunting as it seems, just start by adjusting the levels and contrast to get your sketch looking sharp and defined. And remember, it's all about trial and error, so don't be afraid to try out new things and make mistakes.
Adding Color and Texture
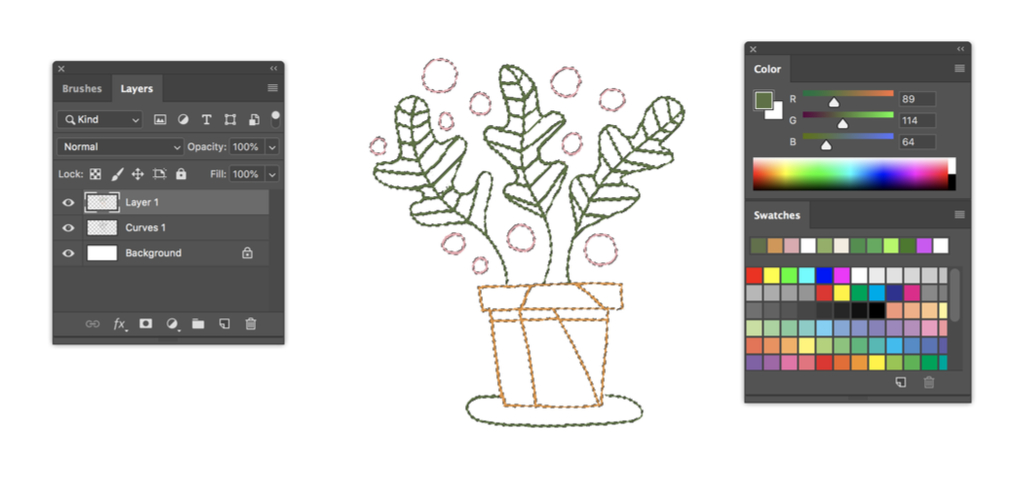
Now that you've got your sketch looking crisp and clean, it's time to add some color and texture - it's like adding your favorite creamer or syrup to your coffee, it just makes it that much better. You can use the brush tool to add digital paint, or the gradient tool to create a subtle and smooth transition between colors. And if you want to get really fancy, you can even add some textures to give your image some depth and dimension.
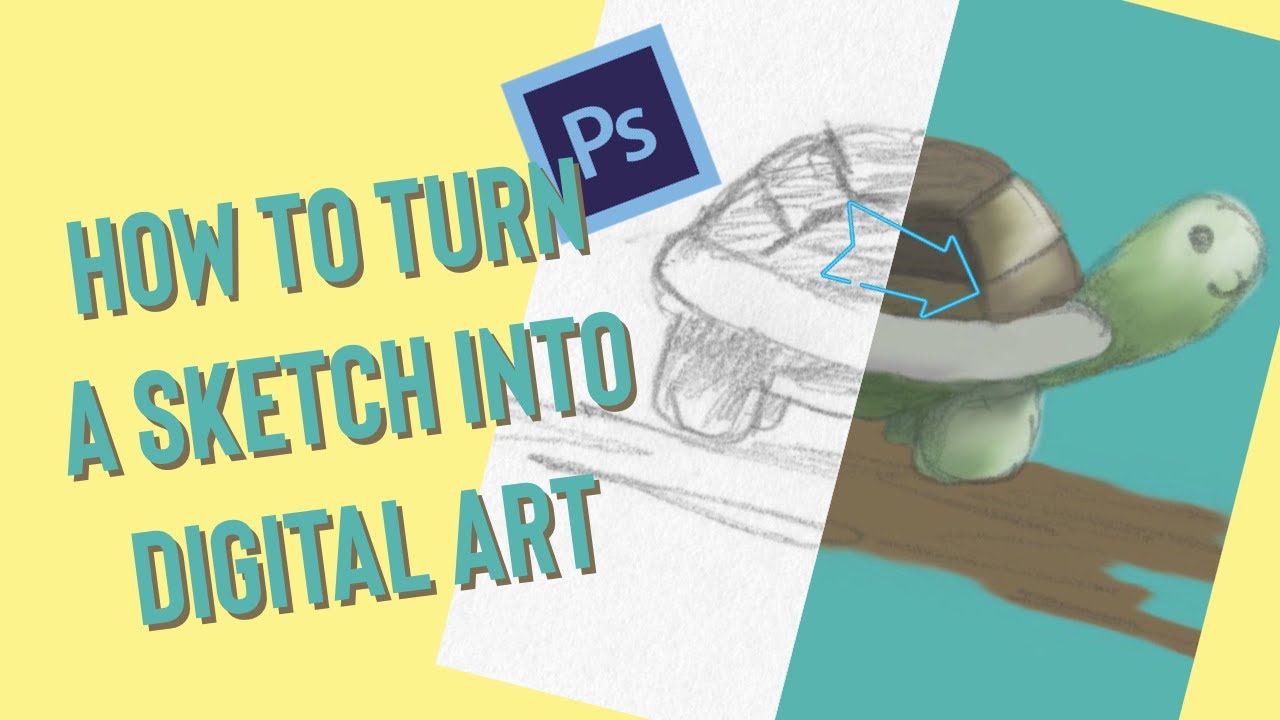
But, let's not forget about the _IMPORTANCE OF LAYERS - I mean, it's like trying to make a latte without separating the milk and coffee, it's just a mess. By using layers, you can keep your edits organized and non-destructive, which means you can always go back and make changes without affecting the rest of your image. It's like having a superpower in the world of digital editing.
As you continue to edit and enhance your sketch, you'll start to notice it transform into a beautiful and unique digital image - it's like watching a coffee bean transform into a delicious cup of coffee, it's magic. And the best part is, you can share it with the world, whether it's on social media or in a physical portfolio. So, don't be afraid to show off your creations and get feedback from others - it's like asking a friend to try your latest coffee concoction, it's all about sharing the love.
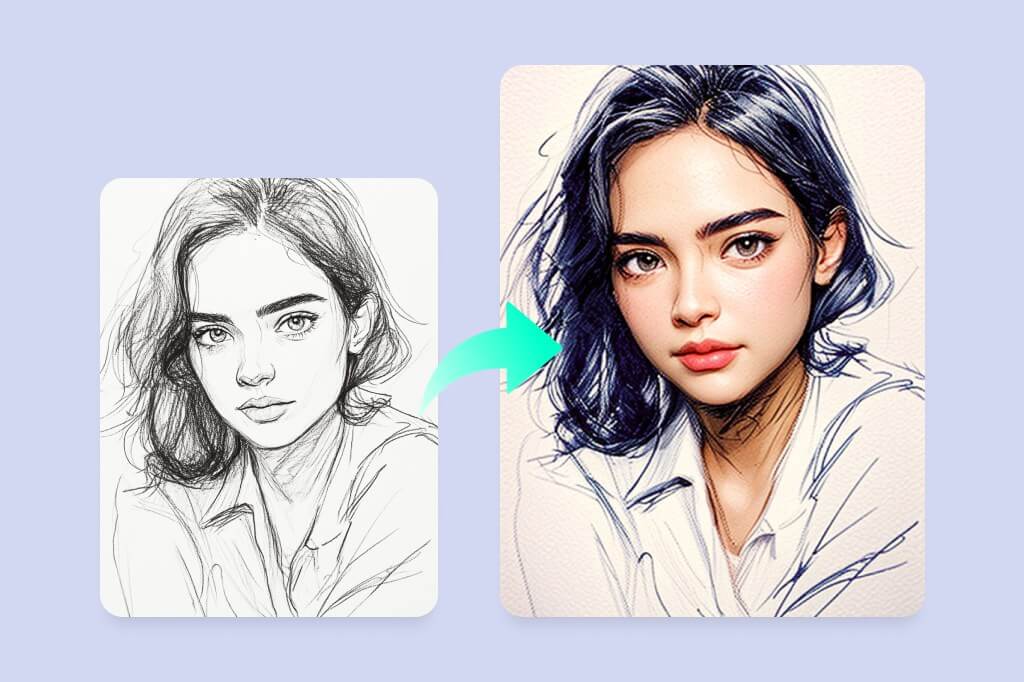
And finally, the last step is to save and export your digital image - it's like finally getting to drink that cup of coffee you've been brewing all morning. You can save it in a variety of formats, from JPG to PNG, and even SVG if you want to get really fancy. Just remember to save often and back up your files, because you never know when disaster might strike - it's like spilling coffee all over your shirt, it's a mess.
In the end, turning a sketch into a digital image is all about experimentation and creativity - it's like trying out a new coffee recipe, it's all about trial and error and having fun. So, don't be afraid to try new things and make mistakes, because that's where the magic happens. And who knows, you might just create something amazing - like a delicious cup of coffee that you'll want to drink every day.