
How To Tie Crepe Bandage On Wrist

Let’s be honest—if you’ve ever tried to wrap a crepe bandage on your own wrist, you know it’s less “medical professional” and more “trying to wrestle a very stubborn, stretchy octopus.” You end up with a lumpy mess that either cuts off your circulation or unravels the second you try to pick up your coffee mug. We’ve all been there, standing in the bathroom, one end of the bandage in your teeth, wondering if you should just call a friend and accept the humiliation.
The good news? It’s actually way easier than you think, and once you get the hang of it, you’ll feel like a battlefield medic. The trick is to stop treating it like a gift-wrap job and start thinking of it as a gentle, spiral hug for your aching limb. So, grab your crepe bandage (and maybe a snack, because you deserve a break), and let’s sort this out together.
Why Your Wrist Is Being Dramatic
First things first—why are we even doing this? Maybe you sprained it playing an overly competitive game of pickleball, or you’ve got that vague “mouse wrist” from too much doom-scrolling. The bandage isn’t just for show; it provides compression, which reduces swelling and gives your joint that lovely “I’m being held” security feeling—like a weighted blanket, but for your arm.
Must Read
But here’s the catch: if you wrap it too tight, you’ll turn your hand into a purple balloon. If you wrap it too loose, it’ll just slide down your palm like a deflated sock. The goal is a snug, even fit that feels supportive but still lets you wiggle your fingers like you’re playing an invisible piano.
Step 1: The “Tail” Is Your Anchor
Okay, so unroll about six to eight inches of bandage and use that loose piece as your starting point. Place the tail on the inside of your wrist, right where your pulse is, and hold it there with your thumb. This feels weird, and you’ll probably drop the bandage twice. That’s fine—think of it as a pre-workout warm-up for your patience.
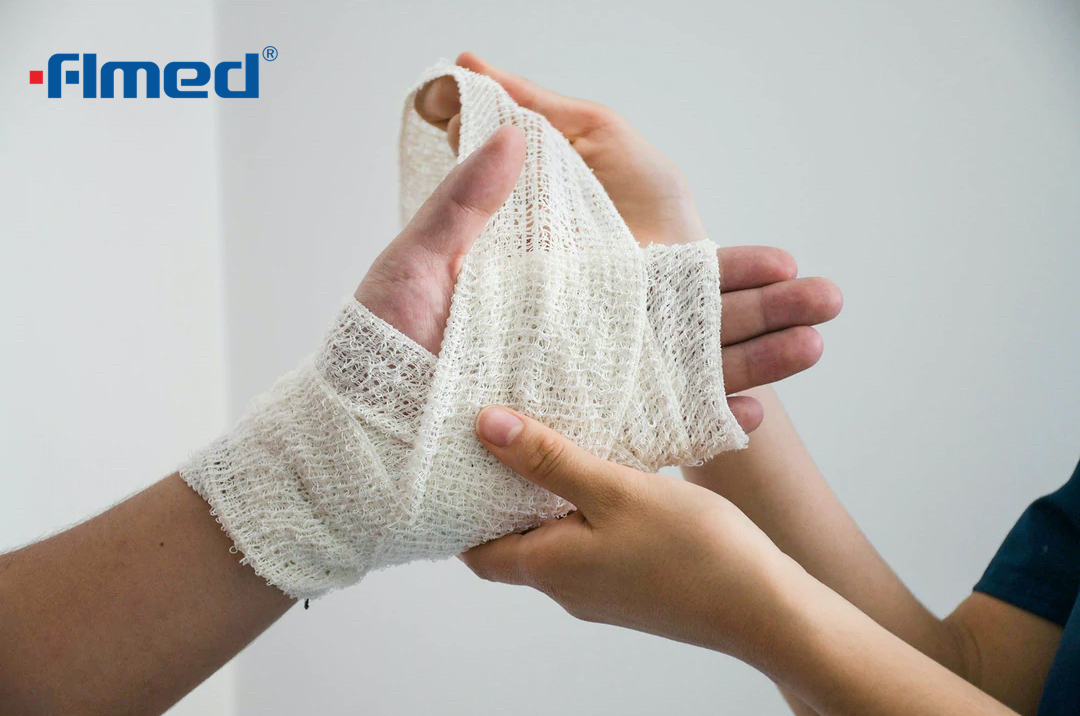
Now, here’s the golden rule: always wrap from the inside (palm side) to the outside (thumb side). This direction keeps the bandage in place better and stops it from bunching up when you move. It’s like the difference between petting a cat with the fur and against it—one way feels great, the other ends in scratches.
Step 2: The Spiral of Confidence
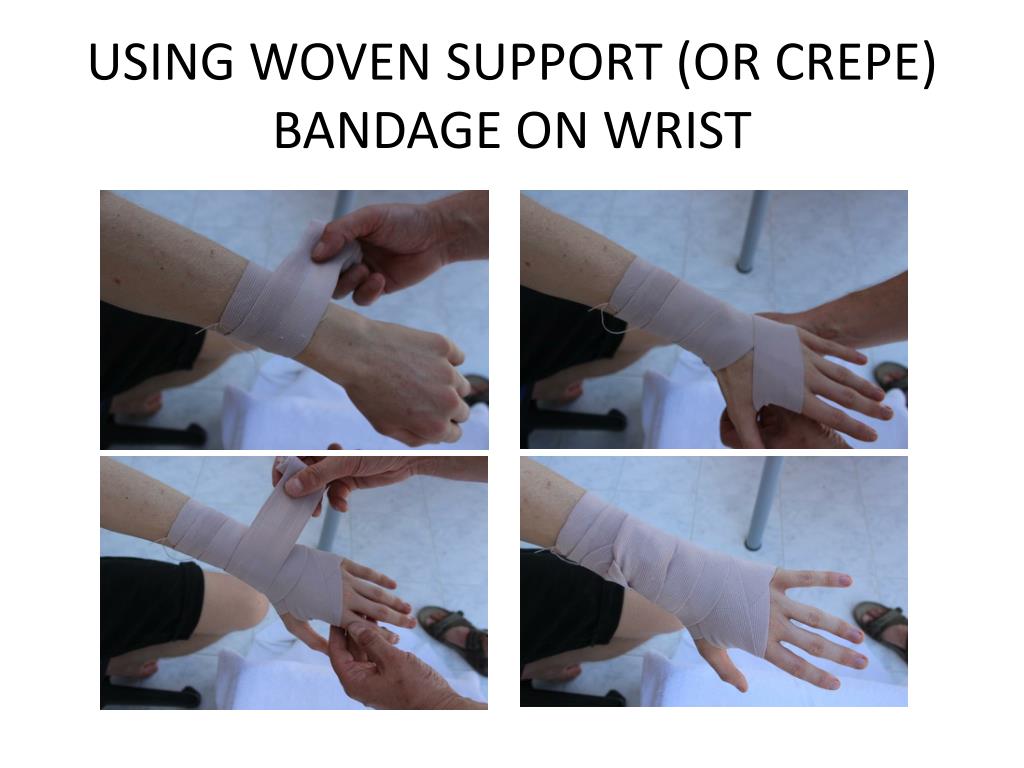
Begin to wrap the bandage around your wrist, going over the tail piece to lock it down. Don’t pull it like you’re starting a lawnmower—just keep it smooth and even. For the first turn, wrap it straight, then start angling slightly upwards toward your hand, covering about half of the previous layer each time. This is called the spiral, and it’s the secret sauce.
Keep the tension steady: it should feel like a firm handshake, not a boa constrictor. If you see your fingertips turning an alarming shade of maraschino cherry, stop immediately and re-wrap. That’s not a “good look” and it’s definitely not good for your tendons.

Step 3: The Thumb Weave (Yes, It’s Fancy)
Most wrist injuries need a bit of support around the base of the thumb, too. Once you’ve done two or three spiral loops, bring the bandage down toward your thumb joint, wrap it once around the fleshy part, and then go back up to the wrist. This creates a little figure-eight that makes you look like you know what you’re doing.
It also keeps the bandage from accidentally turning into a butterfly trap. If the thumb weave feels too complex, skip it—just keep the spiral going. The point is support, not winning a first-place ribbon in origami.
Step 4: The Satisfying Finish
Once you’ve covered about two-thirds of your wrist (going toward the elbow), you’re done. Now comes the moment of truth: the clip. Most crepe bandages come with little metal clips, and they’re the true villains of this story. Pick the clip up, try not to stab yourself, and secure it perpendicular to the bandage, not along it. That way, it won’t dig into your skin when you flex.
No more than two thirds of your wrist should be covered—you want to leave the back part free for movement. Now, do a quick test: bend your wrist up and down, make a fist, and pretend to wave at someone. If it feels snug but doesn’t pinch, you’ve done it. Congratulations, you’re now officially your own physiotherapist.
And if you still get a lumpy mess? Just say it’s a “custom compression pattern” and own it. Nobody has to know that behind your confident smile, your bandage is holding on for dear life, just like you are. Just remember: practice makes perfect, and the next time you’ll nail it while barely looking in the mirror. Now go wrap that wrist and get back to whatever mildly irresponsible activity caused this in the first place.


