How To Render Grease Pencil Blender

Okay, let’s be real for a second. You’ve spent hours meticulously drawing a gorgeous 2D scene with Grease Pencil in Blender. Then you hit render, and… poof.
It’s either invisible, a weird flat gray blob, or it looks like a pile of digital mush. I’ve been there, staring at my screen like it personally insulted my grandmother. The good news? Rendering Grease Pencil isn’t rocket science. It’s just a matter of knowing which buttons to poke and which settings to bully into submission.
Grab your coffee. Let’s fix this mess together.
Must Read
The Great Invisibility Mystery
First things first: if your render is completely empty, you’re probably using the wrong render engine. Grease Pencil is a 2D beast, and it doesn’t play nice with the default Eevee in all scenarios—actually wait, it does. But if you’re in Workbench by accident, nothing is going to show up.
Switch your render engine to Eevee for 99% of your Grease Pencil needs. It’s faster, it handles strokes beautifully, and it won’t give you that hollow, dead-inside look. If you're using Cycles, stop. Just… stop. You’re making your computer cry for no reason.
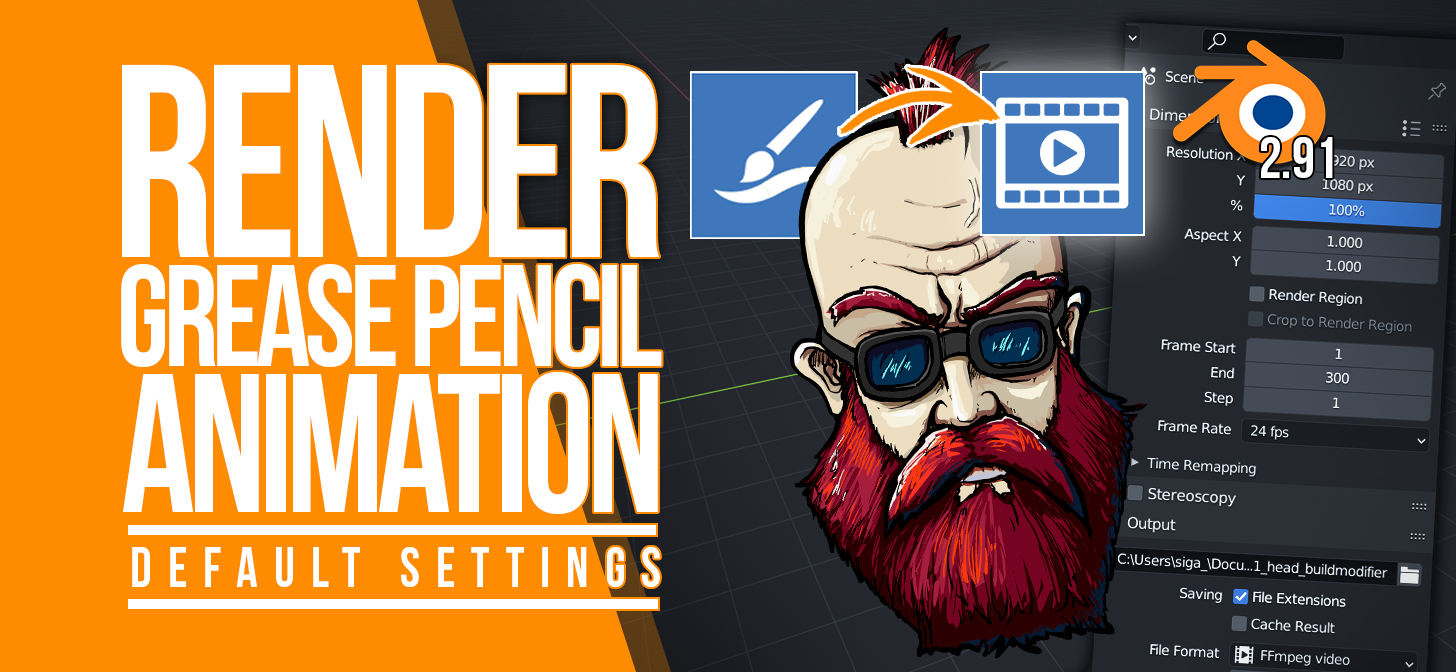
Pro tip: go to the Render Properties tab (the little camera icon) and make sure “Film > Transparent” is checked if you want a clean PNG. Otherwise, you get a boring white box behind your art. Yawn.
Stroke, Fill, and the Art of Being Seen
Now, let’s talk about why your strokes look like they were drawn with a dry marker. In the 3D viewport, your pencil lines look crisp and juicy. But rendering often makes them look thin and pale. That’s because of Line Width settings.
Hit N to open the sidebar, find the Grease Pencil tab (the little pencil icon), and look for “Stroke Thickness.” The default is usually 1-2 pixels, which is basically a whisper. Crank that up to 10 or 15. Do it. You won’t regret it.
And don’t you dare forget the Fill option. If you filled your shapes in the viewport but the render shows hollow outlines, you’ve got a “Fill” visibility issue. Check the little eye icon next to “Fill” in the material list. It’s always the eye icon. The universe loves eye icons.

The Lighting Lie
Here’s a secret: Grease Pencil doesn’t need lights. Seriously. It’s flat, 2D, and it doesn’t care about your fancy three-point lighting setup. But if you leave a default scene with a Sun light that’s too bright, your colors can get washed out.
If your render looks like you’re staring into the sun, go to the World Properties tab and set the background color to pure black or pure white. Then, adjust the Strength of your lights to a low number like 0.5. Or just delete the lights altogether. Grease Pencil is a rebel—it doesn’t need a leader.
You want the colors to pop exactly as you drew them. So, check the Material Properties and set the “Blend Mode” to Alpha Blend if you see weird halos around your strokes. That fixes the dreaded “white edge” issue faster than you can say “anti-aliasing.”
The Modifier Trap
Ah, modifiers. The spice of life and the ruin of many renders. If you’ve got a Solidify or Bevel modifier on your Grease Pencil object, it might render with thick, chunky lines that look like you’ve been drinking too much espresso.
The fix? In the Modifier Properties tab, look for a toggle called “Render.” Yes, you can apply a modifier in the viewport but hide it during rendering. Click that little camera icon to disable it. You’re welcome.
Also, keep an eye on the Pixel Factor in the Stroke modifier. If that number goes above 1, your lines become comically thick. Like, drawing with a firehose. Keep it at 1.0 unless you’re going for abstract art.
The Final Boss: Compositing
Let’s say you’ve done everything right, but your render still looks “off.” Maybe the colors are slightly darker than in the viewport. That’s because Blender loves to secretly apply a Color Management profile called “Filmic.”
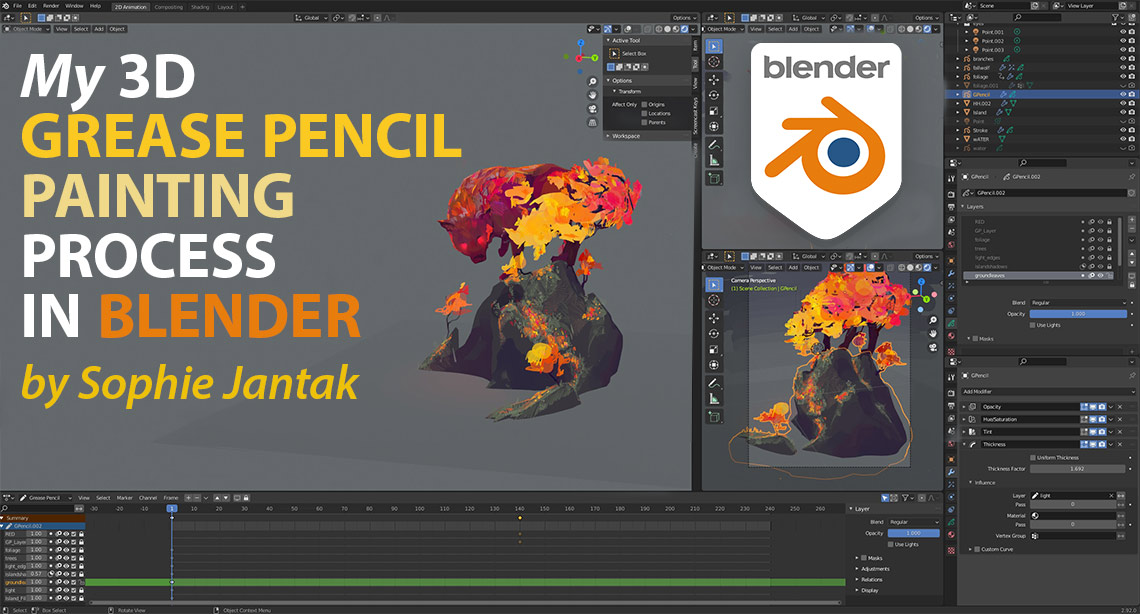
Filmic is great for 3D, but it’s terrible for crisp 2D cartoons. It dulls your colors like a foggy day. Go to Render Properties > Color Management and change the “View Transform” from Filmic to Standard. Boom. Instant saturation boost.
If you want to be extra fancy, add a Compositor node setup to add a subtle glow or outline. But for now, just get those colors singing.
Rendering Grease Pencil isn’t about mastering some dark art. It’s about checking your settings like a paranoid detective. Eevee engine? Check. Line width? Check. Modifiers off during render? Check. View transform on Standard? Check.
Now go render that masterpiece. And if it still looks broken, just remember: I’m probably sipping coffee and laughing with you, not at you. Probably.