How To Print An Image A Certain Size

Have you ever printed a photo or a graphic, only to find it came out either tiny or blown up like a weird poster? It’s one of those small, everyday frustrations that makes you wonder if your printer is secretly mocking you.
But here’s the good news: printing an image to an exact size is entirely doable, and once you learn it, you’ll feel like a quiet wizard of paper. This skill isn’t just for tech geeks—it’s for anyone who wants to make a custom card, a precise sticker, or a perfectly sized reference sheet.
The core secret is understanding pixels per inch (PPI), or sometimes DPI for dots per inch. Think of it as the density of tiny colored dots that make up your image—the higher the number, the sharper and smaller the printed result will be at a given size.
Must Read
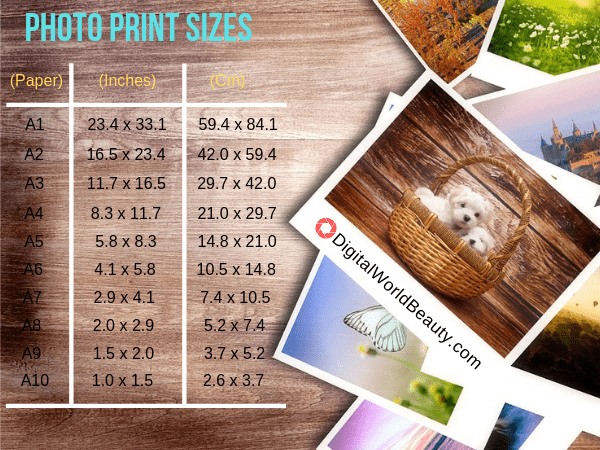
When you tell your printer you want a 5x7 photo, you’re really saying: “Spread these pixels across 5 inches by 7 inches.” If your image has too few pixels for that size, it becomes blurry. If it has way too many, the software simply squeezes them down.
For most everyday tasks, a PPI of 150 gives you a decent print, while 300 PPI is your best friend for crisp text and detailed photos. You can check your image’s pixel dimensions in any photo viewer—just look at the ‘Properties’ or ‘Info’ tab.
Here’s a simple mental math trick: to print a 6-inch wide image at 300 PPI, you need an image that is at least 1800 pixels wide. The same math works for height, so you can plan ahead before you hit that “Print” button.
In daily life, this is fantastic for making a custom graph for a school project or a cheat sheet that fits perfectly in your notebook. Parents can print coloring pages sized exactly for a binder, and crafters can scale quilt templates without guesswork.
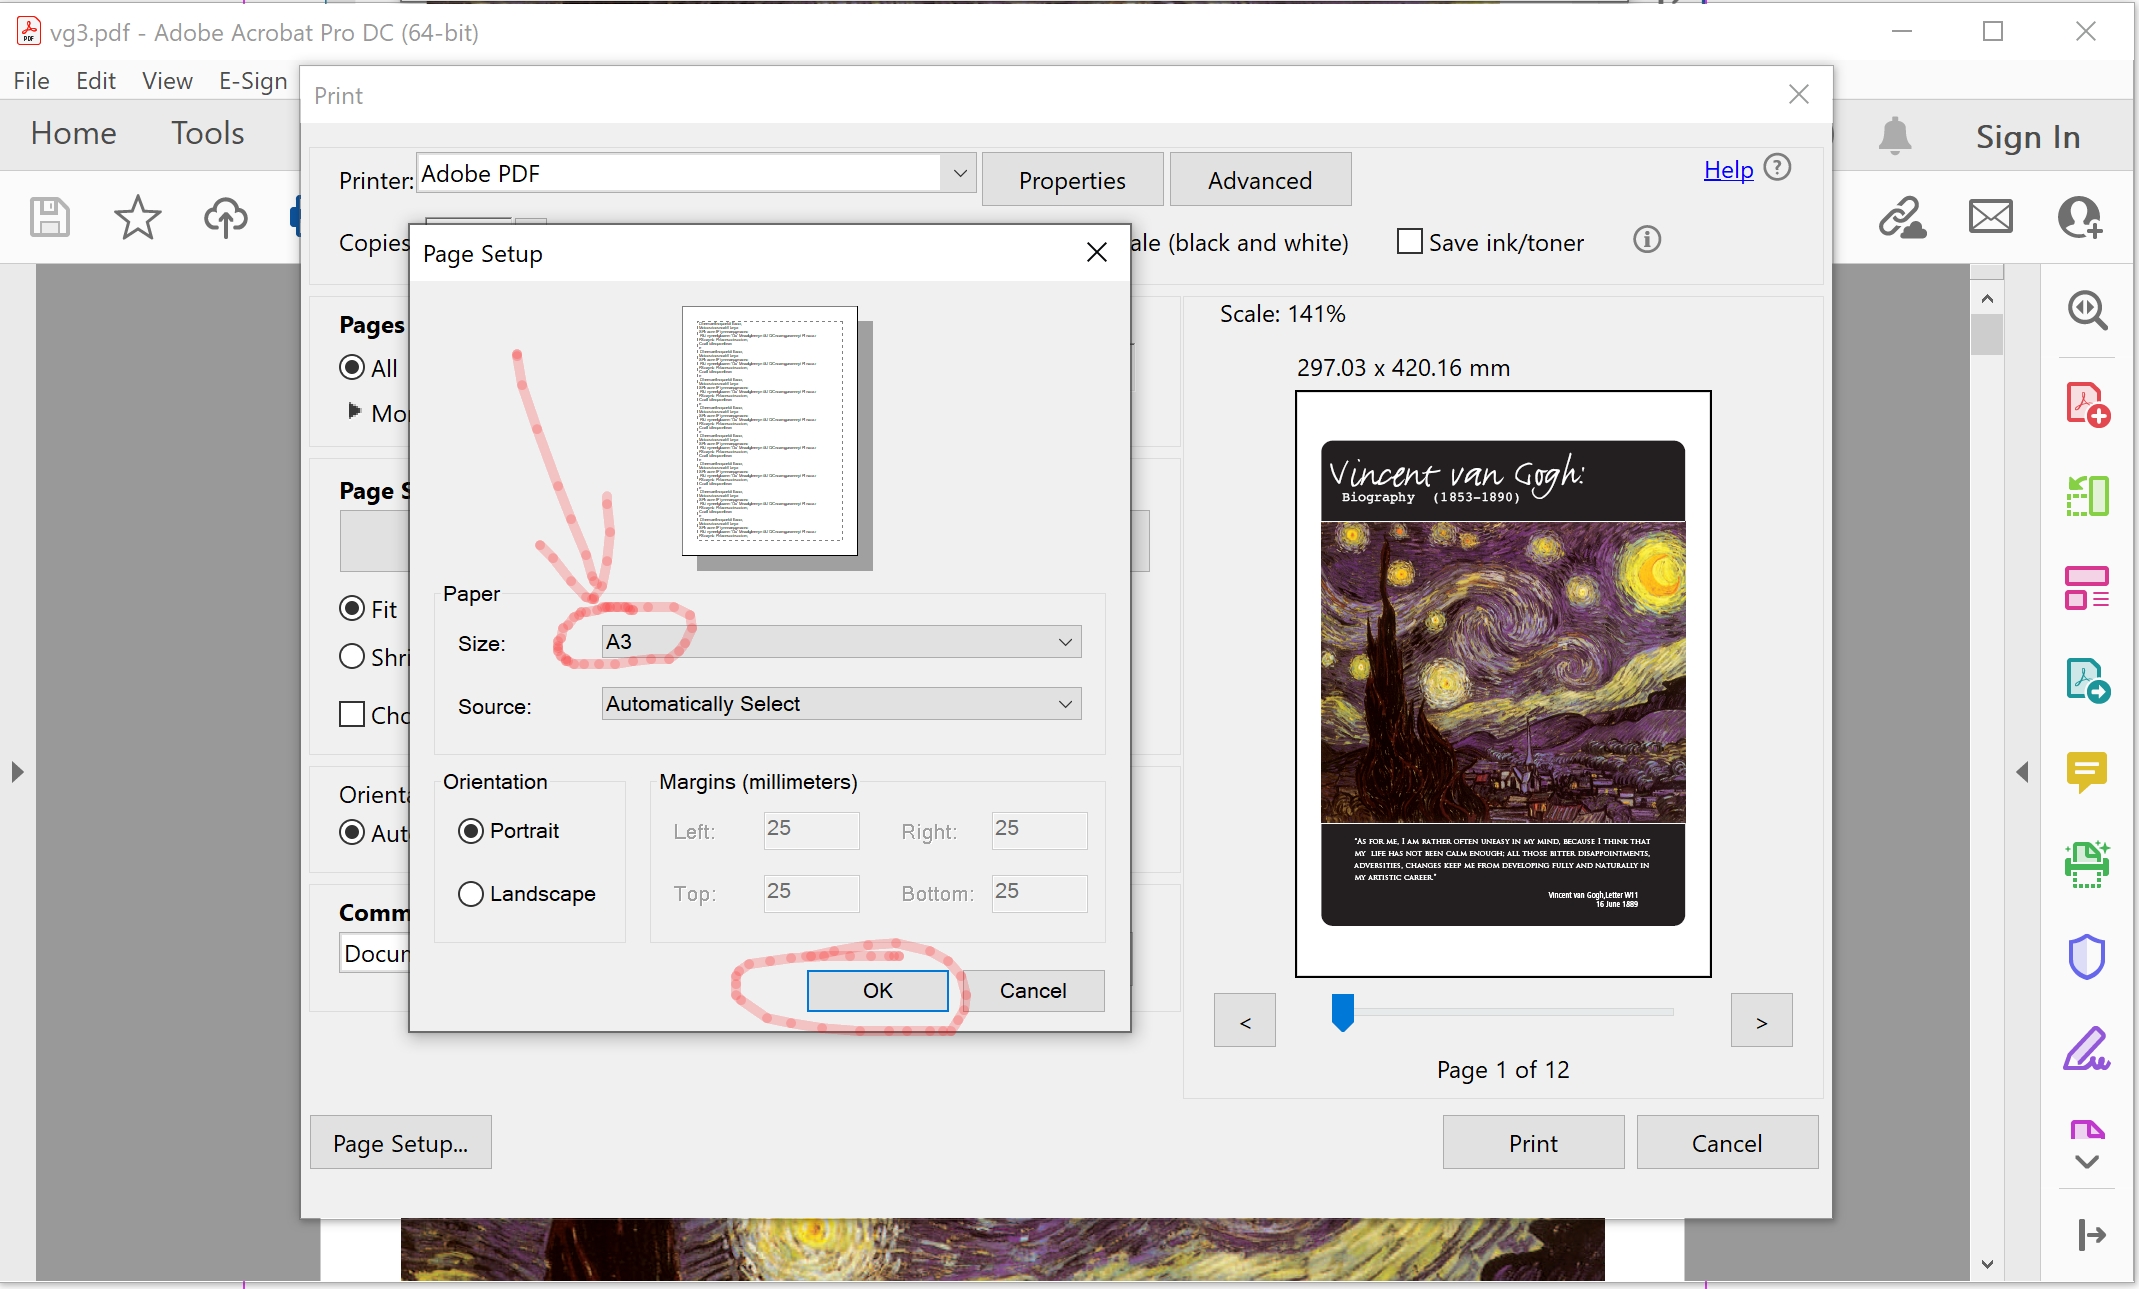
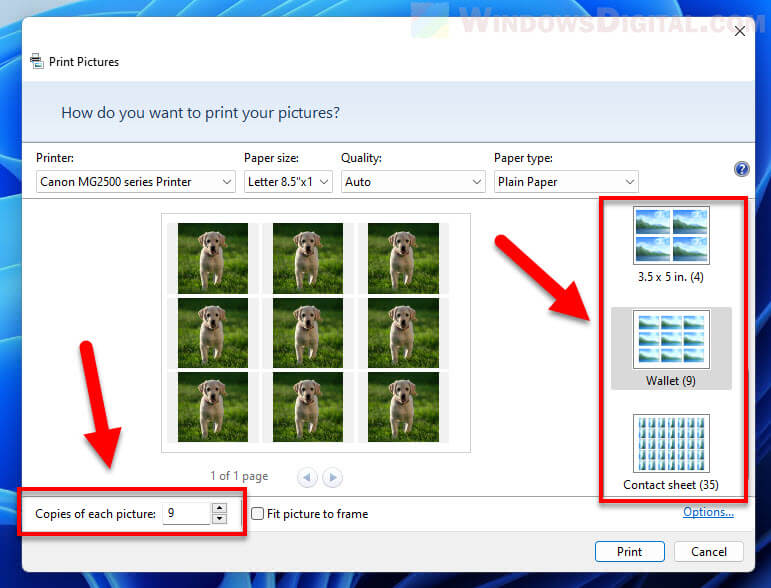
Teachers use this constantly to create flashcards, rulers, or even tiny maps for geography lessons. Instead of relying on the printer’s default ‘fit to page’ option, they set the exact dimensions, so every student gets the same accurate result.
The quickest way to explore this is to open your image in any basic photo editor—even Microsoft Paint works. Look for the ‘Resize’ option, but ignore the percentage and choose ‘Pixels.’ Then, change the width or height to your target number based on the PPI you want.
For example, to print a 3x3 inch square at 300 PPI, set the width to 900 pixels and the height to 900 pixels. Don’t forget to uncheck the ‘Maintain aspect ratio’ box only if you want to intentionally stretch it—otherwise keep it checked.
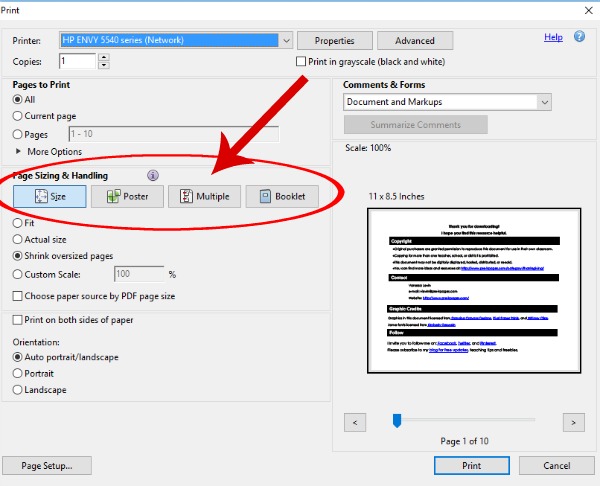
Another handy trick is to print a test piece on plain paper first, just to check the size before you waste photo paper. Measure it with a ruler—this isn’t a betrayal of trust; it’s just smart verification.
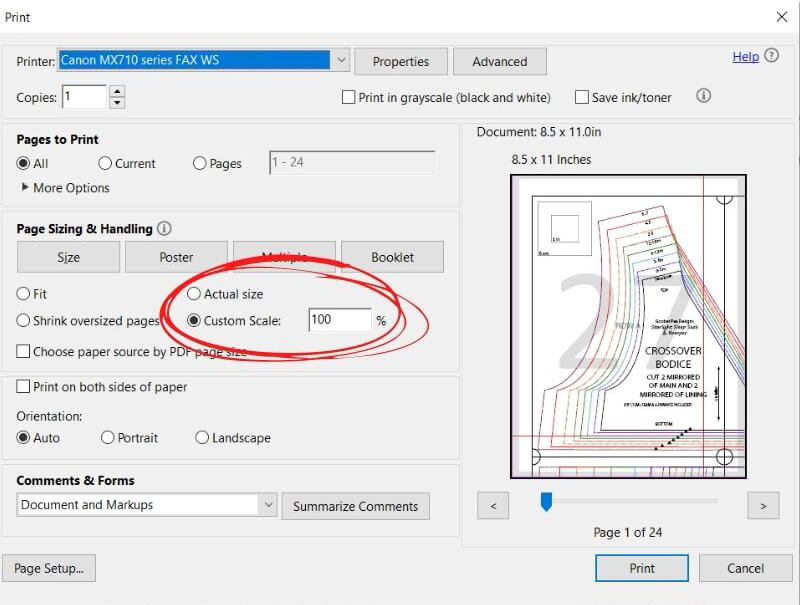
One common mistake is relying on the printer dialog’s ‘Scale’ slider, which changes the size after the image is already set. Instead, you should fix the image’s native size in your editor first, then print at 100% scale.

If you’re using a phone, apps like Photos or Google Snapseed let you set custom print sizes before sending to a wireless printer. This makes it easy to print a quick label or a family photo for a fridge magnet without firing up a computer.
Finally, don’t be afraid to experiment—print one image at three different PPI values and compare the crispness. You’ll quickly build an intuition for what looks good, and soon you’ll be the friend everyone asks to design their party invitations.
So next time you need a specific-sized image, remember: it’s not magic, it’s just pixel math. And with a little practice, you’ll never print a confusingly enormous thumbnail again.