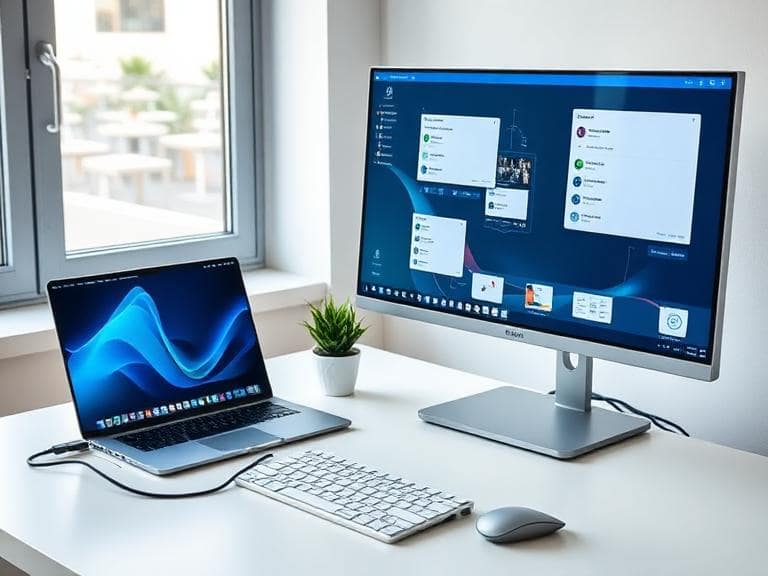
How To Connect A Laptop To A Moniter
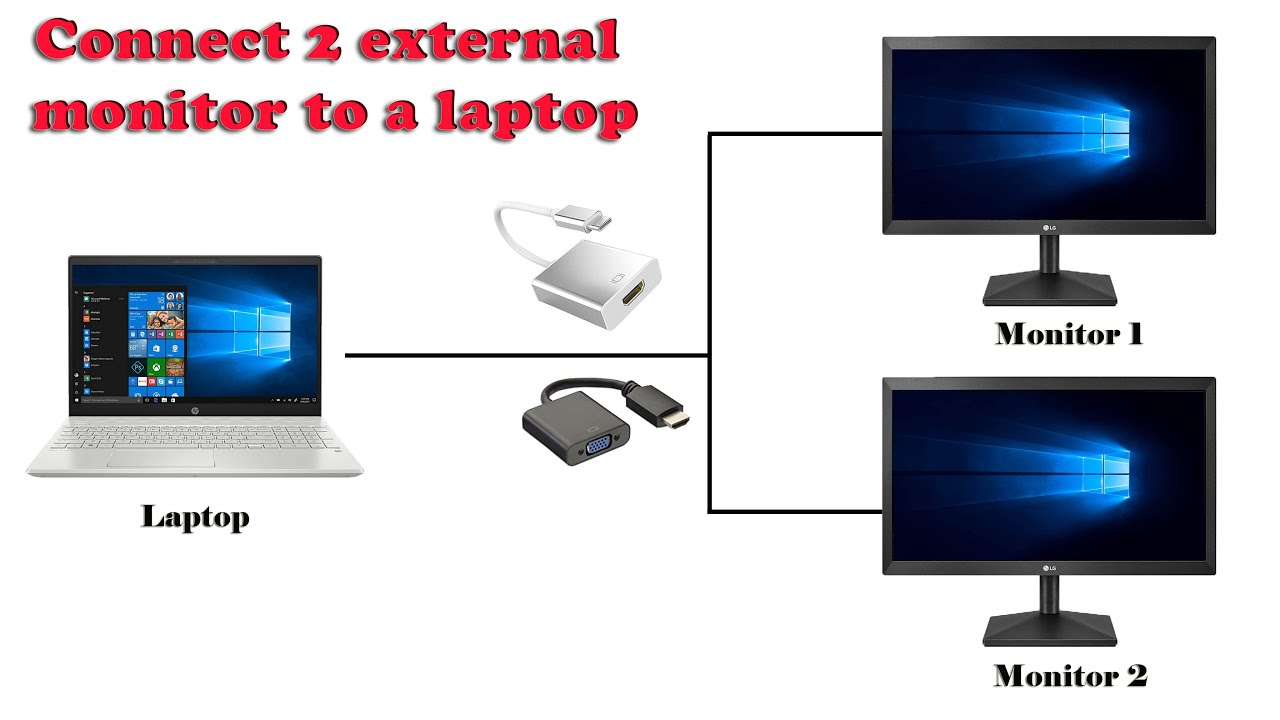
So, you’ve decided to free your laptop from its tiny, built-in screen prison. Congratulations! You’re about to experience the digital equivalent of trading a clown car for a stretch limo. But before you start throwing cables at ports like a confused game of darts, let's get one thing straight: this is not rocket science. It’s more like figuring out which end of a USB stick goes in—only with slightly more consequences if you jam it in wrong.
The Cable Conundrum (aka, Port Lottery)
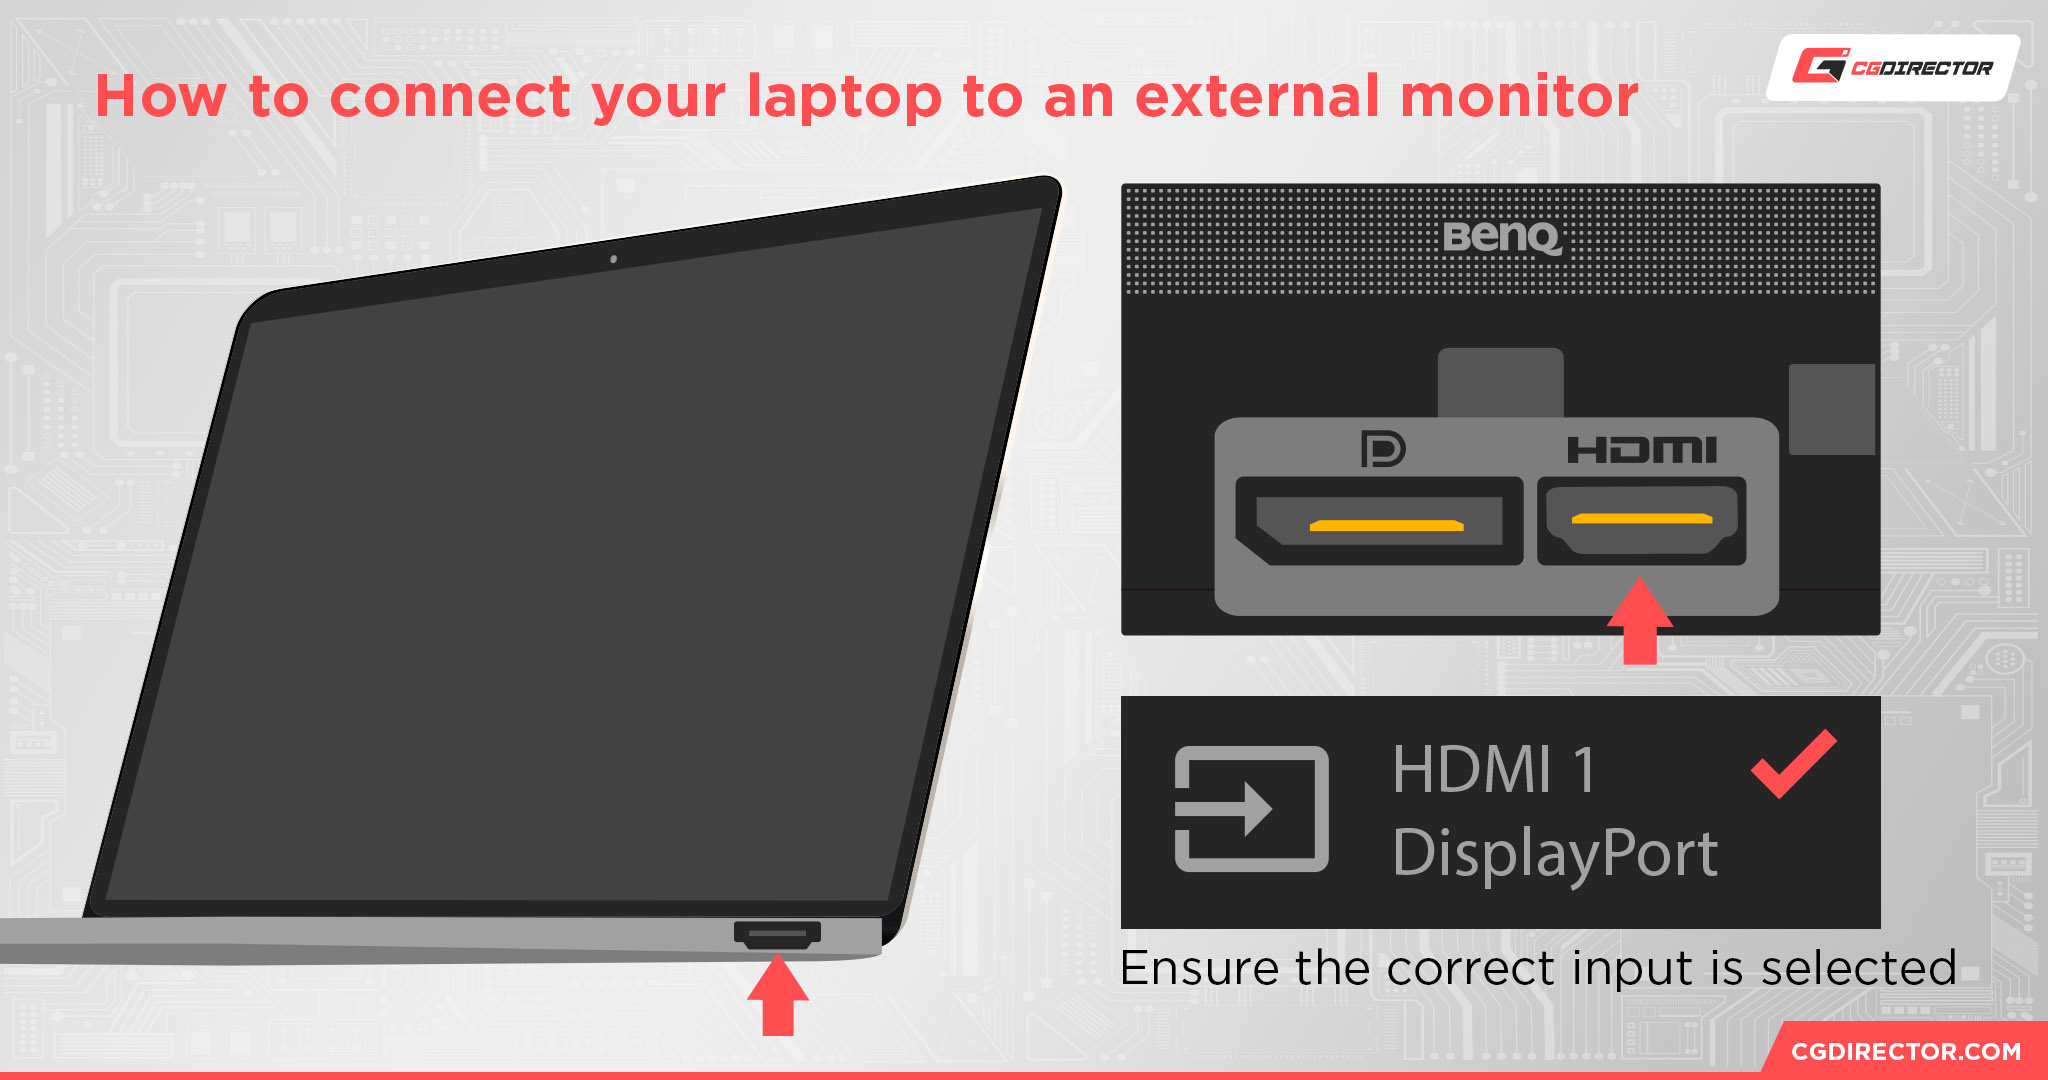
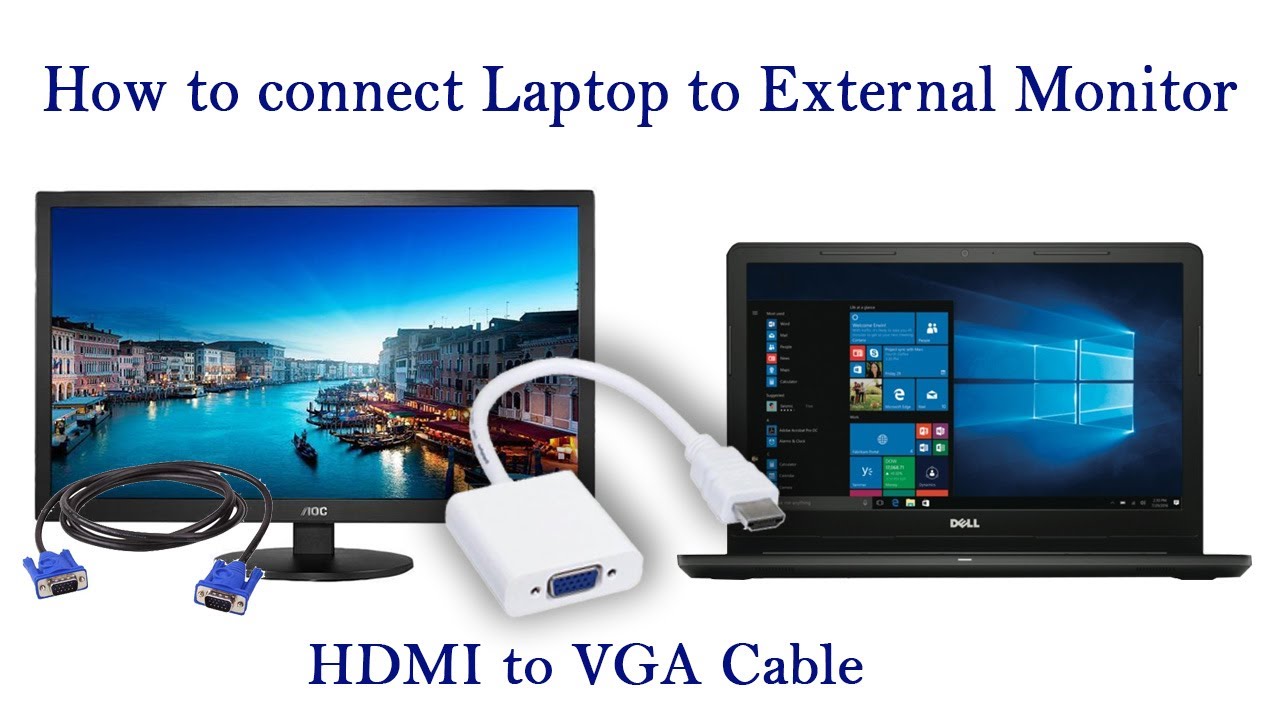
First, you need to find the secret passage on your laptop. Look for a port that isn’t a USB-A (that’s the rectangular one that’s been around since the dinosaurs). Modern laptops usually have HDMI, DisplayPort, or that weirdly sleek USB-C that does everything except make coffee. If you own a MacBook, you’re in luck—it has more ports than a shipping hub, but they all look identical, so good luck guessing.
Here’s a fun fact to blow your mind: the average HDMI cable can carry 18 gigabits per second. That’s enough data to download the entire works of Shakespeare in about 0.02 seconds. Yet, you’ll still spend five minutes wrestling the plug because it’s somehow upside down—every single time. Trust me, that’s a law of physics.
Must Read
Step 1: The Physical Connection (Don’t Panic)
Take your cable and gently insert it into the laptop. If you feel resistance, stop. Do not hulk-smash it. That’s not a “click,” that’s your motherboard crying. Now, plug the other end into the monitor. Procrastinate here for a moment—grab a snack, because this next step is the real boss battle.
Turn on your monitor. It will likely display a message that says “No Signal,” which is tech-speak for “I’m judging you.” That’s normal. Your laptop thinks the monitor is an expensive paperweight right now.

Step 2: The Mystery Key Combo (Summoning the Display Gods)
On your keyboard, look for a key with a little rectangle and a line on either side—usually the F4, F7, or F8 key. It looks like a miniature TV. Hold the Fn key (usually bottom left, shy and gray) and tap that TV key. This toggles between screen modes: “Laptop only,” “Monitor only,” “Duplicate” (for showing your friend a funny meme), and “Extend” (your new, glorious dual-screen kingdom).
If nothing happens, don’t scream. Just press Windows + P on a PC, or Command + F1 on a Mac, which is Apple’s way of saying “let’s get fancy.” You should now see a menu that looks like a PowerPoint slide from 1998. Click “Extend.” Voilà—your cursor will now wander off into the void on the right side of your screen. Go chase it.
Step 3: The Resolution Reckoning
Sometimes, your monitor looks like it’s rendering a potato. Right-click your desktop and select Display Settings. Scroll to “Resolution” and slide it up to the monitor’s native setting—usually 1920x1080 or higher. Fun surprise: if you set it too low, everything looks like a Minecraft texture pack. If you set it too high, your icons shrink to the size of bacteria. Aim for “sharp but not absurd.”
Pro tip: if your screen is flickering, your cable is cheap or dying. Buy a better one. It’s like upgrading from a plastic straw to a metal one—same job, but infinitely more satisfying.
The Final Boss: Sound (Or Lack Thereof)
Now, the moment of truth. You’ll quickly realize that the monitor has no speakers, or worse, it does, but they sound like a kazoo underwater. Right-click the volume icon and select “Playback devices.” Choose your monitor if you want tinny audio, or keep your laptop speakers for richer bass that will annoy your neighbors equally. That’s it. You did it.
So go ahead, open a spreadsheet on one screen and a cat video on the other. That’s the whole point of being an adult—multitasking with questionable priorities. And if all this fails, just buy a monitor with a built-in “Auto” button and press it with your eyes closed. It works 60% of the time, every time.