
How To Buy Tokens On Trust Wallet
Your Crypto Wallet Just Got a Whole Lot Cooler
Imagine walking into a digital arcade where every game token is actually a cryptocurrency. That’s Trust Wallet—your all-in-one pocket portal to the wild world of DeFi, NFTs, and meme coins.
Buying tokens here isn’t just a transaction; it’s your golden ticket to joining communities, staking for rewards, or catching the next 100x rocket. And the best part? You don’t need a finance degree—just a phone and a dash of curiosity.
Step 1: Get the Wallet Ready (It’s a 2-Minute Setup)
First, download Trust Wallet from your official app store—check for the blue shield logo to avoid imposters. Open it, create a new wallet, and immediately write down your 12-word recovery phrase on paper. Not a screenshot, not a note app—paper.
Must Read
That tiny phrase is the master key to your funds. Lose it, and your tokens are gone forever, like a pirate’s treasure sunk in the ocean.
Once you’ve secured your phrase, set a strong passcode or enable biometric lock. Your future self will thank you when you’re bragging about your portfolio at parties.
Step 2: Fuel Up with the Right “Gas” (BNB or ETH)
Before buying any new token, you need “gas” to pay for transaction fees. If you’re on the Binance Smart Chain (BSC), that means BNB; if you’re on Ethereum, it’s ETH.
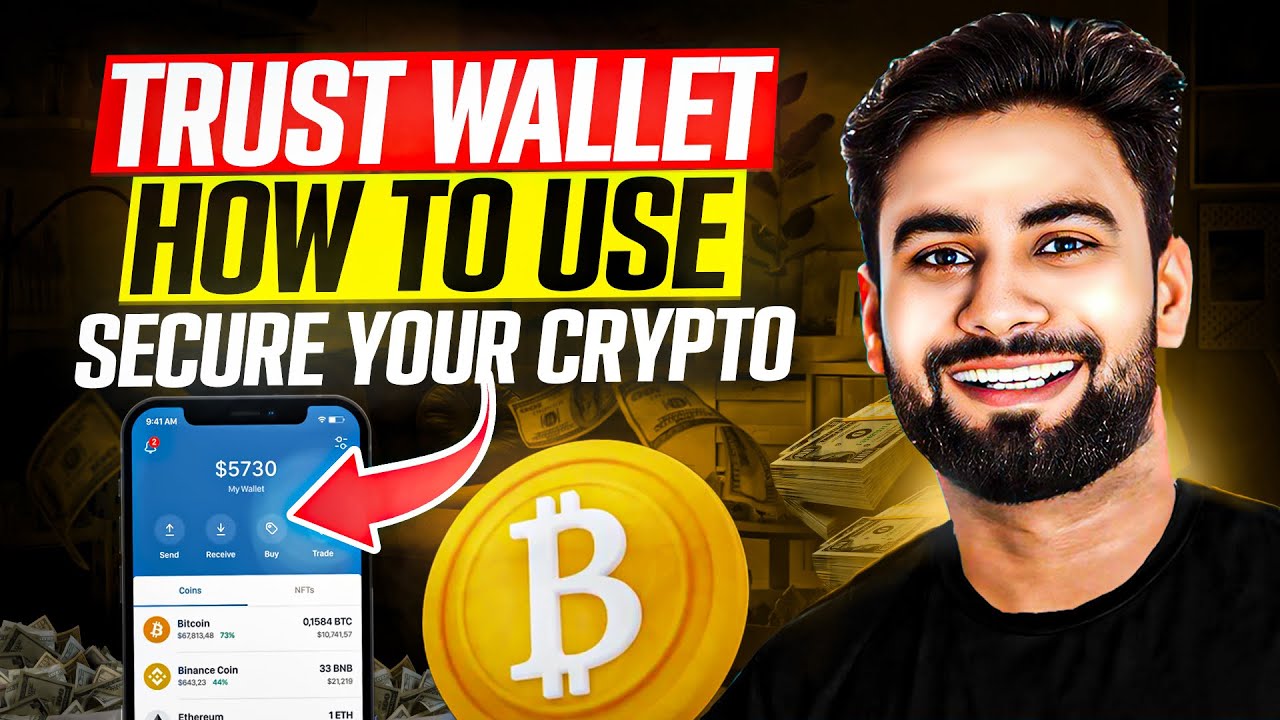
In your Trust Wallet, tap “Buy” on the main screen, choose your preferred payment method (credit card, Apple Pay, or bank transfer), and grab some BNB or ETH. Don’t stress about the exact amount—$20 to $50 is plenty for most purchases and a few swaps.
You can also transfer crypto from an exchange like Coinbase or Binance directly to your Trust Wallet address. Just copy your wallet address (tap “Receive”) and paste it on the exchange—simple and secure.
Step 3: Find Your Token—Not All Are Created Equal
Now the fun begins: browsing tokens. Open Trust Wallet, tap the “DEX” icon (that’s the decentralized exchange), and you’ll see a swap screen. This is your virtual marketplace where no middleman tells you what to buy.
Look for the token’s contract address—a long string of letters and numbers. Always copy it from the token’s official website or a trusted source like CoinMarketCap. Scammers create fake copies with similar names, so double-check everything.
Pro tip: If a token promises “guaranteed 1000% returns” or asks for your recovery phrase, run away. That’s not a token; that’s a trapdoor.
Step 4: Swap Like a Pro (And Watch the Slippage)
Tap “Select Token” and paste the contract address you verified. Choose the coin you’re paying with (BNB or ETH), enter the amount you want to spend, and hit “Swap.”

Before confirming, look at the slippage percentage—that’s the max price change you’re willing to accept. For standard tokens, 1% is fine; for volatile meme coins, set it to 5-10% so the transaction doesn’t fail.
Press “Confirm,” sign the request with your passcode or fingerprint, and watch the magic happen. In seconds, your new tokens will appear in your wallet, glowing like digital trophies.
Why This Matters More Than You Think
Buying tokens on Trust Wallet unlocks true ownership—no bank, no permission, no “we’ll process your request in 3-5 business days.” You are the bank, the broker, and the boss of your own money.

Plus, you’ll have access to thousands of projects before they hit major exchanges. That’s how people turn $50 into $5,000—by being early and staying smart.
Remember: only invest what you can afford to lose, and never share your recovery phrase, not even with “support.”
So go ahead, pick a token that sparks your interest, swap a small amount, and learn the ropes. The crypto universe is vast, and your Trust Wallet is the spaceship.
You’ve got the tools, the steps, and the warning signs. Now go make your first swap—and maybe join a community that celebrates your gains with rockets and dancing apes.


