Honda Hrv Rear Brake Pad Replacement
Let’s be honest—brake pads aren’t the first thing you daydream about. But swapping out the rear pads on your Honda HR-V is one of those rare car chores that feels like a mini victory.
It’s a perfect weekend project that saves you a chunk of cash. Plus, you get that satisfying “I fixed it myself” glow that lasts longer than the new parts.
For beginners, this job is a gentle on-ramp to DIY mechanics—no weird sensors or complex computers to fight with. For families, it means a safer ride for the kids and more money for pizza night. And for hobbyists, it’s a quick, tactile win that sharpens your skills without taking up your whole Saturday.
Must Read
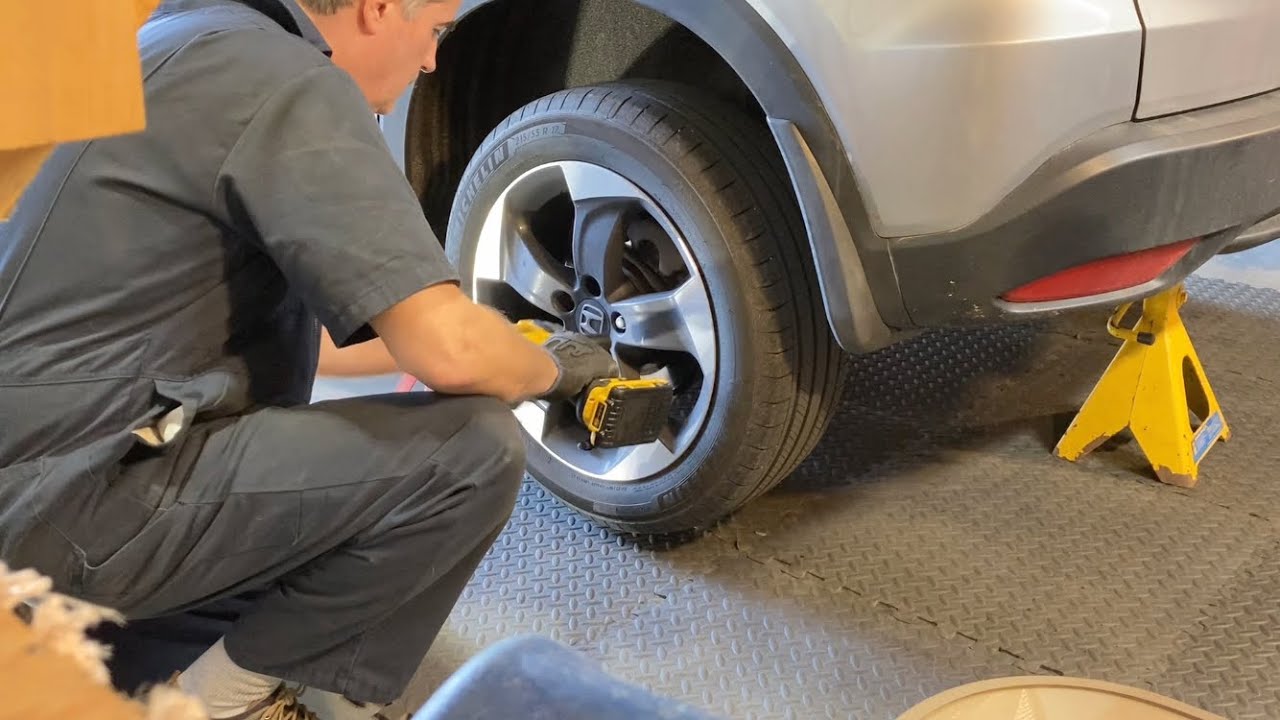
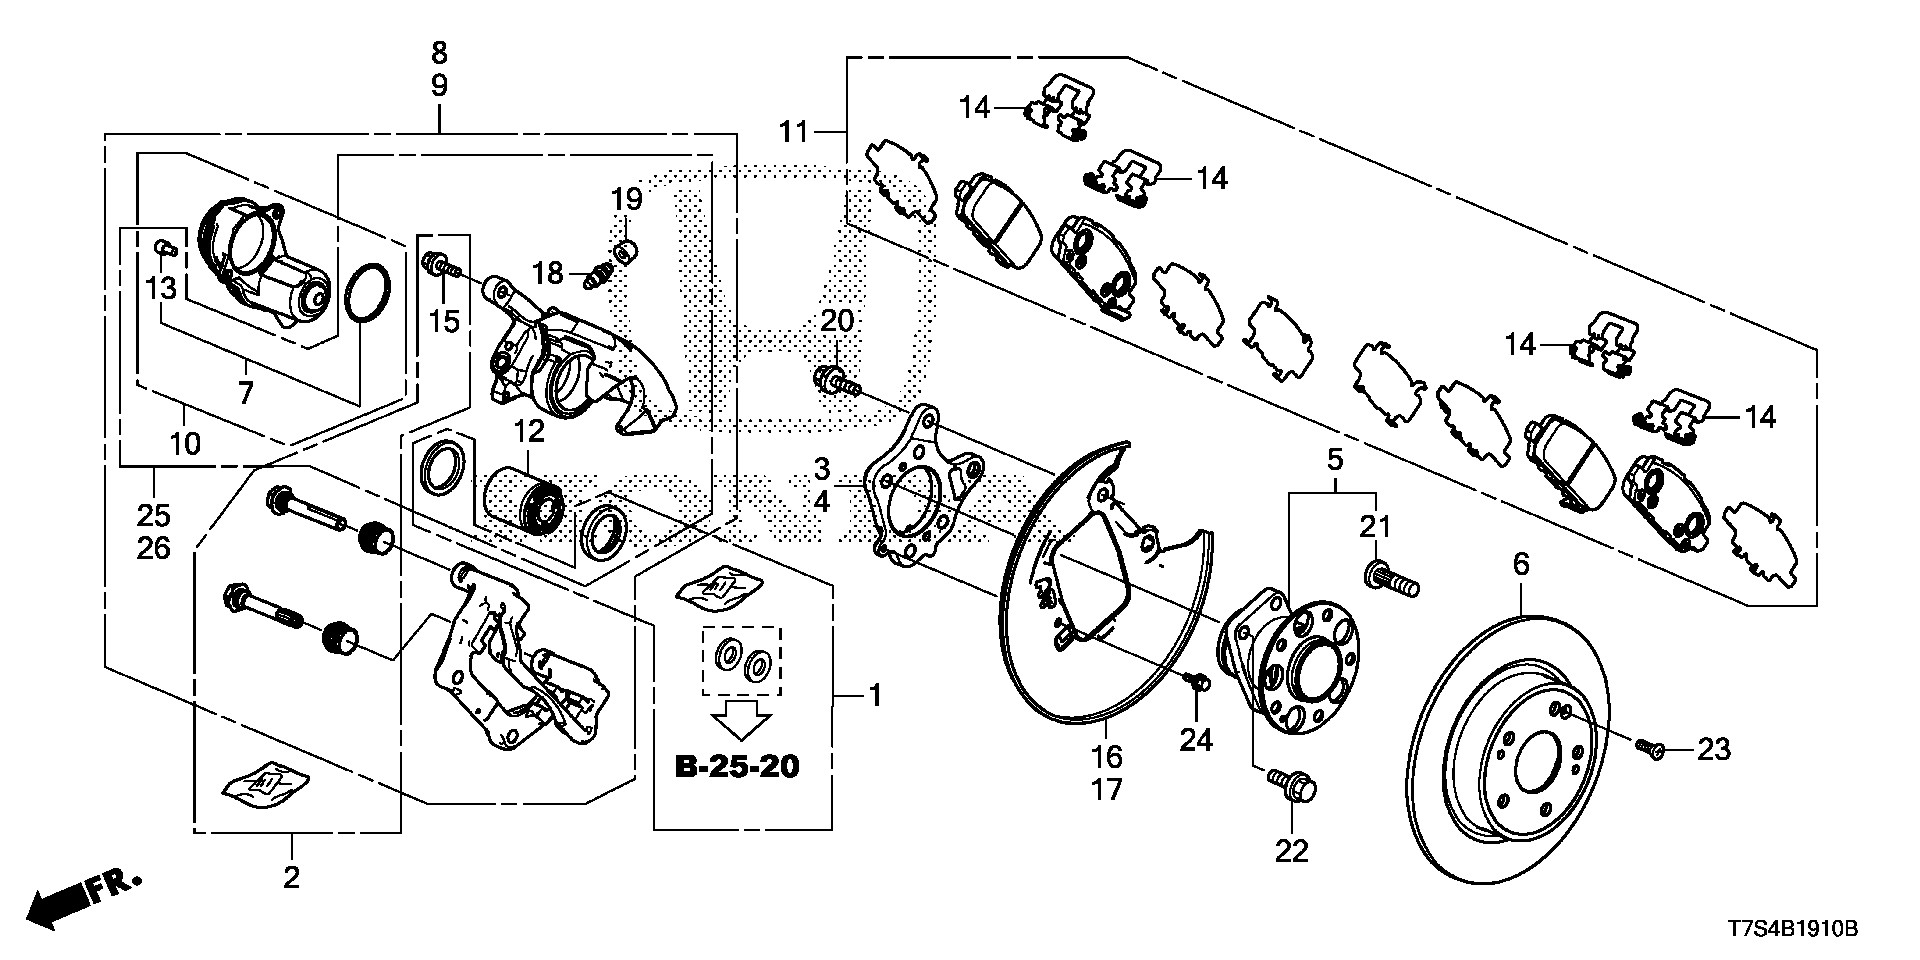
You don’t need a full race garage either; just basic sockets, a jack, and a C-clamp. The process is remarkably straightforward: pop the wheel off, unbolt the caliper, swap the old pads, and compress the piston back in.
One variation to keep in mind is the electronic parking brake on newer HR-Vs. If you have that, you’ll need to put the car in “maintenance mode” (usually a few button presses) before you push the piston back. Check your owner’s manual—it’s a five-minute read that saves a headache.
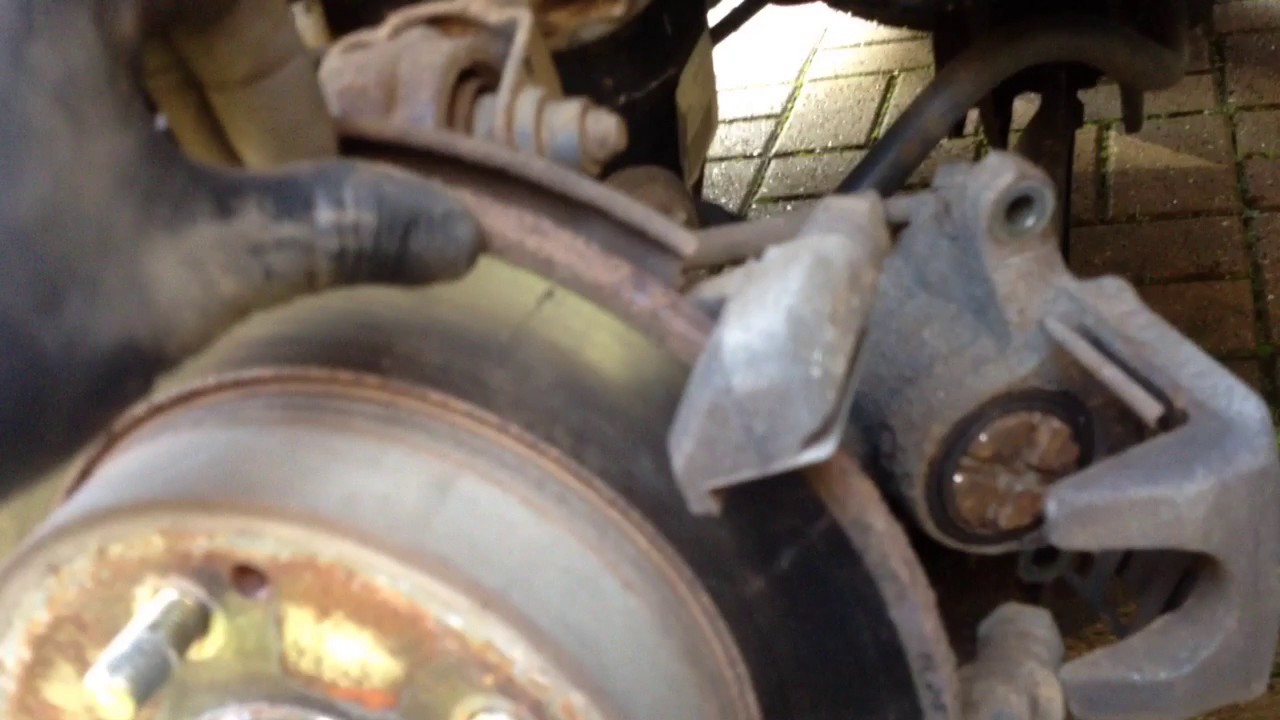
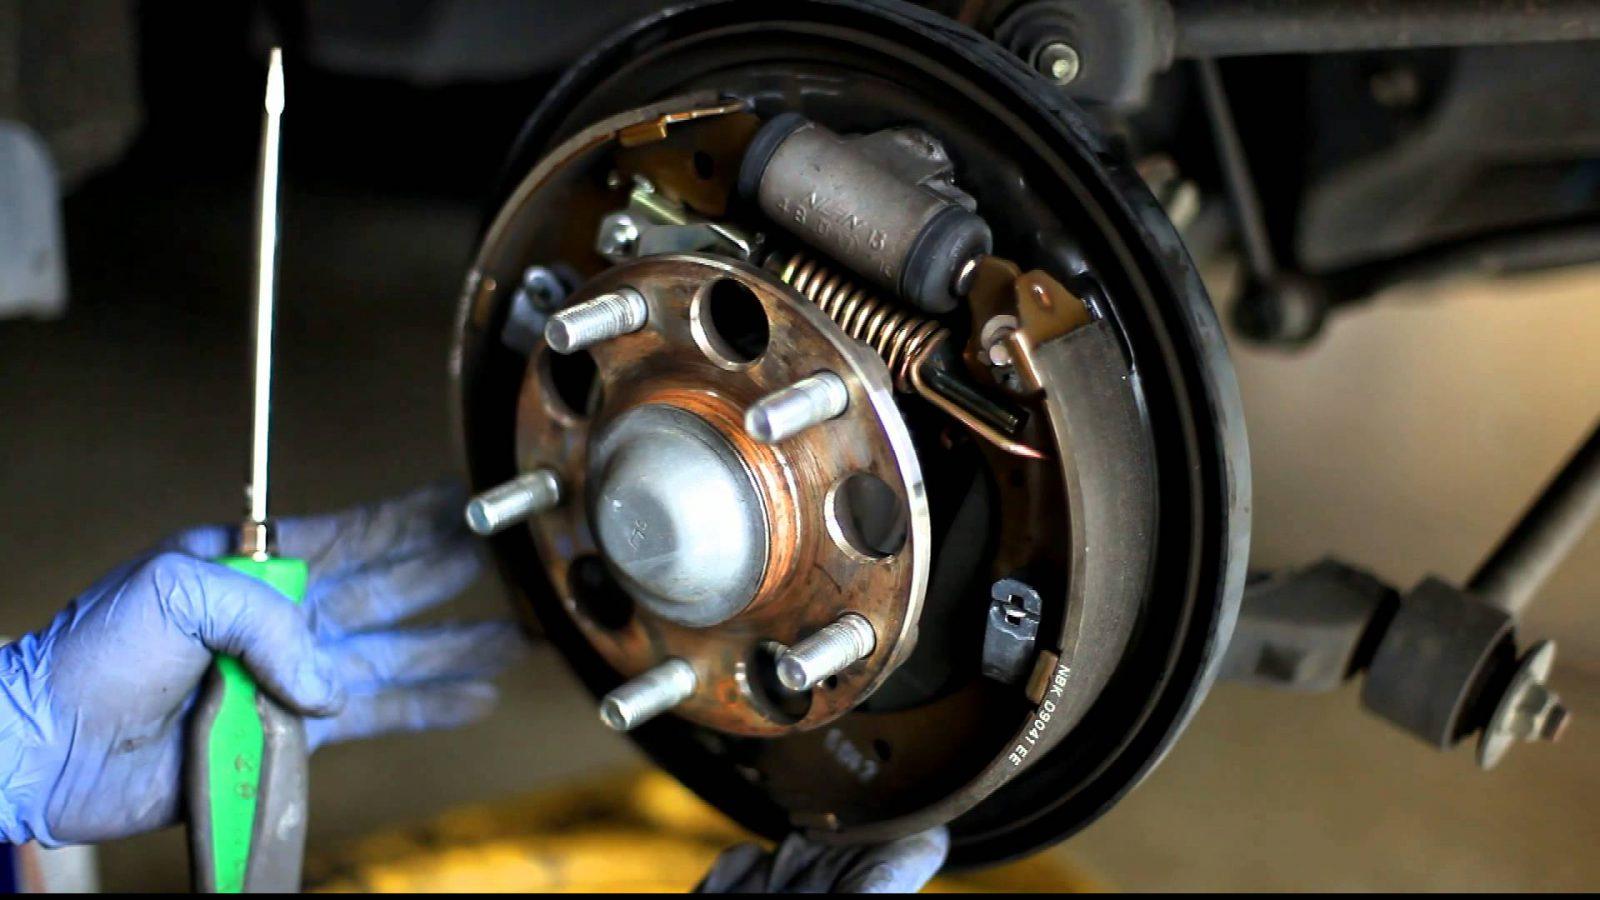
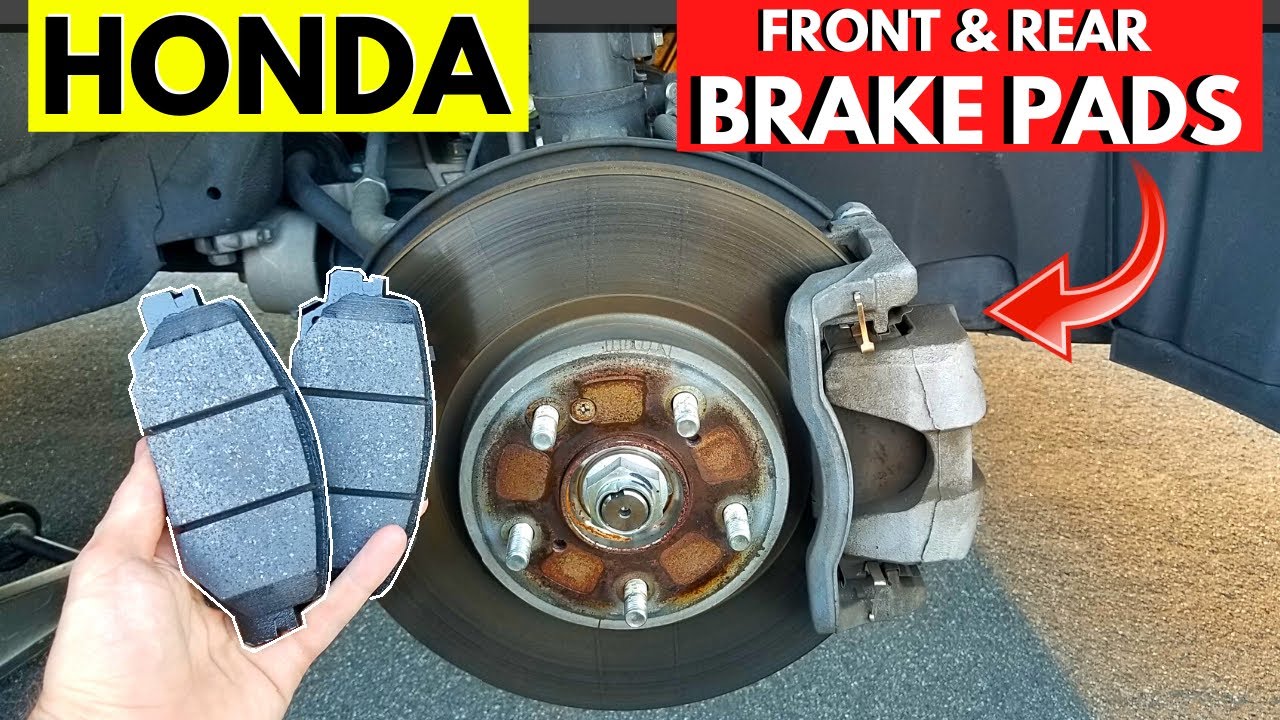
Another twist: some HR-V trims have rear disc brakes that are identical to the front ones, while others use smaller pads. Just buy the exact rear-specific set, and you’ll be fine.
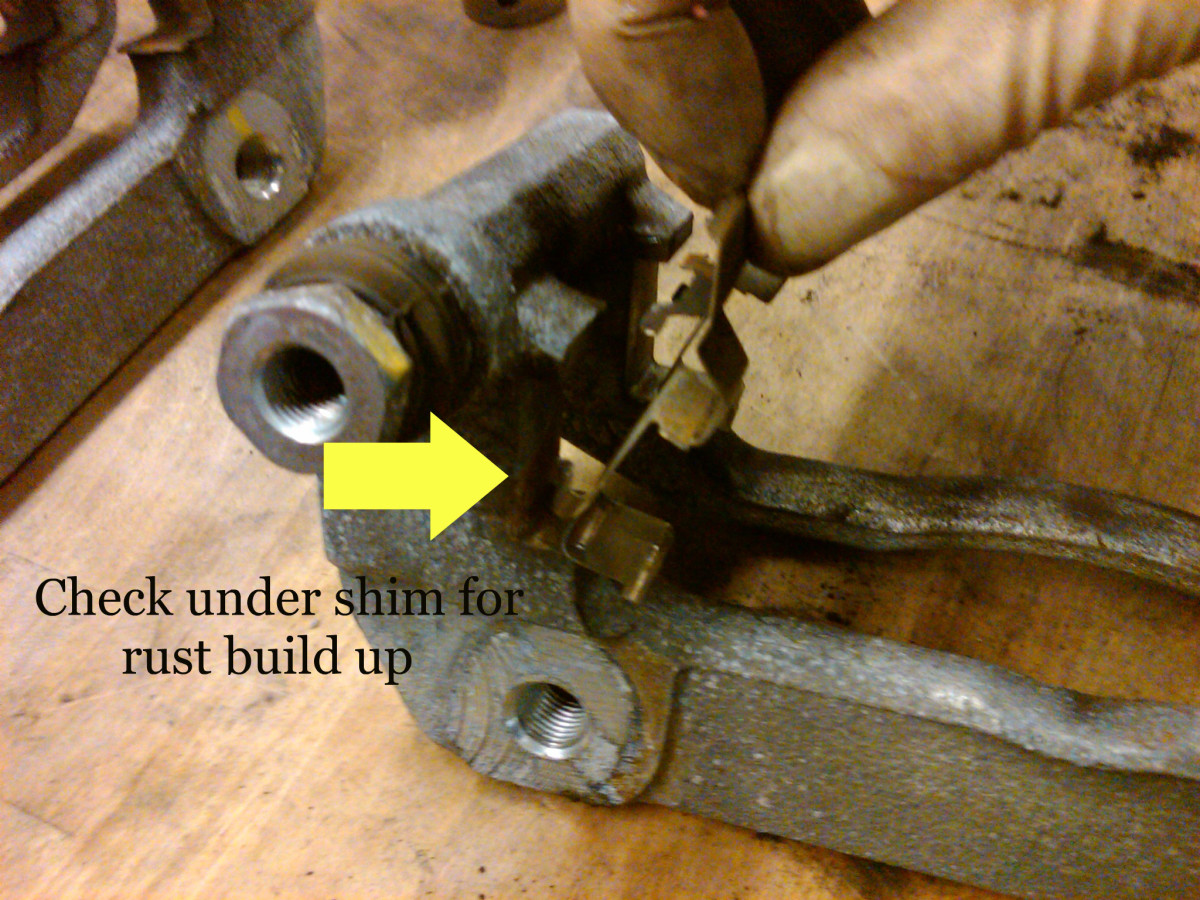
Now, for the practical tips. First, clean the caliper bracket with a wire brush—rust and grime are sneaky pad killers. Second, apply a thin layer of brake grease to the metal contact points, but never on the pad’s friction surface itself.
Third, always replace both rear pads at the same time, even if one looks okay. The uneven wear will cause pulling, and you’ll be back in there in a month anyway.

Fourth, after you reassemble everything, pump the brake pedal a few times before you start the engine. This resets the hydraulic pressure and keeps your first stop from being a surprise.
And finally, torque the lug nuts to spec—usually around 80 ft-lbs—using a torque wrench. Hand-tightening with a tire iron is a rookie mistake that leads to wobbly wheels later.
When you’re done, take the HR-V for a slow, quiet test drive. You’ll instantly feel a firmer pedal and hear a clean, whisper-like stop—no squealing, no grinding. That’s your sign of a job well done.
The whole job might take you two hours on the first try, and the second time, you’ll be done in forty-five minutes. That’s the beauty of learning a skill—it gets faster and easier every time.
So grab your gloves, put on a podcast, and give your HR-V some rear-end love. You’ll save around $150 in labor costs, and your car will thank you with safer, smoother stops. And honestly, there’s nothing more satisfying than closing the hood and knowing you’ve done it all by hand.