Home Depot Tile Flooring Installation
Let’s be honest—floors take a beating. They face muddy boots, spilled coffee, and the daily chaos of life. That’s exactly why tackling a Home Depot tile flooring installation is such a satisfying weekend warrior project. You don’t just cover your subfloor; you build a fortress that looks stunning and cleans up with a quick sweep.
Why Do It Yourself?
The biggest win is the massive cost savings. Pro installation can easily double your materials budget, but doing it yourself puts that cash back in your pocket. Plus, you get the bragging rights of saying, “I did that” every time someone compliments your kitchen or entryway.
Home Depot makes this ridiculously accessible with their in-store tile cutting services and free how-to clinics. You can pick up everything from peel-and-stick planks to heavy porcelain slabs in one trip. And with their price-match guarantee, you know you’re getting a fair deal without hunting all over town.
Must Read
The Real Purpose: More Than Just Looks
Tile flooring is a workhorse—it resists water, scratches, and stains better than almost any other surface. That makes it perfect for bathrooms, mudrooms, and kitchens where messes are a daily event. It also lasts for decades, so this project is an investment in your home’s future value.
Another hidden benefit? Tile naturally stays cooler in summer, which helps lower your AC bill in warmer climates. And if you install radiant heat mats underneath (yes, Home Depot sells them), you’ll get toasty warm toes in winter. That’s luxury meets practicality.
Tools & Materials: Keep It Simple
The beauty of the Home Depot approach is that everything you need is in one aisle. Grab a notched trowel, a rubber mallet, spacers, and a wet saw (or rent one from their tool department). Don’t forget the thinset mortar and grout—they’re the glue and the filler that hold your masterpiece together.
Here’s a pro tip: buy 10% more tile than you think you need. Chipping mistakes happen, and having the exact same dye lot means no weird color patches later. Home Depot also lets you return unopened boxes, so overbuying is a no-risk move.
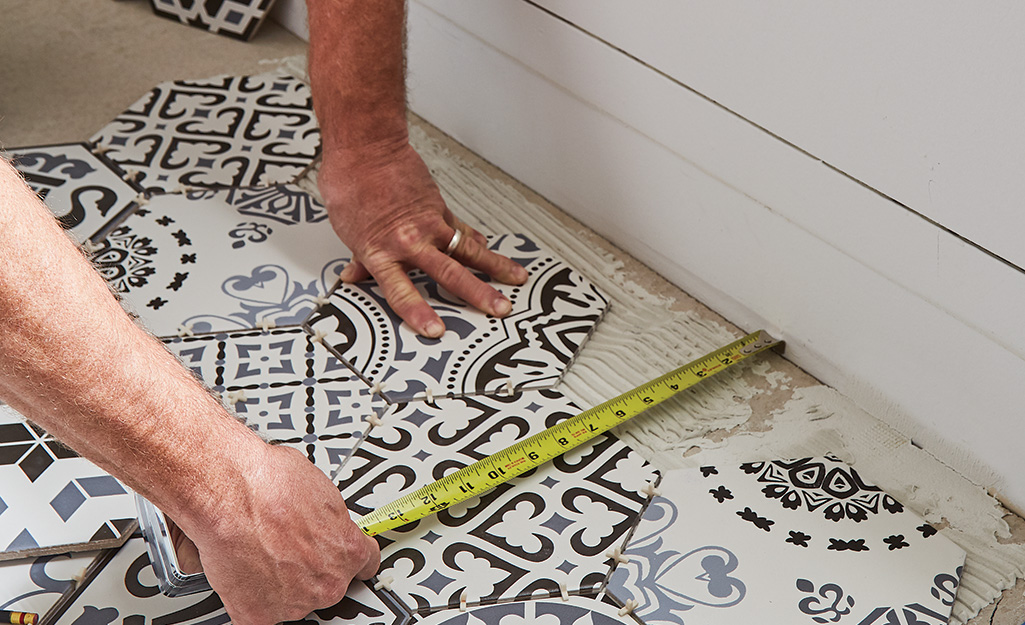
Remember: A level floor is the secret to a professional finish. Use a long straightedge to check for dips before you start laying anything.
Step-By-Step (Without the Sweat)
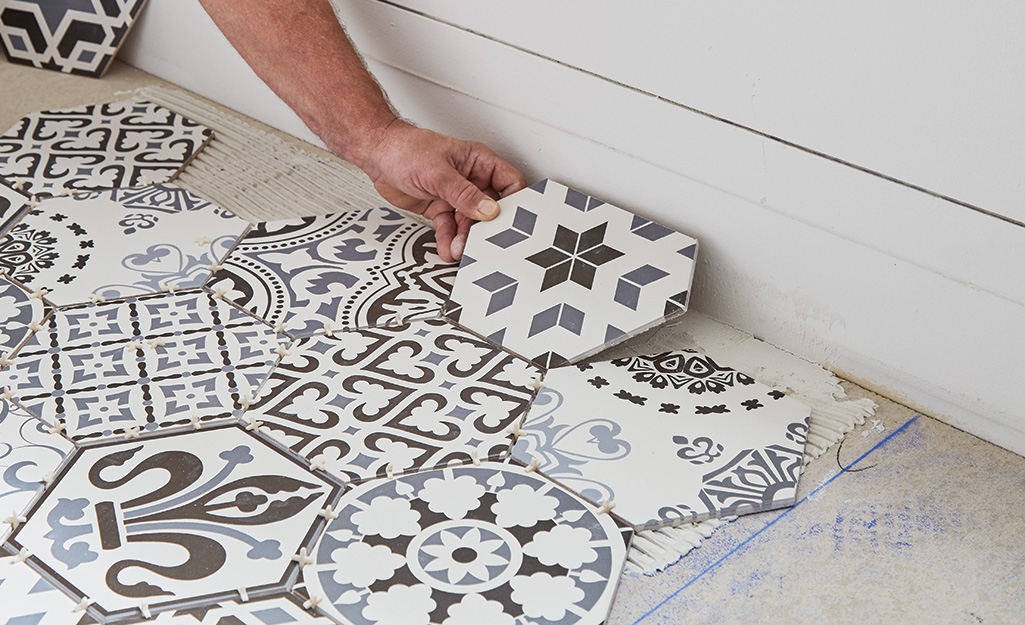
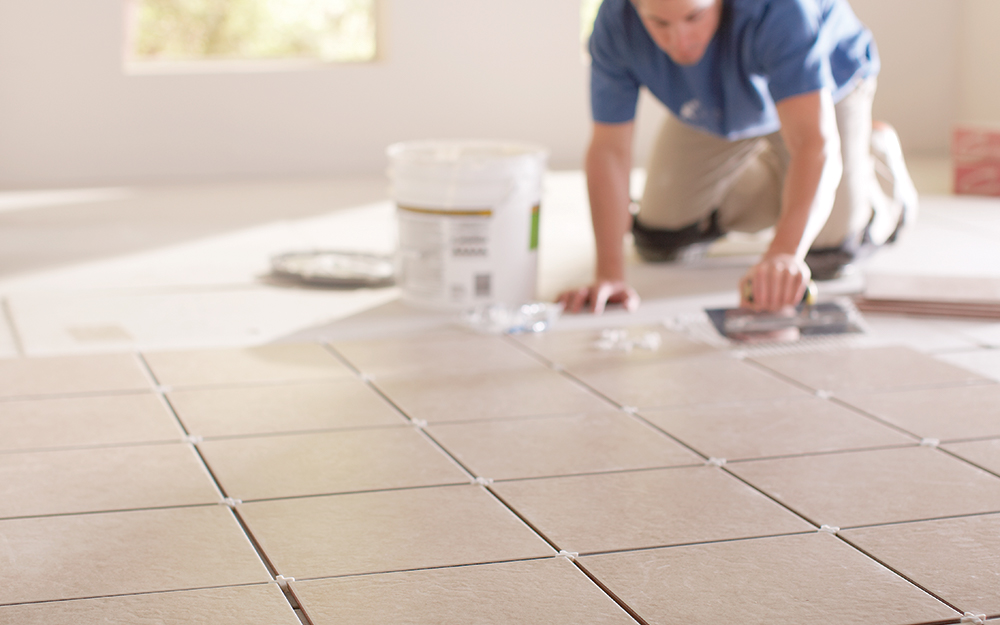
First, prep your subfloor—clean it, dry it, and screw down any squeaky boards. Then, snap chalk lines to find your center point, because starting dead-center ensures evenly cut edge pieces. Mix a small batch of mortar and trowel it onto the floor in a small section.
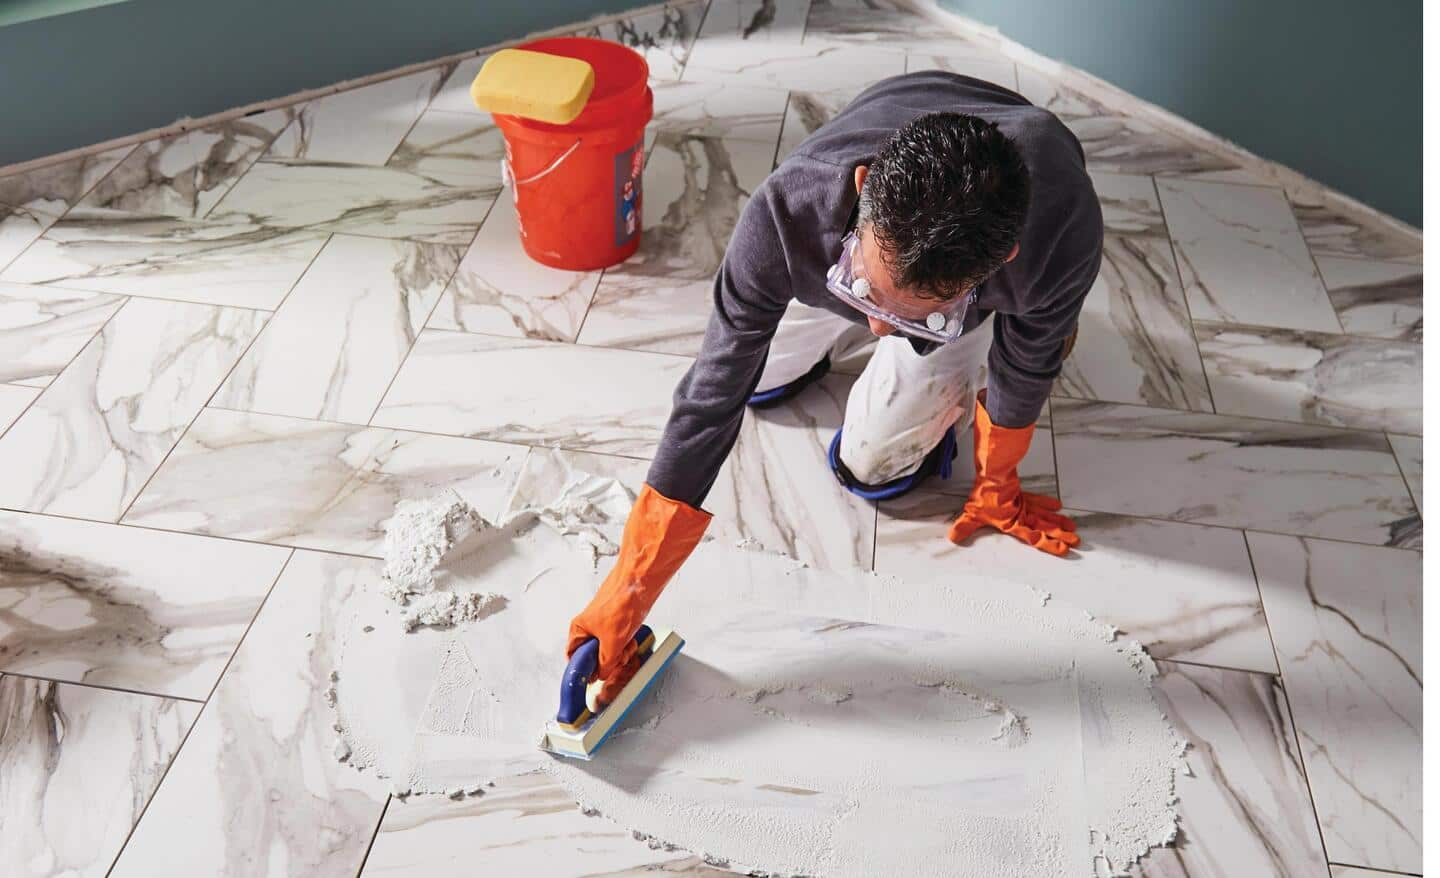
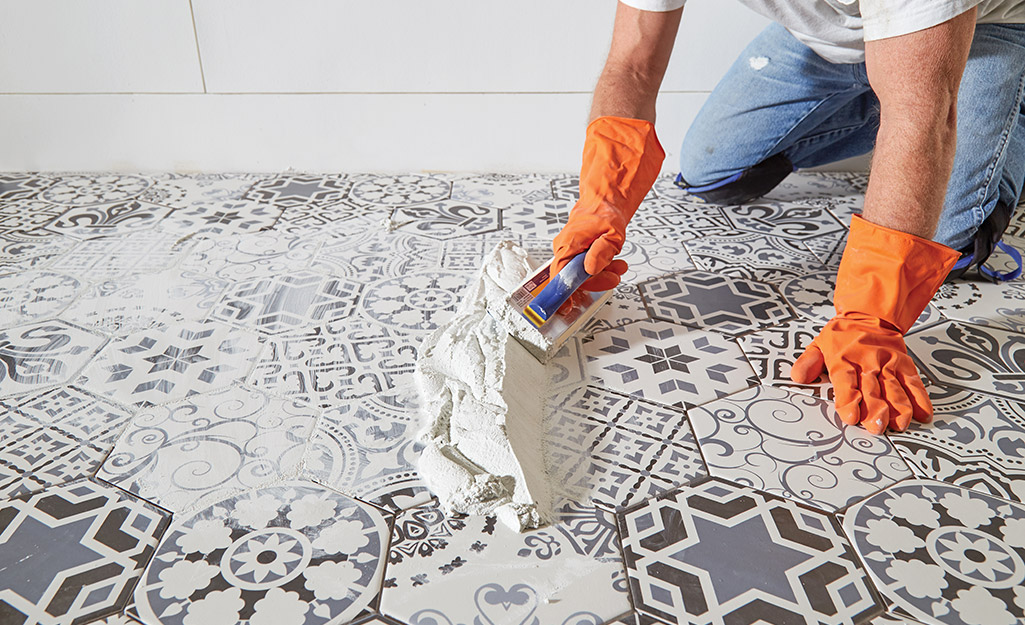
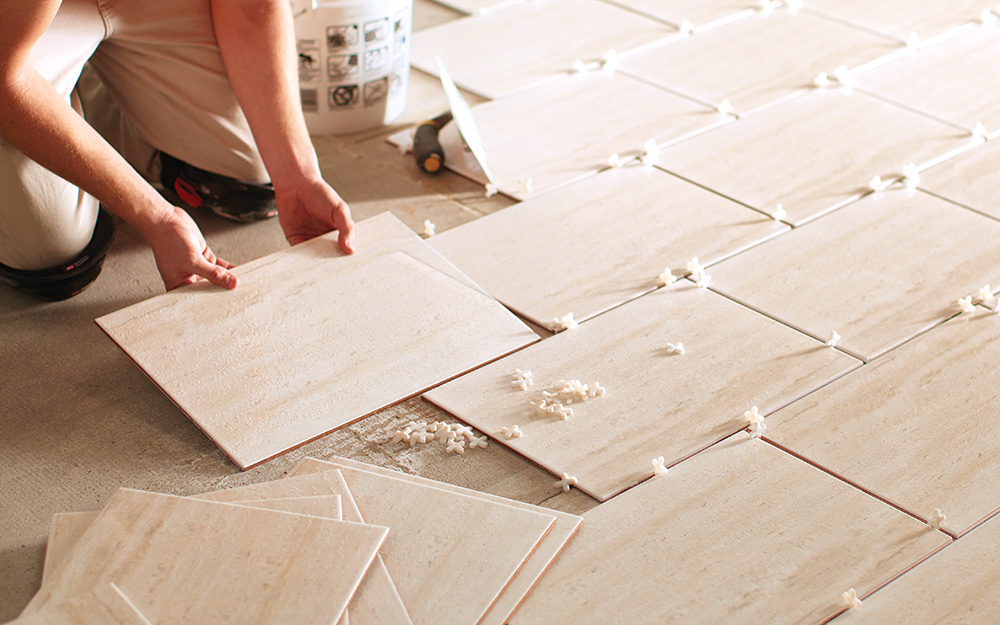
Press each tile into place using a slight twisting motion, then pop in your spacers to keep lines straight. Work in small sections to prevent the mortar from skinning over. After 24 hours, remove the spacers and apply grout with a rubber float, wiping excess off at an angle.

Once the grout dries for another day, seal it to protect against moisture and stains. Then step back and admire your handiwork—you just installed a floor like a pro, and it only took a long weekend.
Common Pitfalls (And How to Dodge Them)
One of the biggest mistakes is rushing the grout mixing—if it’s too watery, it cracks; too dry, it crumbles. Follow the bag’s instructions exactly, and use a drill with a paddle mixer for a smooth consistency. Another classic error is starting a row with a full tile when you should start with a half-tile to keep the layout balanced.
Also, never walk on the floor while the mortar is still wet. Trust me, I’ve done it, and pulling your shoe off a pulled-up tile is a special kind of misery. Patience is your best friend here—let each layer cure fully before moving forward.
Why This Project Rocks
Beyond the bragging rights, you’re creating a surface that’s pet-proof, kid-proof, and party-proof. No more stressing over spills or muddy paw prints—just a quick mop and it’s back to pristine. Plus, the sense of pride from finishing a big DIY task boosts your confidence for other home projects.
So grab a Home Depot bucket, put on some good music, and dive in. You’ll save money, learn a new skill, and end up with a floor that looks like a million bucks. And the best part? When friends ask who did it, you can smile and say, “That was all me.”