Cluster Mailbox Door Replacement
Let’s be honest—nobody wakes up excited about a broken mailbox door. But when your cluster mailbox door starts sticking, sagging, or just won’t latch, it’s a tiny annoyance that can ruin your whole mail routine. The good news? Replacing that door is a surprisingly simple DIY project that feels like a miniature victory.
Think of it as a quick home upgrade that you actually use every single day. It’s not glamorous, but it’s deeply satisfying to have a door that opens smoothly and snaps shut with a reassuring click. Plus, you’ll never again wrestle with a flimsy flap while holding a screaming toddler or a stack of bills.
For beginners, this is a perfect first project—no power tools required, just a screwdriver and a little patience. Families will love not having to chase down stray mail that blows out from a broken latch. And hobbyists? You get to geek out over different locking mechanisms and weatherproof gaskets—yes, that’s a real thing.
Must Read
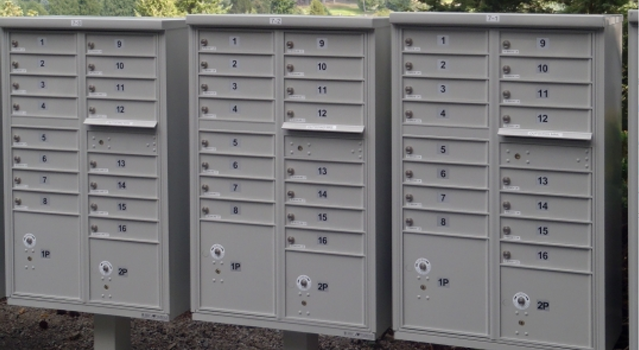
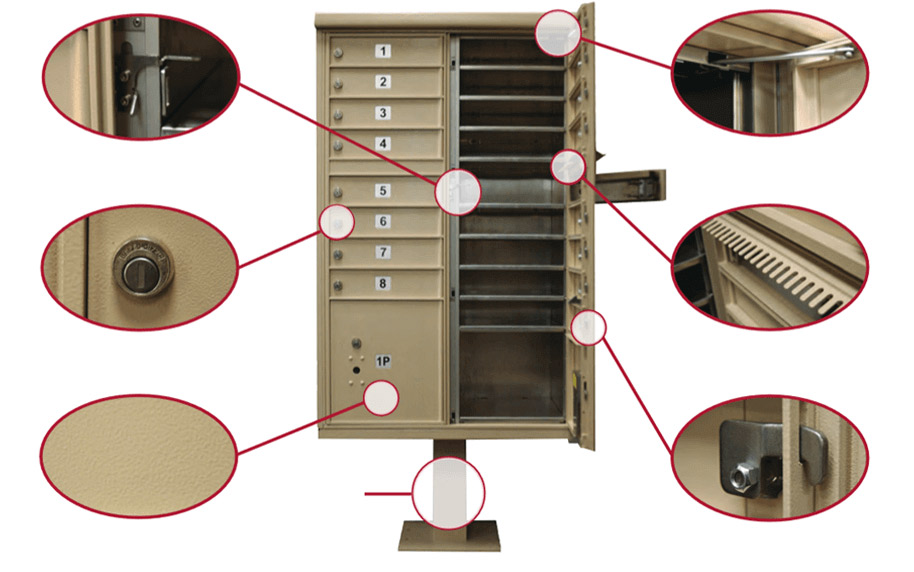
Before you dive in, understand that cluster mailbox doors come in two main styles: the flat, panel-style door and the curved, “barn” style door. Some are secured with a single central cam lock, while others use a simple spring-loaded catch. Check your current door’s brand—it’s usually stamped on the inside edge—so you can order an exact match.
Your first step is to measure the opening height and width, but don’t forget the depth—many doors are deeper than you’d think. Take a photo of the hinge side, too, because some doors have left-handed or right-handed hinges. If you’re unsure, ordering a universal kit with adjustable hinges saves you a trip back to the hardware store.

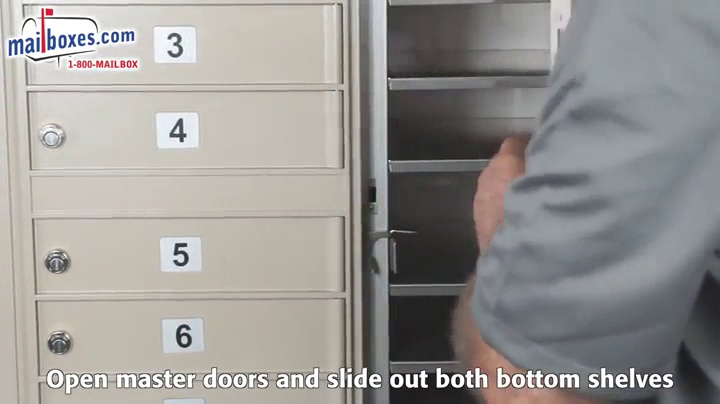
Now for the fun part: installation. Remove the old door by unscrewing the hinge pins or the small screws on the frame—just keep those screws in a cup. Slide the new door into place, aligning the hinge holes, and hand-tighten the screws before you fully secure them. Most doors take less than fifteen minutes, even if you’re slow.
A pro tip: apply a thin layer of silicone spray or white lithium grease to the hinge pin after install. This prevents that annoying squeak and keeps the door moving smoothly through winter freezes. And don’t forget to test the key lock before you close it all the way—there’s nothing worse than locking yourself out of your own mailbox.

If your cluster mailbox is part of a larger unit, check if your homeowners’ association or post office has specific replacement rules. Some require a USPS-approved door for security reasons, so verify before ordering. But for most standalone units, you’re free to pick a sturdier, heavier-duty door that feels premium.
Beyond the basic fix, you can upgrade to a door with a built-in flag or a larger viewing window—perfect for seeing if packages are waiting. Some hobbyists even add a magnetic seal strip for extra weather protection. You can make your mailbox feel new again without replacing the whole unit, saving you cash and hassle.
The real joy here is the instant gratification. You’ll walk to the curb, grab your mail, and smile because the door doesn’t fight back. It’s a small, tangible improvement that makes your daily routine feel just a little bit smoother.
So grab a screwdriver, order that door, and enjoy ten minutes of satisfying tinkering. You won’t just be fixing a mailbox—you’re reclaiming control over a tiny piece of your day. And that, honestly, is worth the effort.