2008 Chevy Hhr Battery Replacement

So, your 2008 Chevy HHR is giving you the cold shoulder—literally. You turn the key, and instead of a hearty Vroom, you get a sad little click-click-click that sounds like a tiny woodpecker with a hangover. Congratulations, my friend, you’ve officially joined the Battery Replacement Club, a membership nobody asked for but everyone eventually gets.
Before you panic and start pricing tow trucks, take a deep breath. Replacing the battery in this rolling toaster (affectionately nicknamed for its retro boxy shape) is surprisingly easy. You don’t need a mechanic; you just need a little elbow grease, the right tools, and a decent playlist to keep you company.
What You’ll Need (The Arsenal)
First, gather your gear. You’ll need a 10mm socket and a ratchet—this is the golden key to the HHR’s kingdom. Also grab a pair of pliers, a wire brush (or an old toothbrush—hey, we don’t judge), and some battery terminal cleaner or a simple mix of baking soda and water.
Must Read
Don’t forget your new battery. Get a Group Size 85 or 86, depending on your engine. Pro tip: If you buy one with a built-in handle, you’re already winning. Oh, and wear gloves—because battery acid on your hands feels like a personal betrayal.
Step 1: The Great Unplug
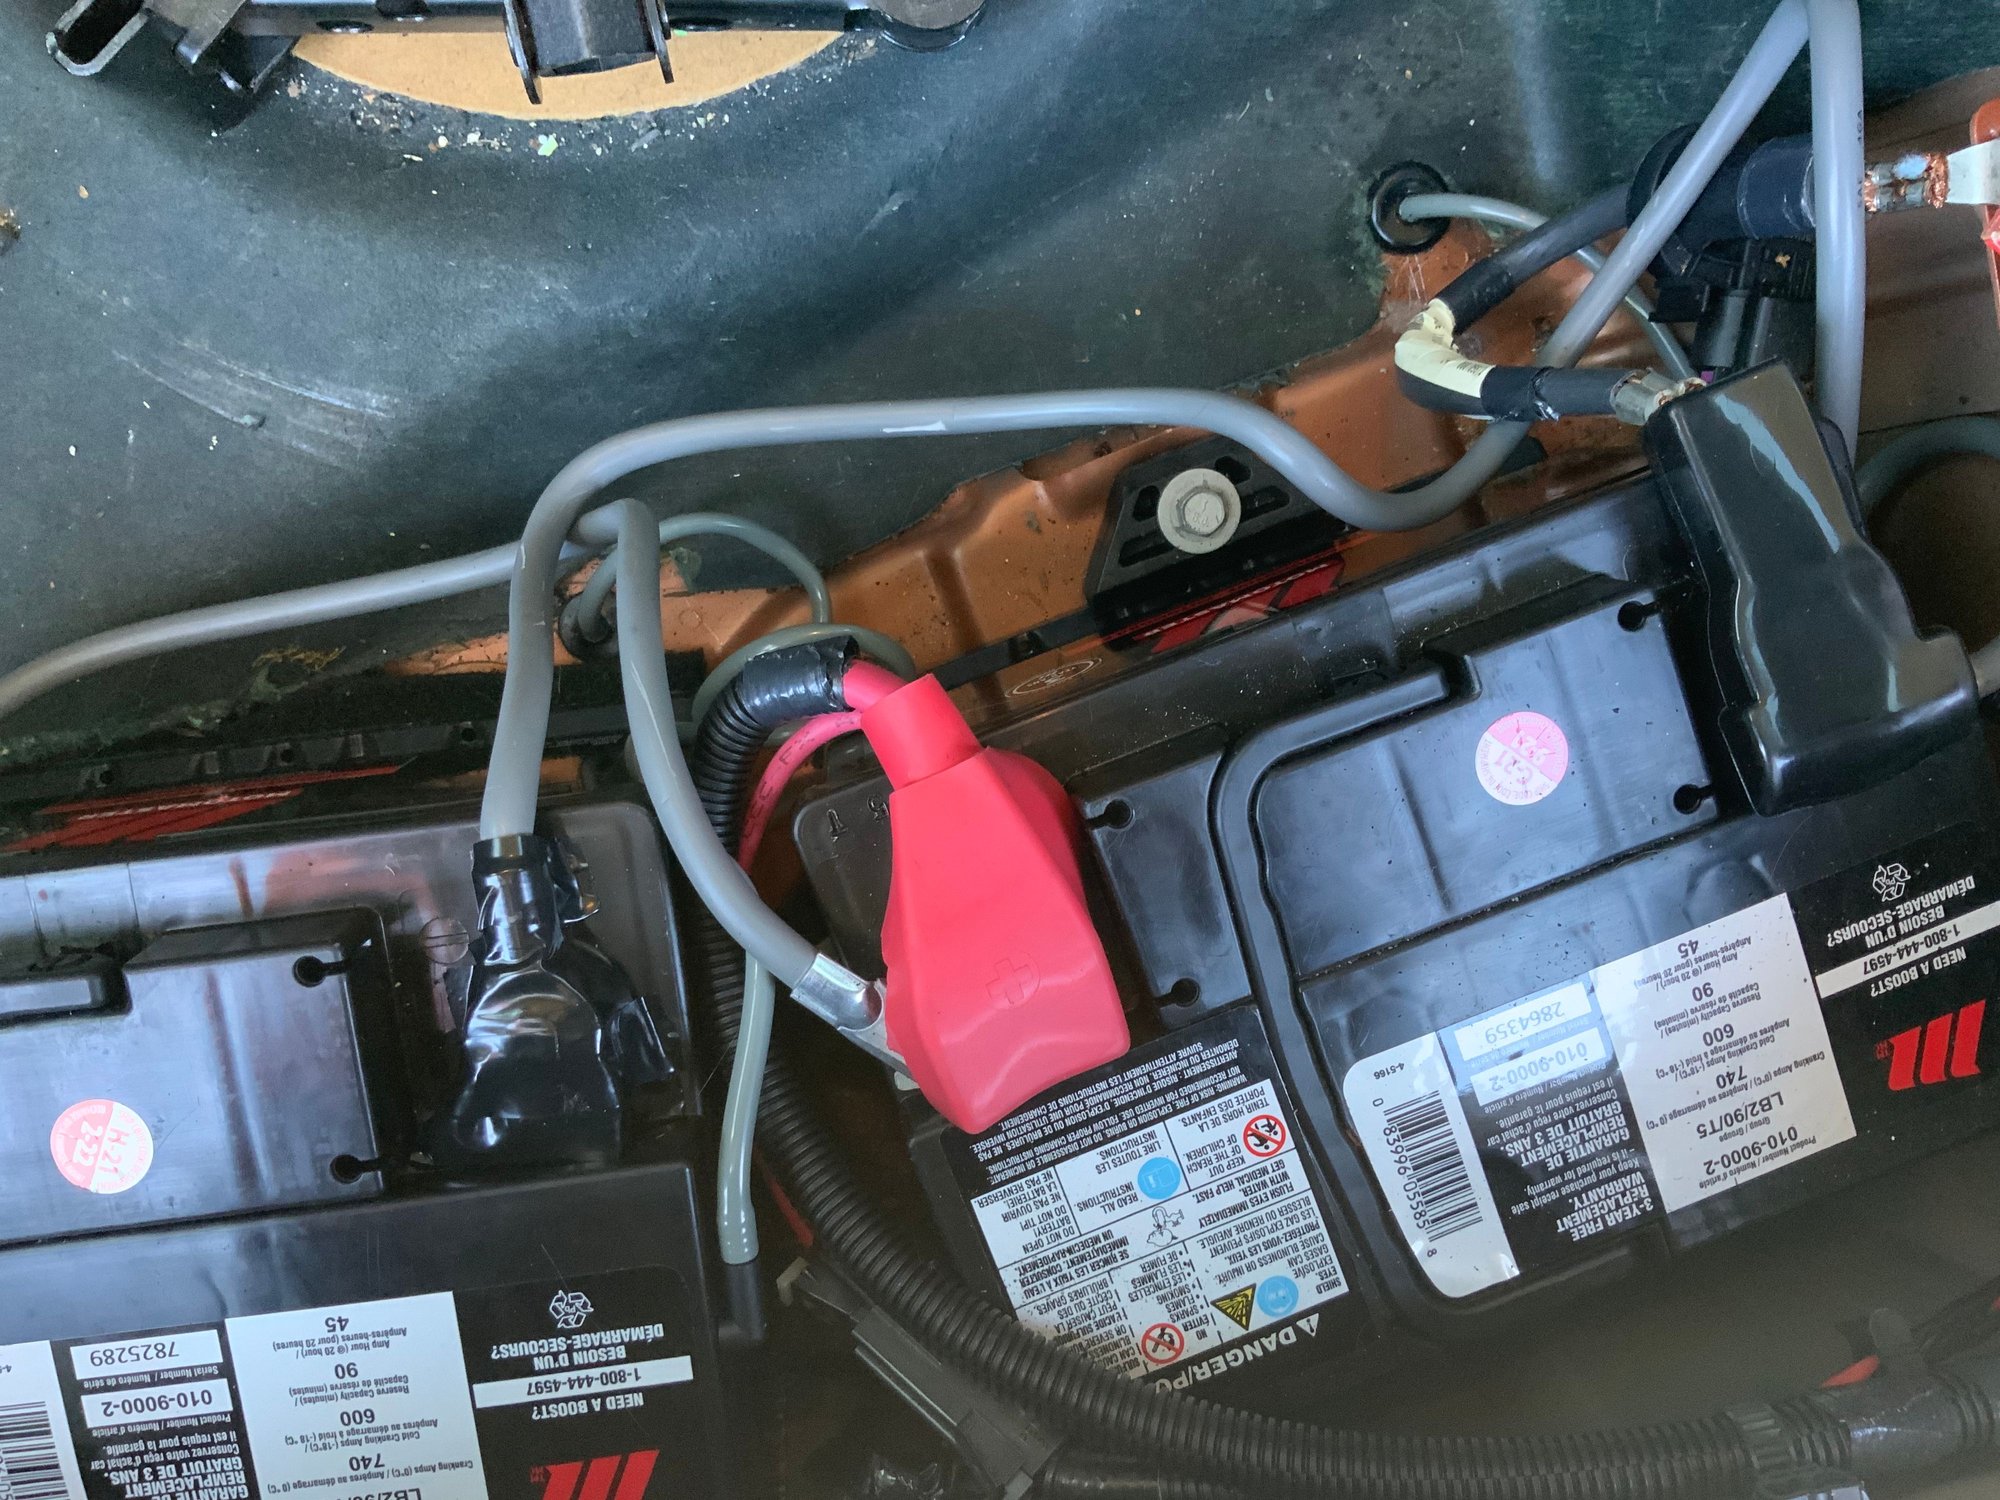
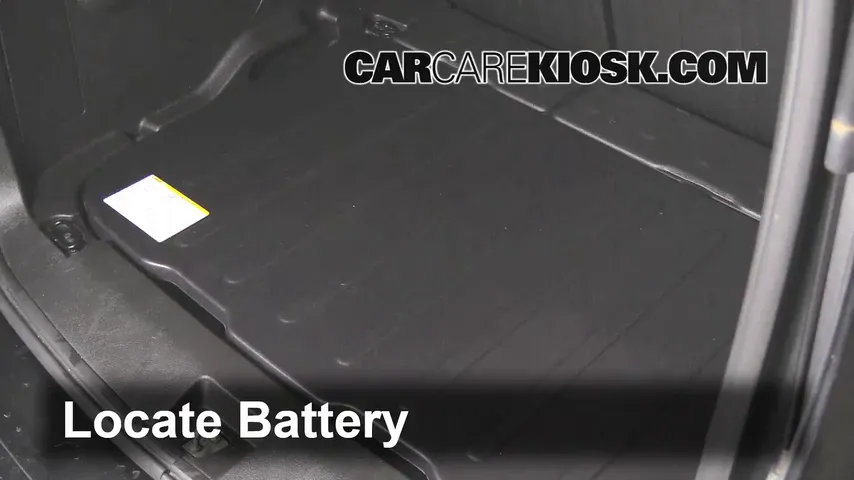
Pop the hood, but don’t just dive in. The HHR’s battery is tucked behind the driver’s headlight, under a plastic cover. To get to it, you’ll need to remove that cover by pulling up on a few plastic clips or screws. Don’t force it like a gorilla in a china shop; those clips break if you sneeze too hard.

Once the cover is off, you’ll see the battery looking all smug and dead. Now, always disconnect the negative (black) terminal first. Why? Because if you touch the positive with a wrench, you might create a spark that turns your HHR into a fireworks display. We’re not trying to win a Darwin Award today, folks.
Step 2: The Wiggle and Lift
With the negative cable off, let it flop to the side like a lazy noodle. Then, remove the positive (red) terminal the same way. Use a 10mm socket to loosen the bolts—don’t strip them, or you’ll be cursing your ancestors.
Now for the fun part. There’s a little metal strap holding the battery down. Unbolt that too. Then, give the battery a gentle wiggle side to side. If it resists, it’s just being stubborn. Grab it by the sides (or the handle if you’re fancy) and lift it straight up. Warning: This bad boy weighs about 40 pounds. If you’re not ready for that, you’ll look like you’re trying to deadlift a fridge. Bend your knees, not your back!

Step 3: Meet the New Boss
Before you slide the new battery in, clean the old battery tray. Over time, it collects dust, leaves, and the tears of failed electrical systems. Give it a quick wipe. Then, scrub the terminals with your wire brush—shine them like you’re polishing a trophy because a clean connection is a happy connection.
Lower the new battery in, feeling like a champ. Make sure it sits flat. Reattach the hold-down strap first, but don’t crank it down like you’re closing a pickle jar. Just snug.
Step 4: Cable Reconnection (The Reverse Dance)
Here’s where you remember the rule: positive first, then negative. This is the exact opposite of removal. Why? Because it reduces any chance of a spark near the battery. So, put the red (positive) cable on, tighten it, then the black (negative) one. Snug, not nuclear—over-tightening strips threads.
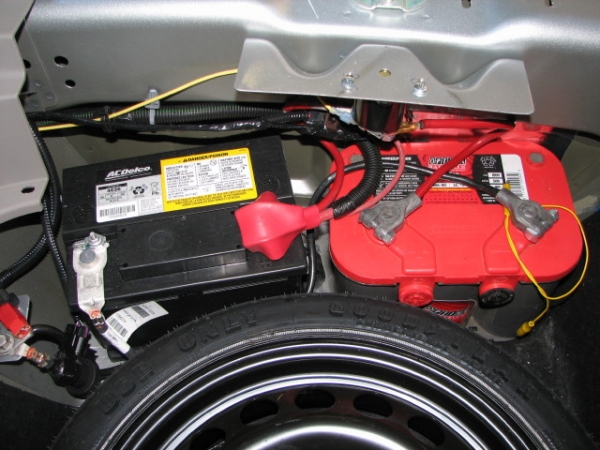
Double-check that both cables aren’t touching anything metal except their posts. Give them a gentle tug. If they don’t move, you’re golden. Now pop that plastic cover back on. Make sure it clicks. Or just rest it on there—nobody’s grading you.
The Moment of Truth
Slip into the driver’s seat, take a dramatic deep breath, and turn the key. That crisp, clean Chitty-chitty-bang-bang sound? That’s your HHR saying, “Thank you for not throwing me into a scrap yard.” You’ll also notice your radio presets are gone, and your clock is blinking 12:00 like it’s 1999. That’s normal—just reset them and move on.
But wait, there’s one more quirk. Your HHR might need a little “reset” for the power windows or sunroof. Roll each window all the way down, then all the way up, holding the button for a second at each stop. This tells the computer, “Hey, I’m alive, stop panicking.”

You Did It! (And Why You Rock)
Take a victory lap around the block. You just saved yourself anywhere from $100 to $200 in labor costs at a shop. That’s money you can spend on tacos, gas, or a tiny mechanic’s uniform for your dog—you know, the important stuff.
There’s a special kind of pride that comes from jabbing a wrench into your own engine bay and walking away victorious. Your HHR might be a quirky, boxy oddball, but now it’s a charged quirky, boxy oddball. And you’re the hero of this little story.
So, go ahead, pat yourself on the back. Next time you see a flat battery, you’ll wink with quiet confidence. Because you, my friend, are now a certified, battery-swapping badass. Stay charged, stay shiny, and never forget: even a toaster can teach you a thing or two about life.